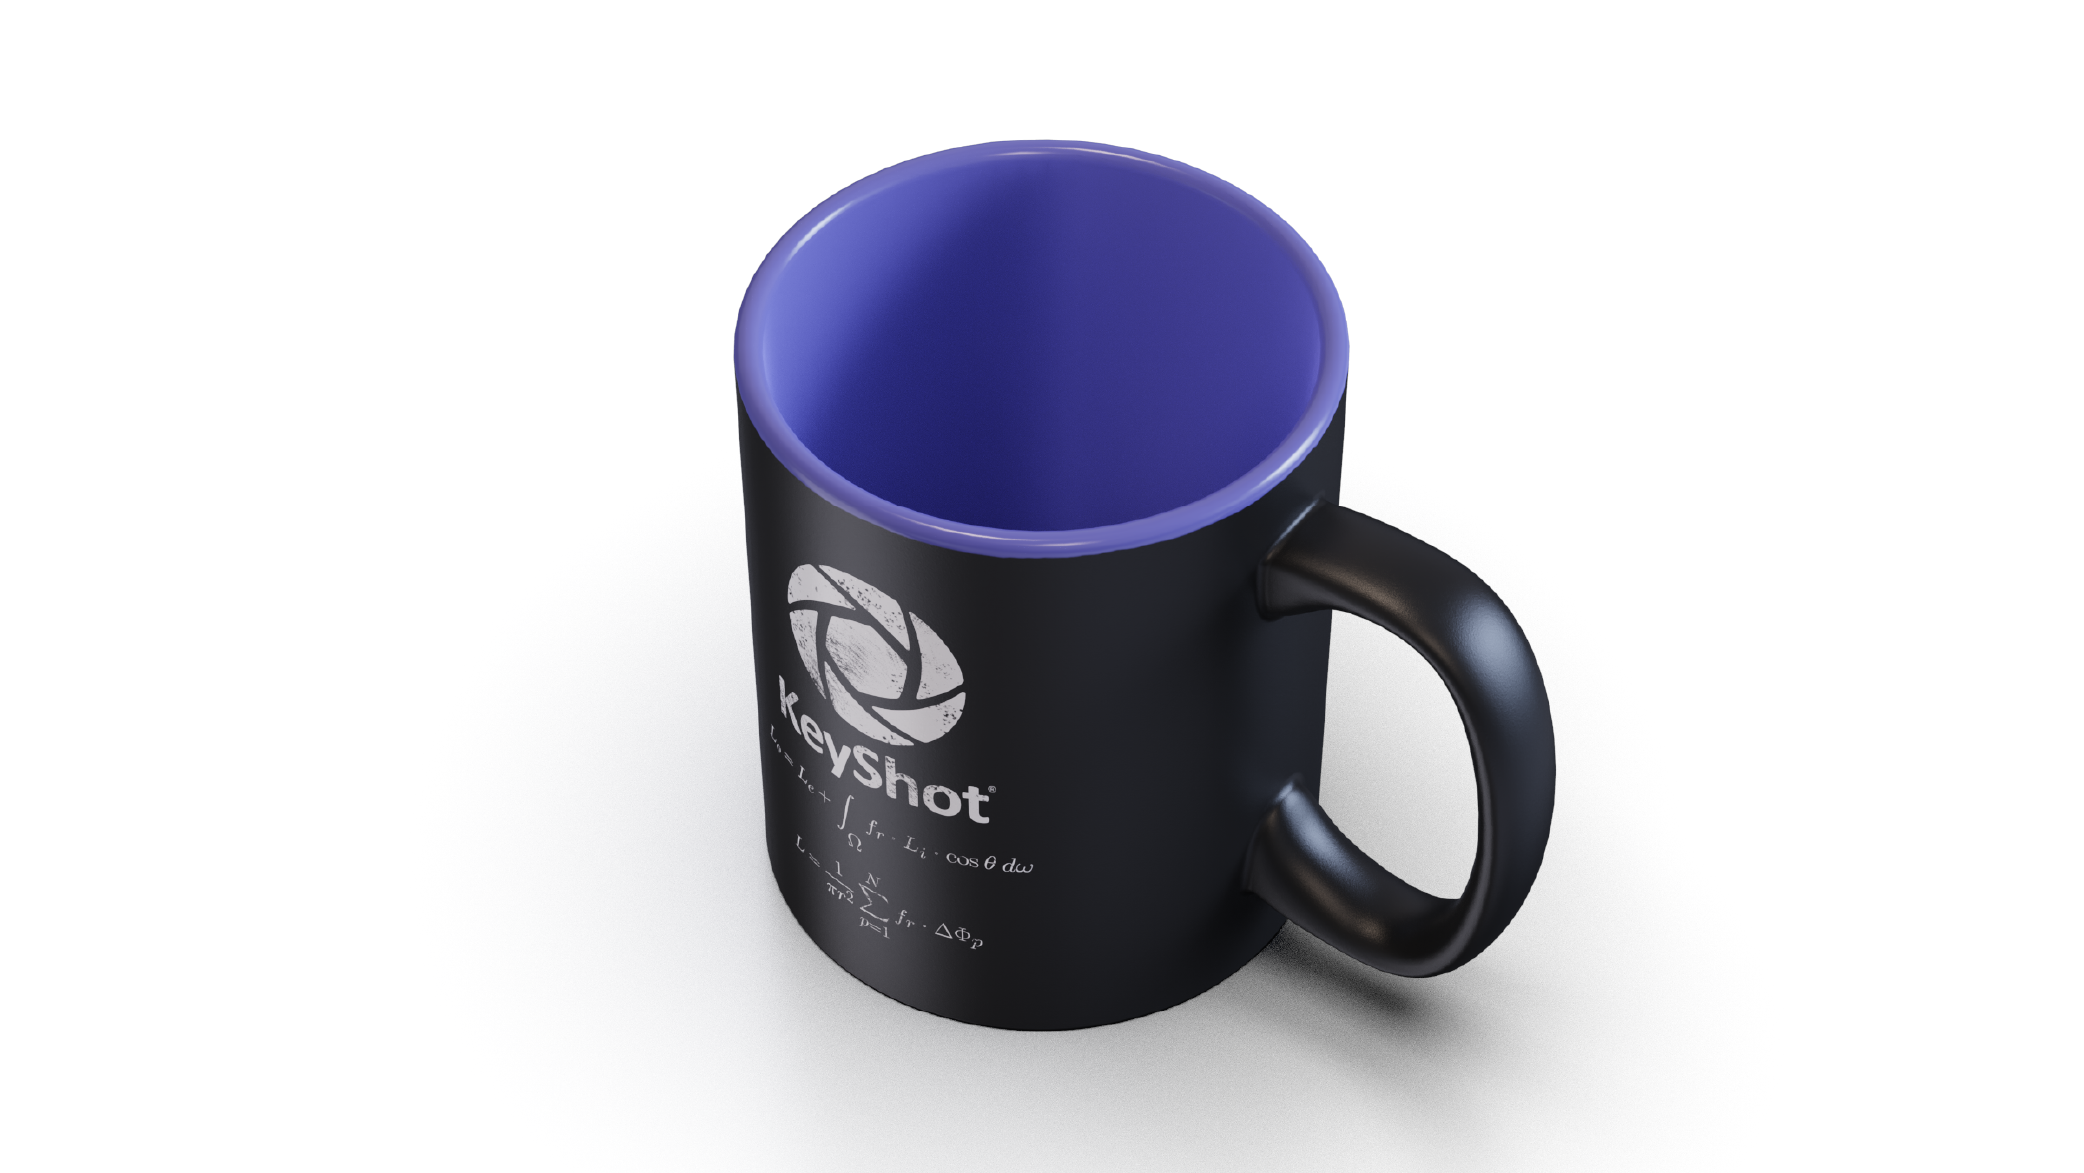
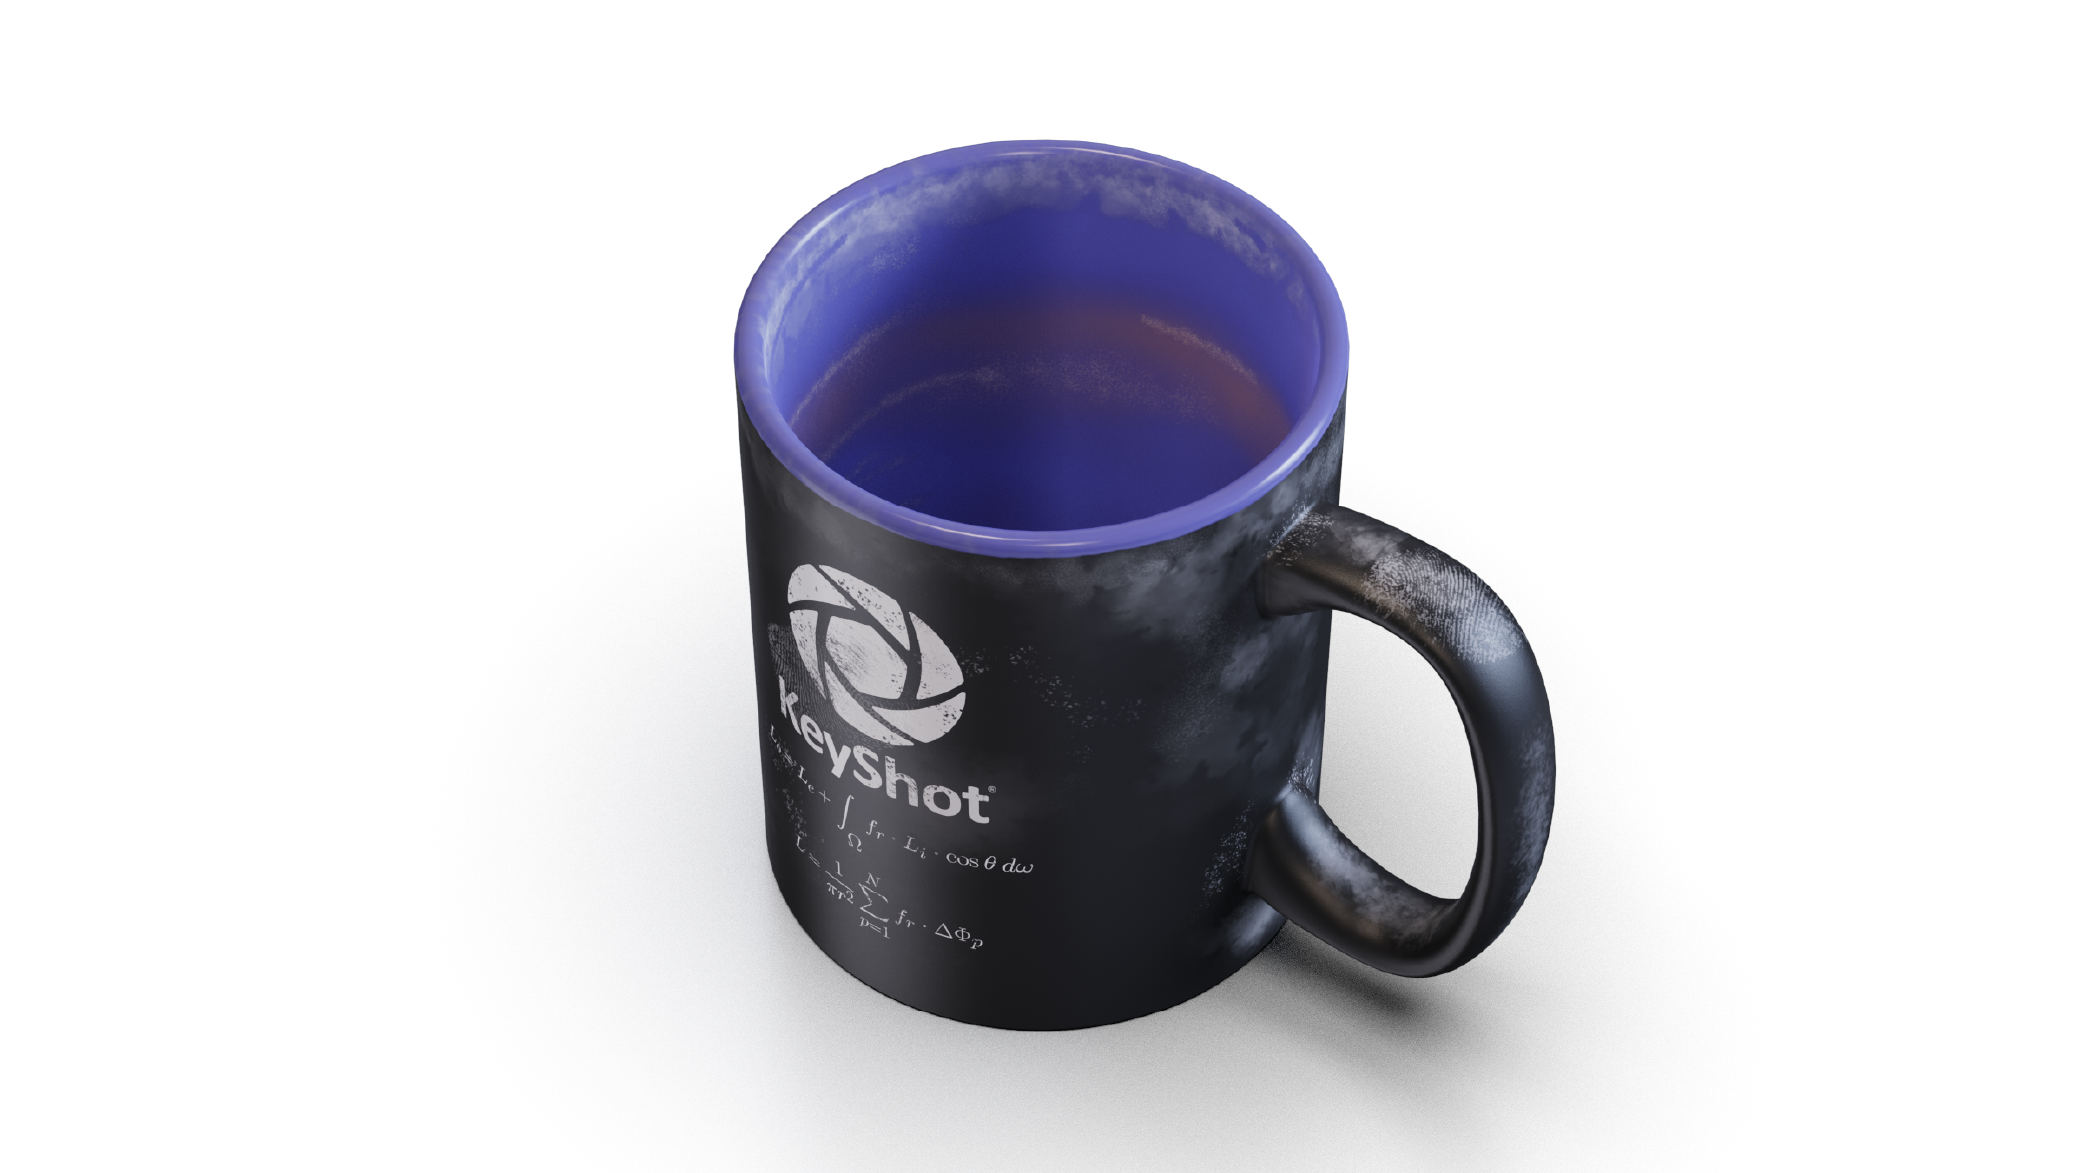
3D Paint is an advanced tool that allows you to easily create your own texture.
Texture Resolution
Use the Texture Resolution tool drop-down to determine the size of your texture.
Paint
Activate the Paint button to enter the paint mode. This will change your mouse into a brush in the Real-time view and allow you to paint your texture by holding the left mouse button.
Brush Stroke Preview
The preview will show you the appearance of your current brush settings.


Brush Modes
The icons to the left of the BrushStroke Preview will allow you to choose between different brush modes. Note that different brush modes will have different parameters available.
- Brush Mode
The brush will allow you to paint continuously. - Stamp Mode
The stamp will allow you to paint one instance of the brush shape at a time. - Eraser Mode
The eraser will allow you to remove paint.
Brush Color
You can choose between painting with a texture or changing the color you want to paint in.
Brush Shape
You can set the shape of your brush by adding a texture to it.
Note
If you want to change your brush shape to for example a triangle shape, make sure your texture has an alpha channel as the background needs to be transparent.
Size
Size changes the size of your brush. By clicking on the ![]() you can choose if your brush size is shown in pixels or scene units.
you can choose if your brush size is shown in pixels or scene units.
- Size Jitter
This let’s you control the size of the jitter on the brush stroke, it can help you add variance.
Opacity
This controls the opacity of your brush stroke.
Flow
The flow slider controls the speed at which the paint is applied. It gives you the ability to build up paint gradually, with each stroke, until you get the desired color shade.
- Flow Jitter
This let’s you control the flow of the jitter on the brush stroke, it can help you add variance.
Tip
Use a drawing tablet and enable pressure sensitivity ![]() on Size, Opacity and/or Flow to allow for an easier workflow.
on Size, Opacity and/or Flow to allow for an easier workflow.
Additional Brush Settings
Hardness
This allows you to adjust the hardness of the brush.
Spacing
Spacing the spacing of the brush. You can click on ![]() to choose if the spacing is shown in pixels or scene units. To make sure your spacing respects the size of the brush turn on scale with size.
to choose if the spacing is shown in pixels or scene units. To make sure your spacing respects the size of the brush turn on scale with size.
Angle
This allows you to rotate your brush.
- Angle Jitter
Adding a jitter to your angle allows you to create variance in your brush stroke.
Follow Path
Allows you to rotate your brush with the direction of the stroke path.
Use Camera Projection
Enabling Camera Projection will project the brush from the camera’s point of view, rather then from than normal to the object’s surface. This could for example result in a stretched version of your brush or stamp.
Only draw on Plane
Enabling this will allow you to paint on one surface of your geometry without accidentally painting over the edge.
Layers
Add Layer
Creates a new layer of paint.
Delete layer
Deletes the active paint layer.
Layer Blending Mode
You can choose which blend mode to use from the drop-down.
Layer Background Color
This is the background color of your geometry.
Note
The default Layer Background Color is 100% transparent, when creating a new Layer. You can adjust the transparency by using the transparency slider in the bottom of the color picker that will be shown after clicking on the color swatch.