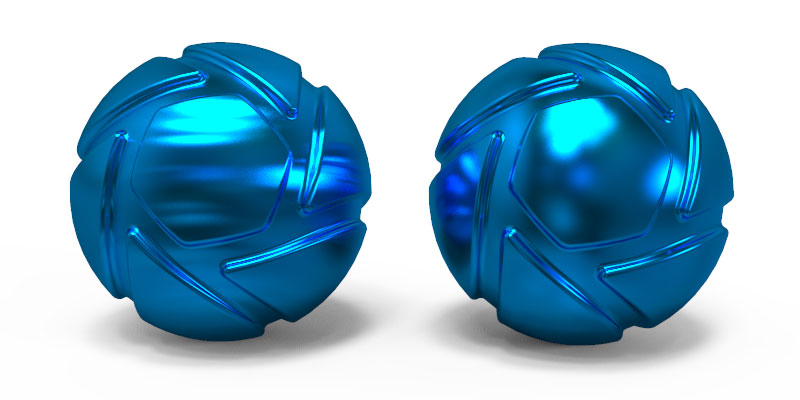
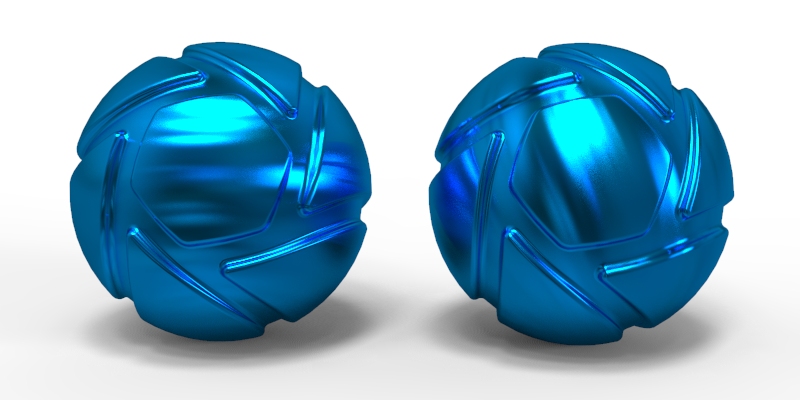
The Anisotropic material type gives you advanced control over the highlights on the material surface. On other material types that have a single “Roughness” slider, increasing this value causes the highlights on the surface spread out evenly in all directions. Anisotropic gives you control over the highlight shape by controlling the roughness in two directions with two independent sliders. This material type is often used to simulate a finely brushed metal surface.
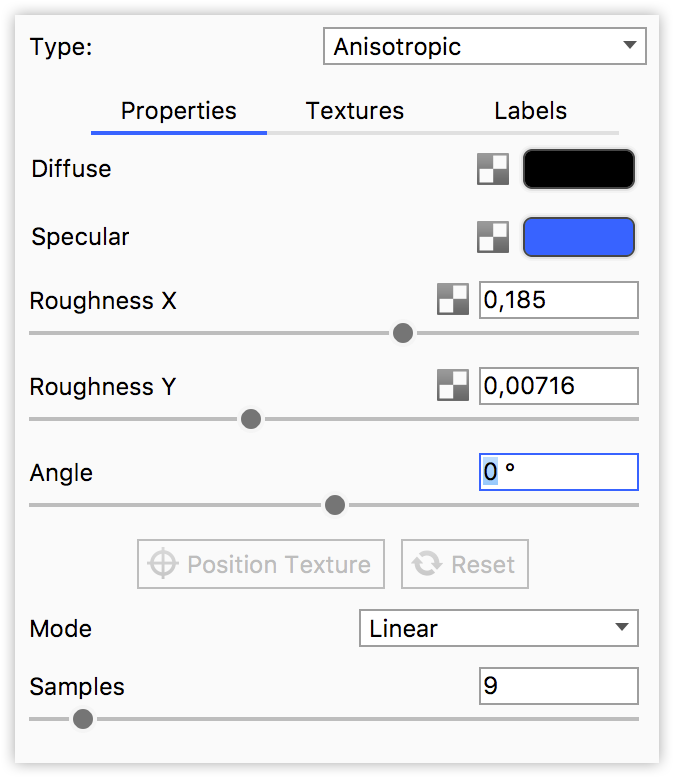
Diffuse
When trying to create a metal, the diffuse should be set to black. When set to anything other than pure black, this material type will take on more a plastic look.
Specular
This is the color and intensity of the reflection of light sources within the scene. Black will be 0 intensity and the material will not be reflective. White will be 100% intensity and will be completely reflective.
If a metal material is being created, this is where the color is set.

Roughness X and Y
These sliders control the spread of the highlights on the surface. The X and Y roughness sliders control the highlight spread in independent directions. As you offset the values, the highlights on the surface will stretch out and give a finely brushed effect.
Setting both sliders to the same value will yield reflections that are spread evenly in all directions.

Angle
This rotates the stretched highlights that are produced when the roughness x and y values are offset. The value is in degrees and goes from 0 to 360.

Mode
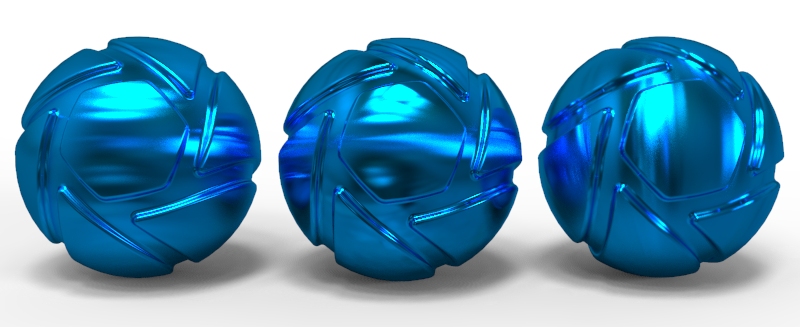
This advanced setting controls how the highlights are stretched. There are three unique modes.
- Linear (default) which will stretch highlights in a linear way, and is independent of any UV coordinate mapping you may have on the model.
- Radial mode is an anisotropic method which simulates the effect you might observe on the play side of a CD. Enabling this mode allows you to choose the center point of the radial roughness with the Position Texture button.
- UV mode is dependent on your UV coordinates. You can use this to manipulate the anisotropic highlights based on the mapping from your modeling software.

Samples
A low samples setting (8 or lower) will tend to make the surface look more noisy which will give a more imperfect and rough look. As you increase the value the noise will even out more and provide a more evenly distributed roughness.