What does the tool do?
The Flip Normals tool allows you to automatically or manually reverse the direction of the normals on an object by selecting its faces.
A normal is the direction that is perpendicular to a mesh surface. In a 3D model, the normals should all be facing the same direction, otherwise “holes” might appear. Also if your vertex normals are not aligned, flat spots might appear on what was intended to appear as a curved surface.
How to Flip Normals
You can launch the ![]() Flip Normals tool either via the Tools section in the Ribbon or via the context menu in the Real-time View or the Scene tree.
Flip Normals tool either via the Tools section in the Ribbon or via the context menu in the Real-time View or the Scene tree.
- Preview
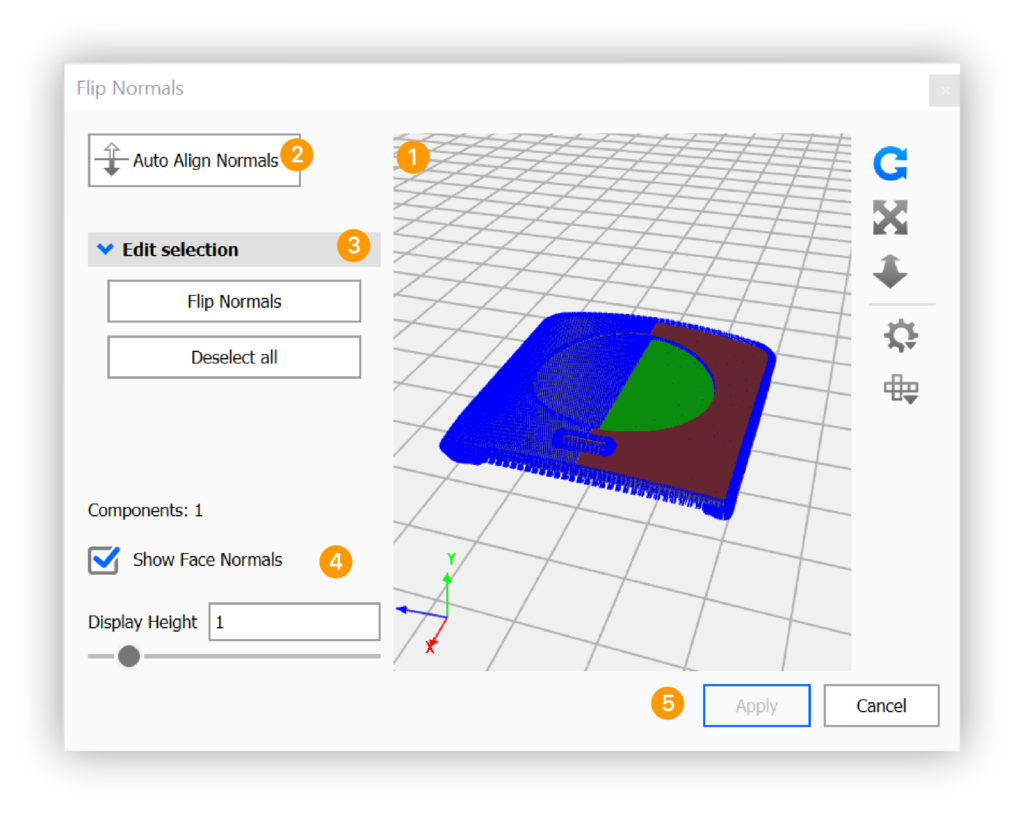
The preview shows the object you have selected to flip normals on. If you have an object currently selected in the preview, it will be shown in green, and the normals can be edited with the Edit Selection section. - Auto Align Normals
Pressing the Auto Align Normals will attempt to align your normals automatically. - Edit selection
In the Edit selection section you can flip normals on specific parts of your object. - Show Face Normals
Enable this to show the normals of the object. The height of the normals can be adjusted with the slider. - Apply/Cancel
To finalize the flip normals, click Apply, to cancel the operation, click Cancel.