In some cases, materials may need to be assigned to parts that are enclosed in or hidden behind other pieces of geometry. In such cases hiding a part/model may com in handy.
This can be achieved in 2 ways:
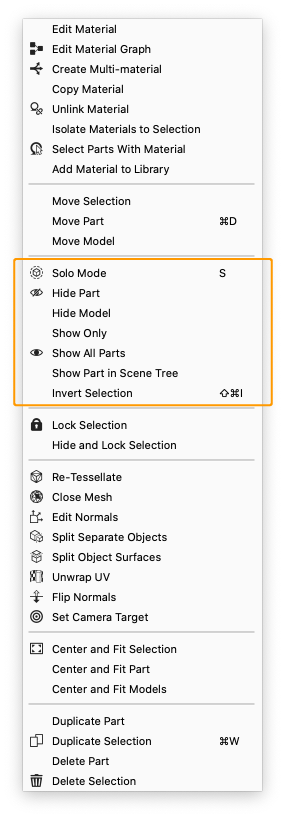
- Traditional Hide/Show of parts or groups.
- Solo Mode, which enables you to isolate the selected geometry temporarily.
Hide Part/Model
- Right-click on a part/selection of parts/model in the Real-time View and select Hide Part/Selection/Model.
- Use the hotkey modifier Ctrl+Alt+Click (windows) and Cmd+Alt+Click (mac)
- Click the
 icon in the Scene Tree.
A single part/selection of parts can be isolated, by clicking Show Only in the context menu. This will hide all other parts in the scene (except locked parts).
Show Parts
To display a hidden part:
- Right-click in the Real-time View and select Undo Hide.
- Click the
 icon in the Scene Tree.
You can also bring back all previously hidden parts by selecting Show All Parts in the Real-time View context menu
Solo Mode
![]() Solo Mode allows you to isolate one or more parts enabling you to work on that specific selection, without disrupting the hierarchy of any other hidden parts.
Solo Mode allows you to isolate one or more parts enabling you to work on that specific selection, without disrupting the hierarchy of any other hidden parts.
- Select the part(s) you want to isolate.
- Right-click and select
 Solo Mode or hit the hotkey S.
 - When active, you will see the blue Solo Mode label in the top of the Real-time View.
- You exit Solo Mode by hitting the S key again or via the
 Exit Solo mode option in the Context menu.
Light Solo Mode
Light Solo Mode in many ways works exactly like Solo Mode, only that it is specific to Lighting Objects.
-
Select the light(s) you want to isolate
-
Right-click and select
 Light Solo Mode, press the hotkey S or click on the icon in the Light Manager to use it on your environment.
 -
When active, you will see the blue Solo Mode label in the top of the Real-time View.
-
You exit Light Solo Mode by hitting the S key again or via the
Exit Light Solo mode option in the Context menu.