KeyShot Studio supports output of render layers and render passes. Render layers output specific parts and models assigned to layers, while a render pass outputs a specific attribute of the scene on its own layer. For example, a Lighting pass will output all the lighting on a single layer while a Shadow pass will output all the shadows on a single layer.
Output of layers and passes is used to separate out all the various aspects of the scene to provide more control in post processing operations. For example, you may want to adjust the intensity of light, shadows or a materials color. Having any of these on a separate layer gives you this control.
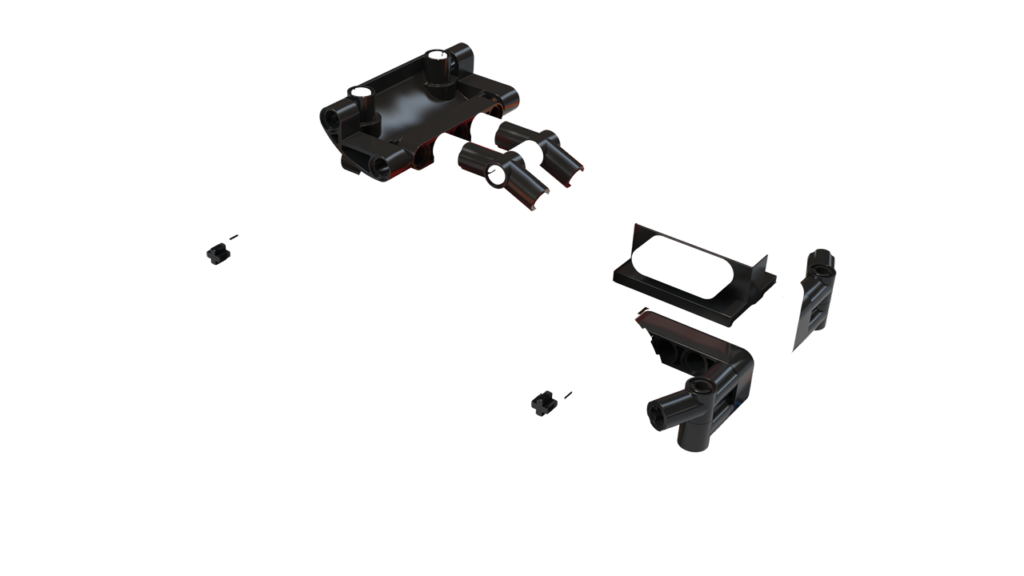
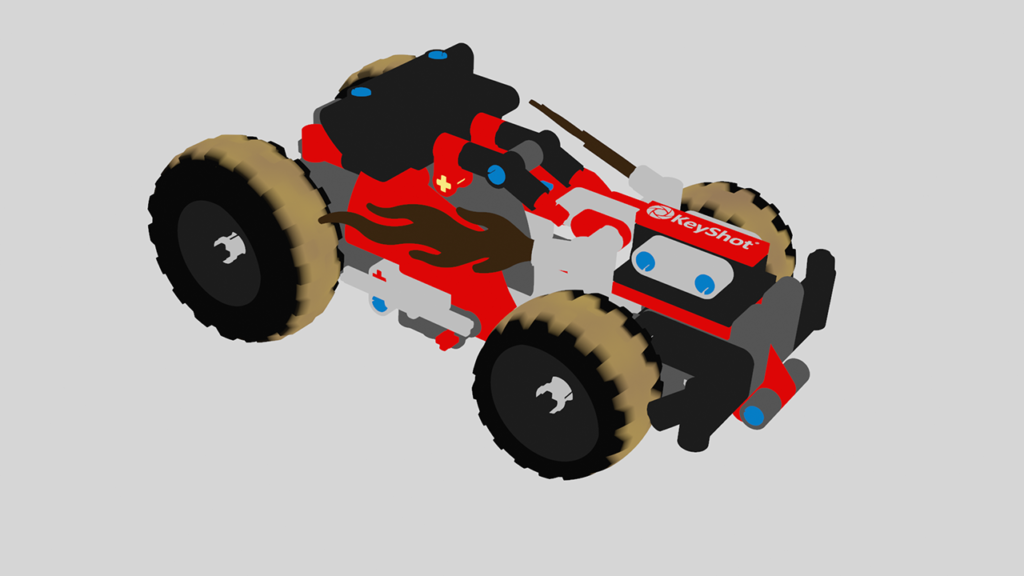
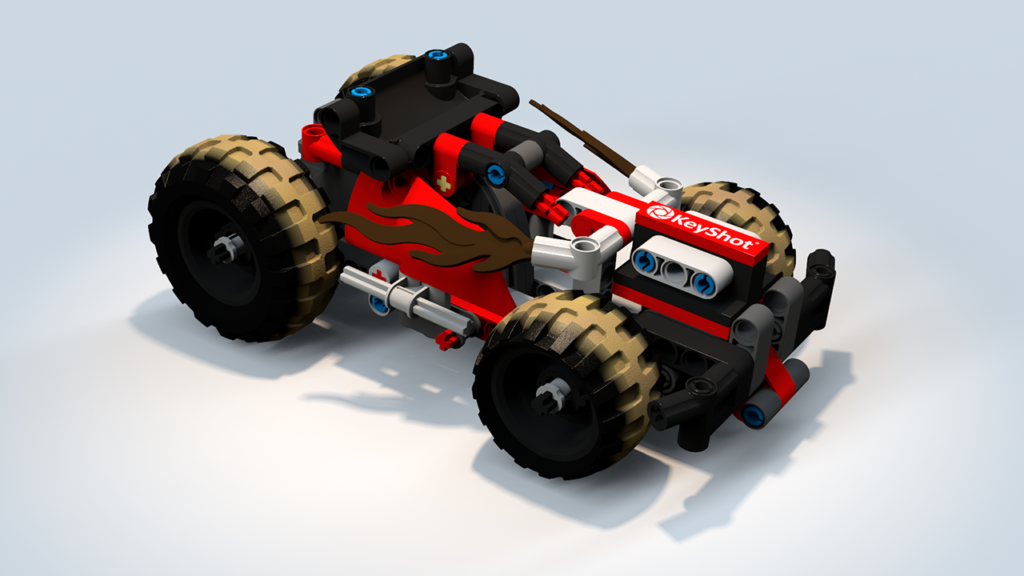
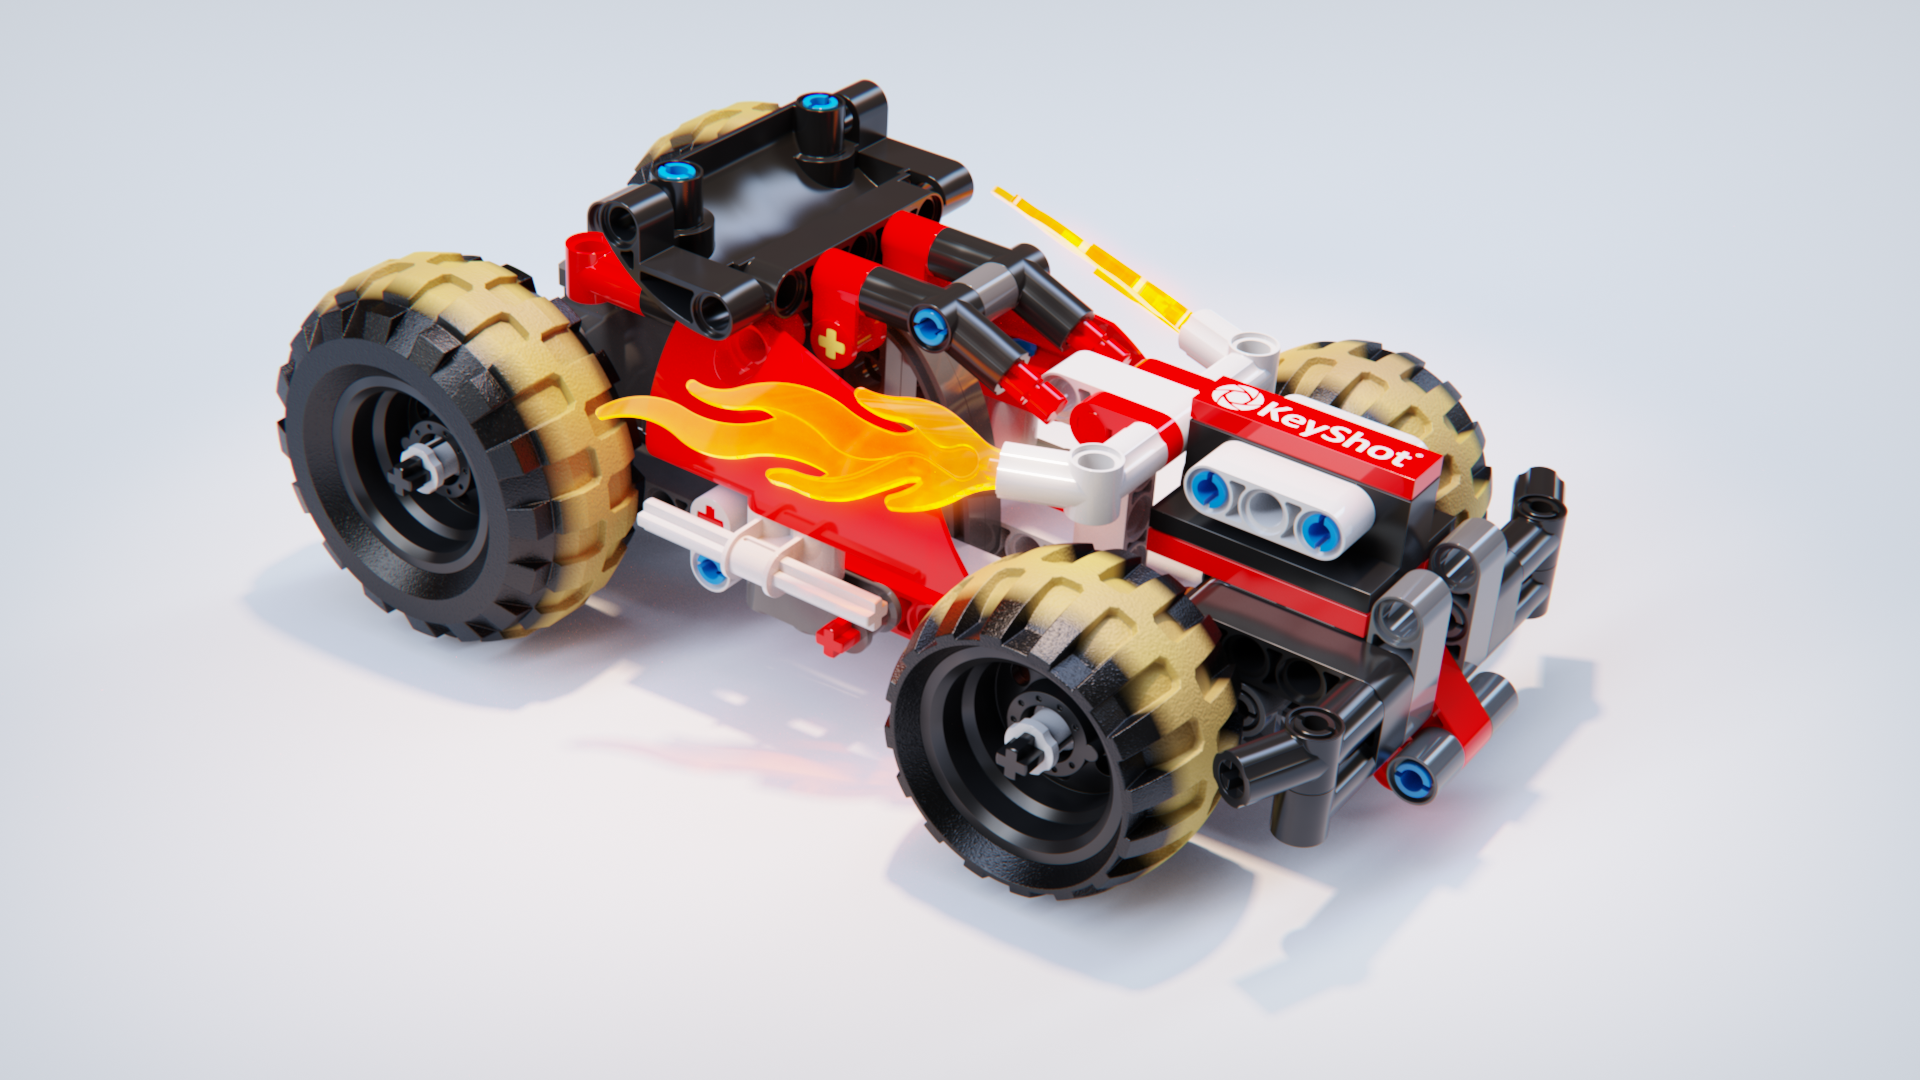
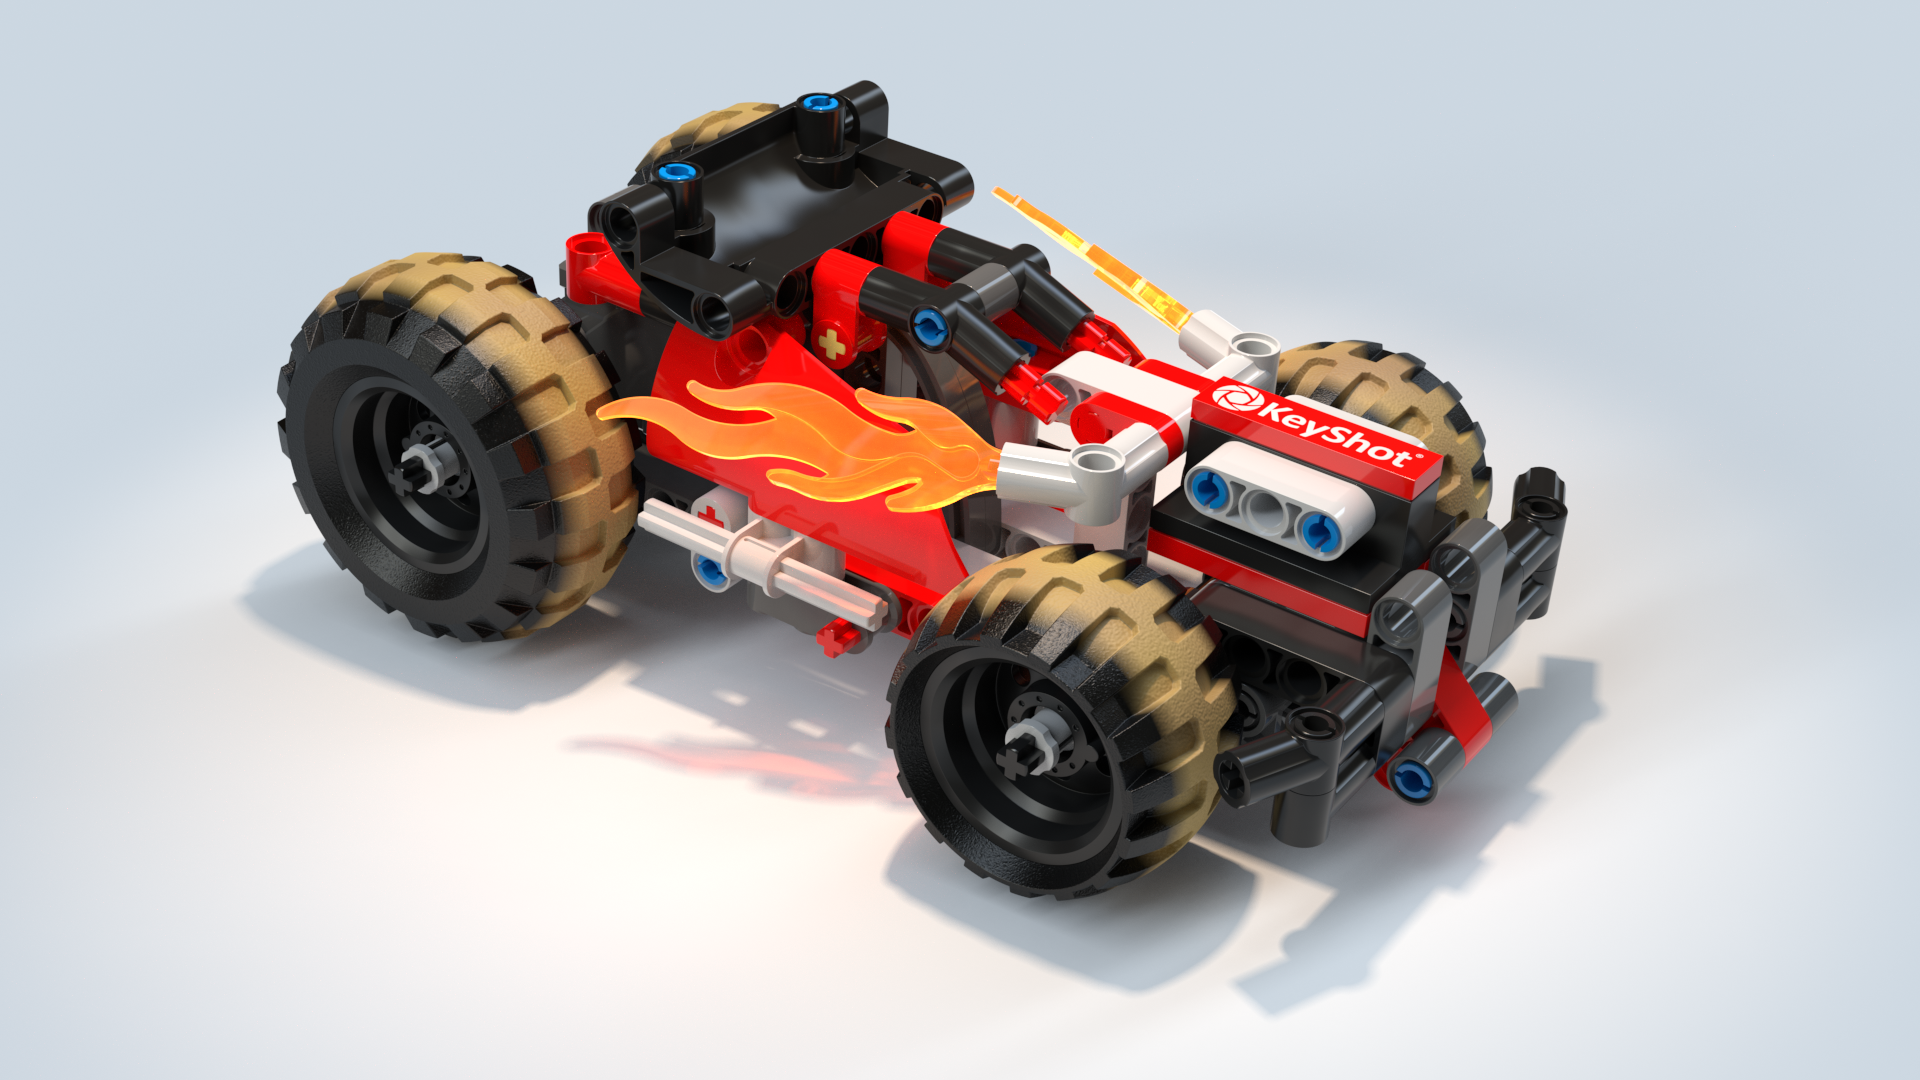
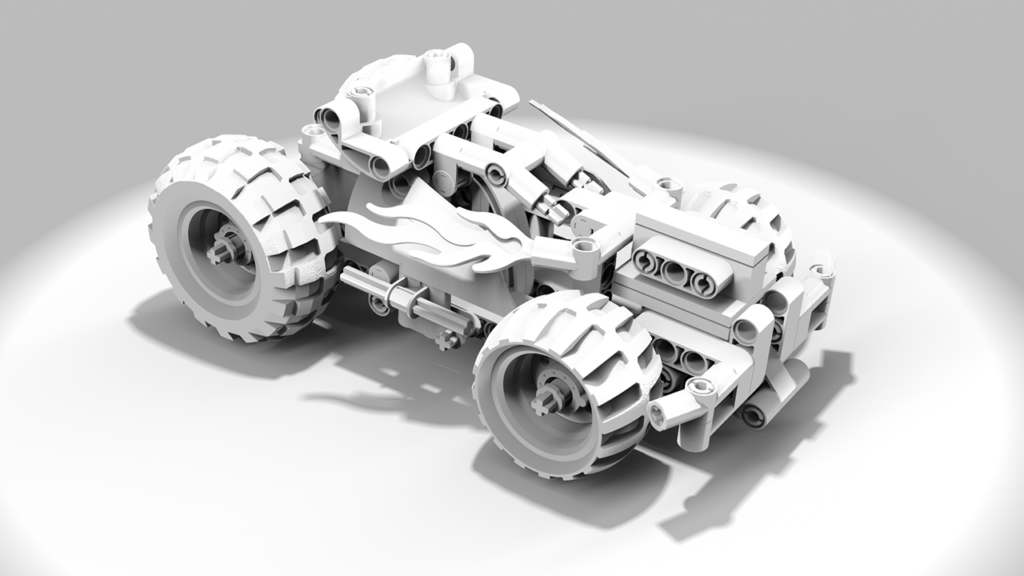
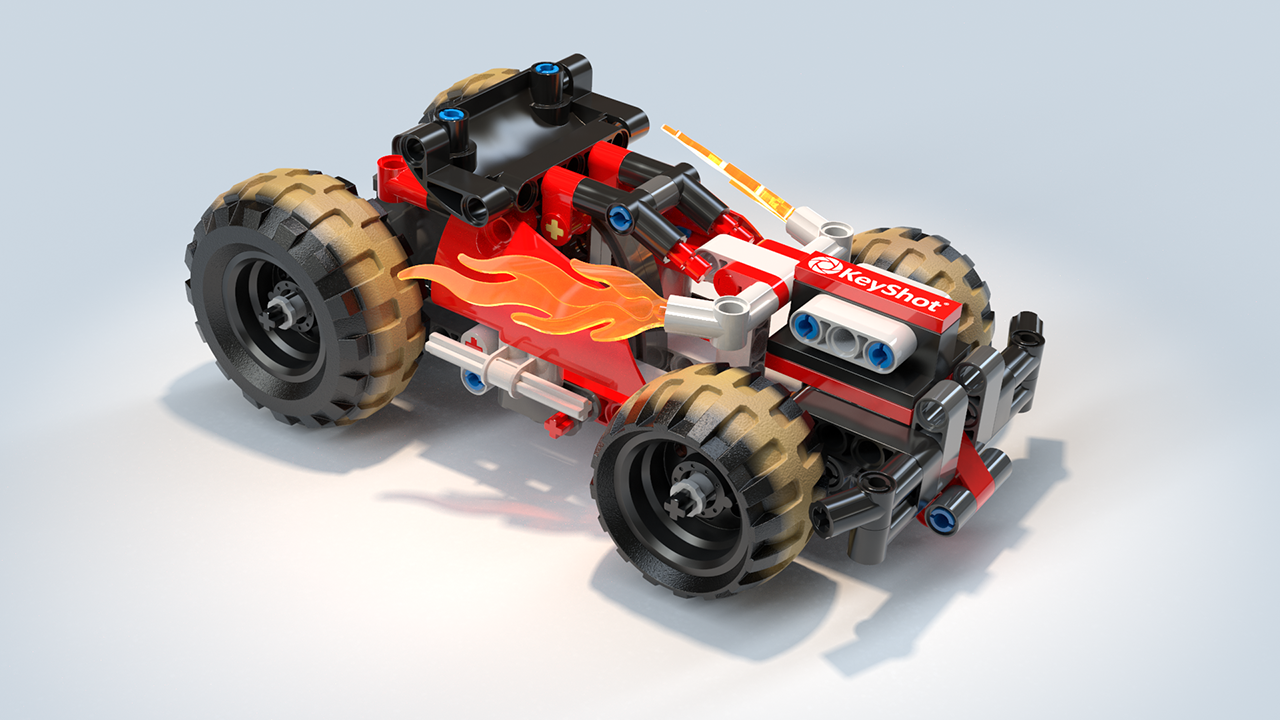
An image like the example below can be decomposed in individual render layers and render passes.
Render Layer Output
This option is only available if you have assigned parts or models to a render layer. Select All Render Layers checkbox to enable layer output. Select the gear icon ![]() to show the Render Layer Settings dialog and select the Alpha (Transparency) Mode for the layers.
to show the Render Layer Settings dialog and select the Alpha (Transparency) Mode for the layers.
Alpha Modes

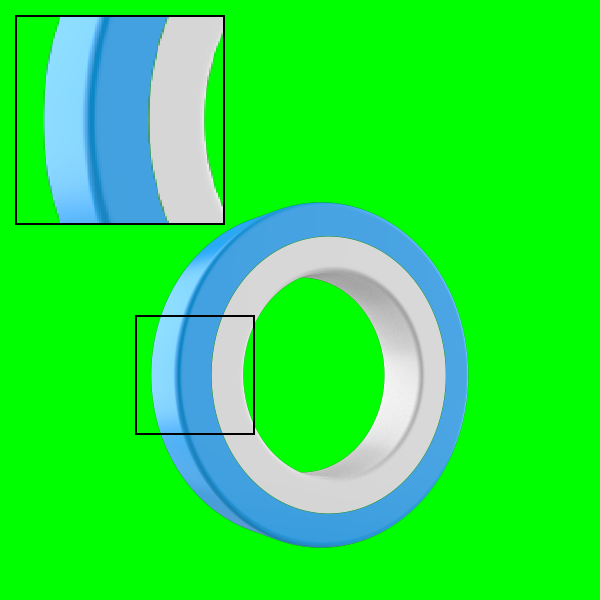
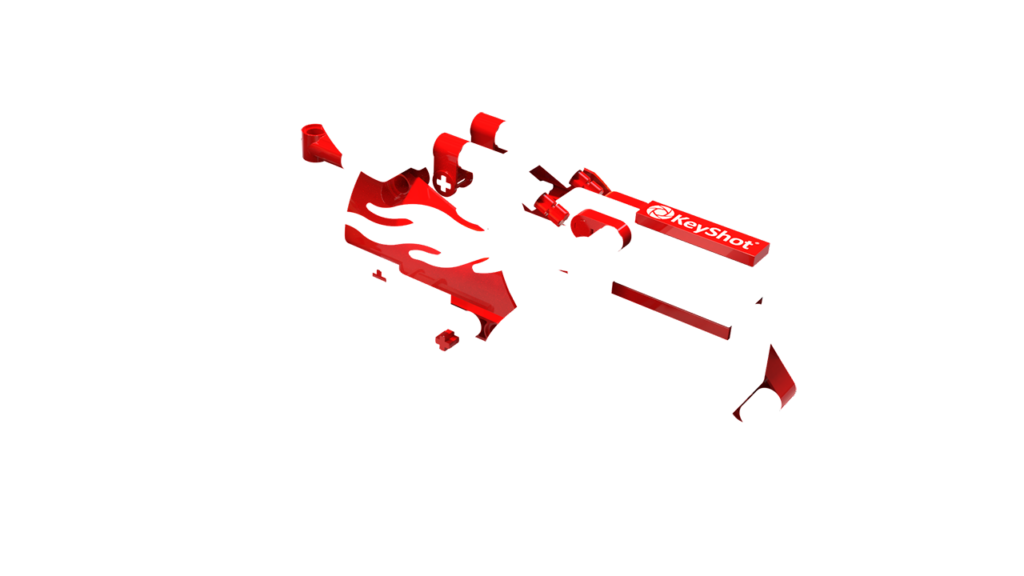
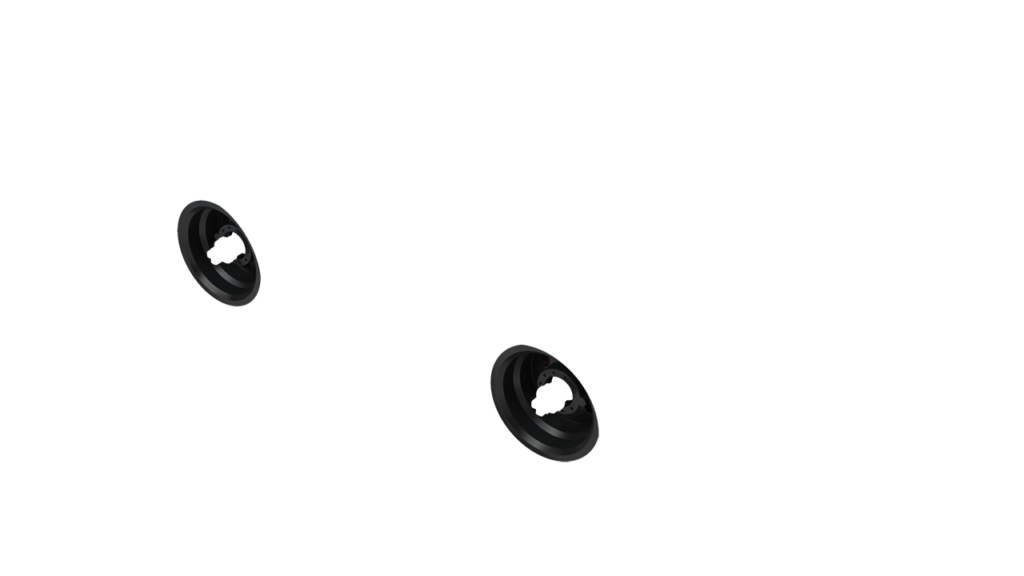
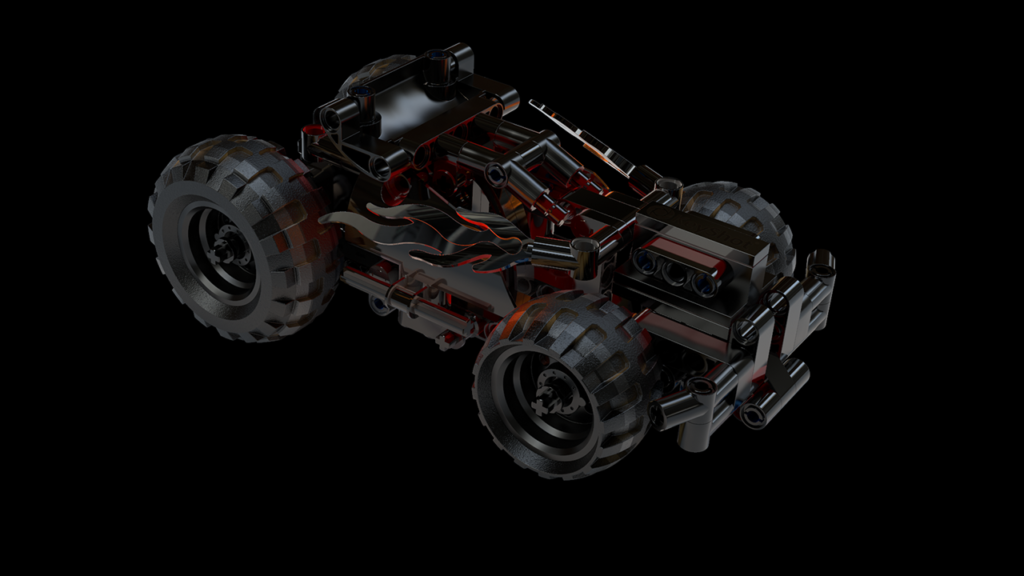
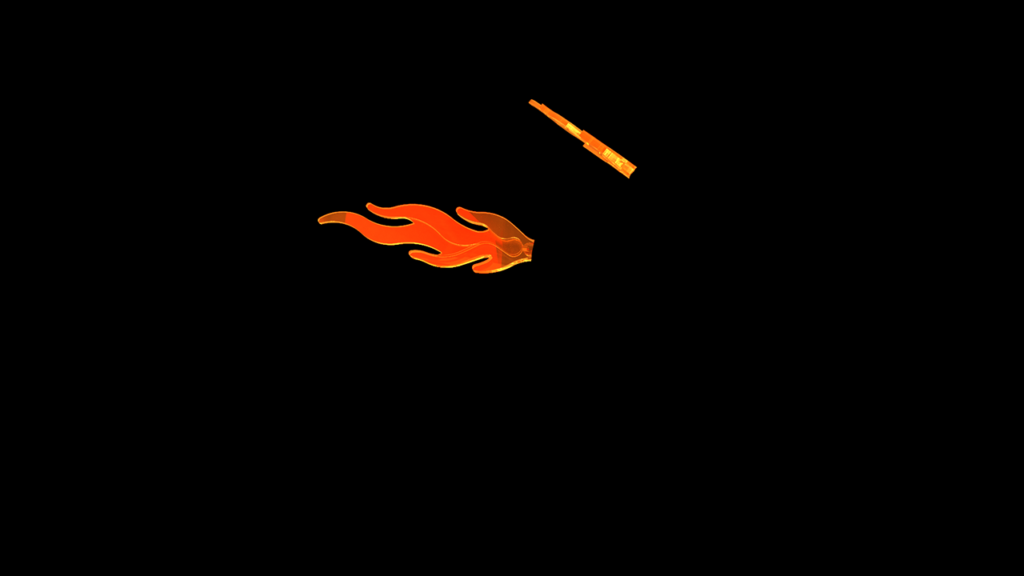
The outer (blue) and inner (white) rings were put on two separate Render Layers.
The Render Layer alpha modes include:
- Straight Alpha – Unmatted – (Default) This alpha mode extends the color at the edges of Render Layers to the semitransparent pixels of anti-aliased edges. This avoids any black fringing when compositing the Render Layers in post-processing. This alpha type is the default, as it provides the best results in most situations.
- Premultiplied Alpha – Matted with Black – This alpha mode premultiplies the Render Layer image by blending or matting any semi-transparent pixels, due to anti-aliasing, with black. This can cause black fringing when compositing the Render Layers, if the image editing application does not support specifying the black matting color and adjusting for it. In Photoshop, the issue can be remedied by trying one of the matting options, found under Image > Matting.
- Aliased – Opaque Fringe – This alpha mode extends the color at the edges of Render Layers and creates fully opaque (aliased) edges. This avoids any transparent gaps between adjoining Render Layers when compositing the Render Layers in post-processing. Due to the negative visual consequences of aliased edges, this mode should only be used if gaps between Render Layers are a dealbreaker. Rendering at higher resolutions will make the aliasing less noticeable though.

Note
Enabling the render layers option will render all render layers created. To create a render layer go to the Project window > Scene tab. Go to Properties > Render Layer to create a render layer. Select a part or group of parts and select the render layer you would like it to be on.
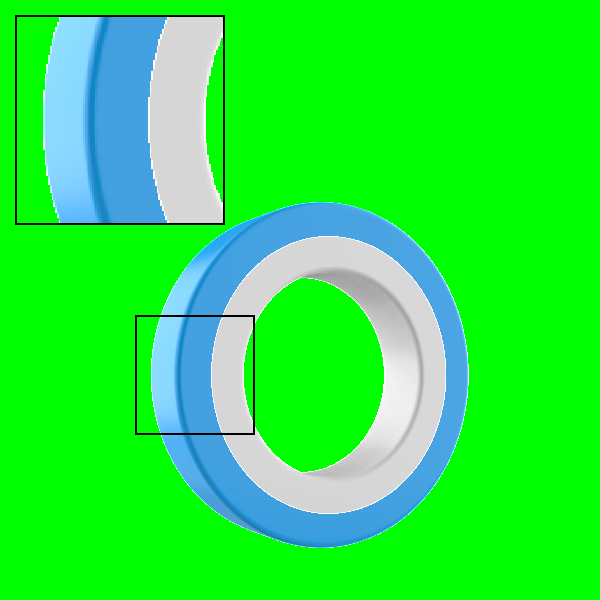
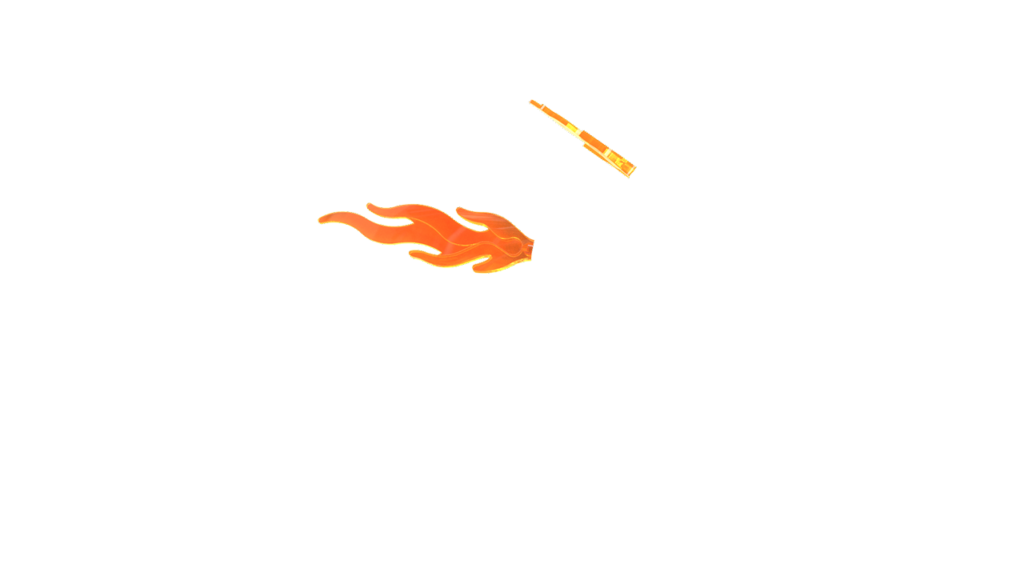
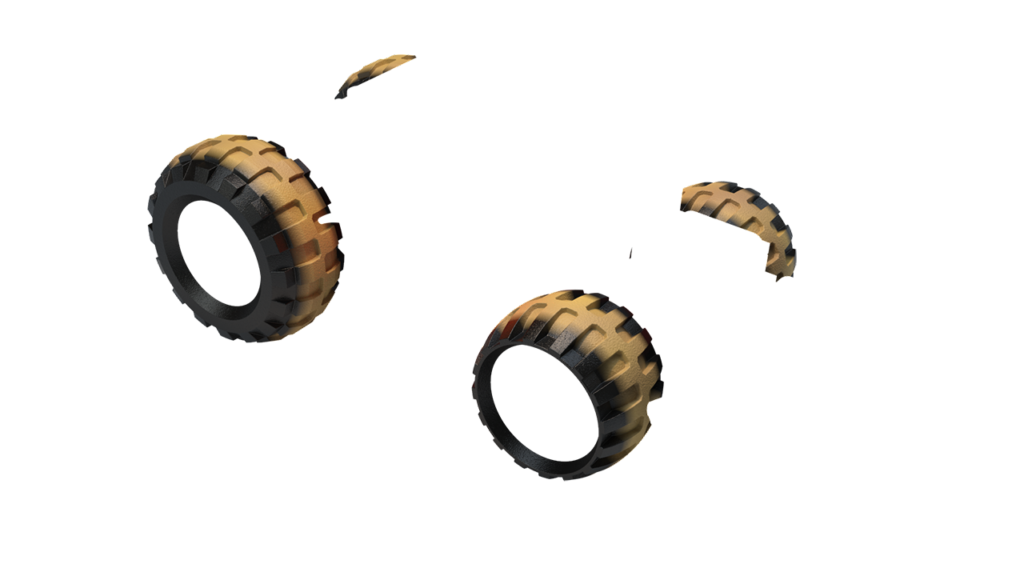
Render Layer example
The examples below show the different render layers of above scene.
Note
Image Style Adjustments are applied to Render Layers, apart from:
- Denoise
- Bloom
- Vignette
- Chromatic Aberration
Render Pass Output
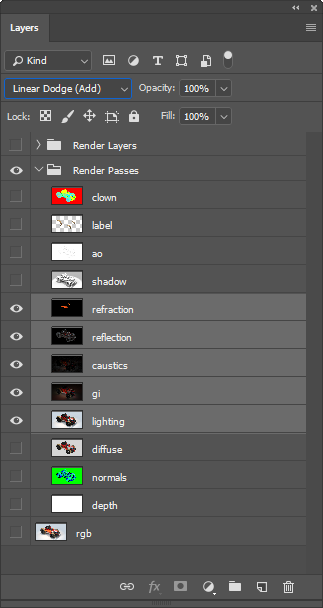
Select All Render Passes checkbox or the checkbox next to the individual pass type to enable pass output. Doing so will render the selected pass(es), along with the original image format specified on the output tab. Select the EXR or a PSD option from the Format drop-down menu to enable the Create Multi-Layer File checkbox. This will compile all your passes into a single file.
Note
Please note that when rendering to PSD (not 32-bit) with “Create Multi-Layer File” enabled, all Render Passes are embedded in a 8-bit PSD file. As a consequence, some information will be lost. If maximum flexibility is desired, PSD 32-bit should be used instead.
KeyShot Studio supports 13 types of render pass output, including:
Diffuse Pass
The Diffuse pass creates an image containing the diffuse color of all materials in the scene, including Labels.
Lighting Pass
The Lighting pass creates an image containing only the direct component of the lighting in the scene. Furthermore, this pass is multiplied by the materials’ diffuse color.
Global Illumination Pass
The Global Illumination pass creates an image containing only the indirect component of the lighting in the scene. Furthermore, this pass is multiplied by the materials’ diffuse color.
Note
When Global Illumination is disabled in the Lighting tab, the Global Illumination pass will result in a completely black image.
Caustics Pass
The Caustics pass creates an image containing the lighting from caustics in the scene.
Note
When Caustics is disabled in the Lighting tab, the Caustics pass will result in a completely black image.
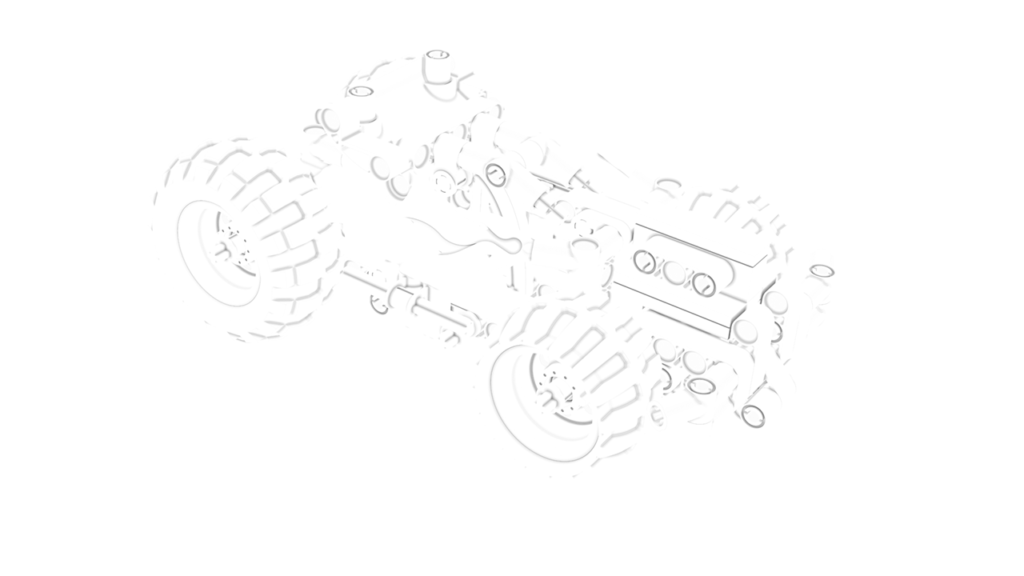
Raw Pass
The Raw pass creates an image without any Image Styles applied. It is output in the EXR format.
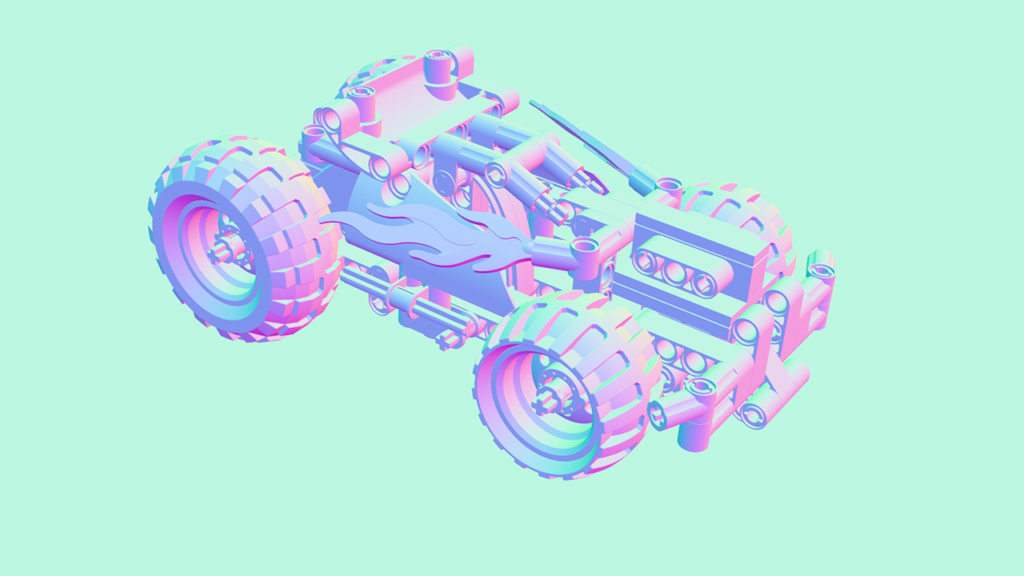
Reflection Pass
The Reflection pass creates an image containing the reflections of all reflective materials in the scene.
Refraction Pass
The Refraction pass creates an image containing the refractions of all refractive materials in the scene.
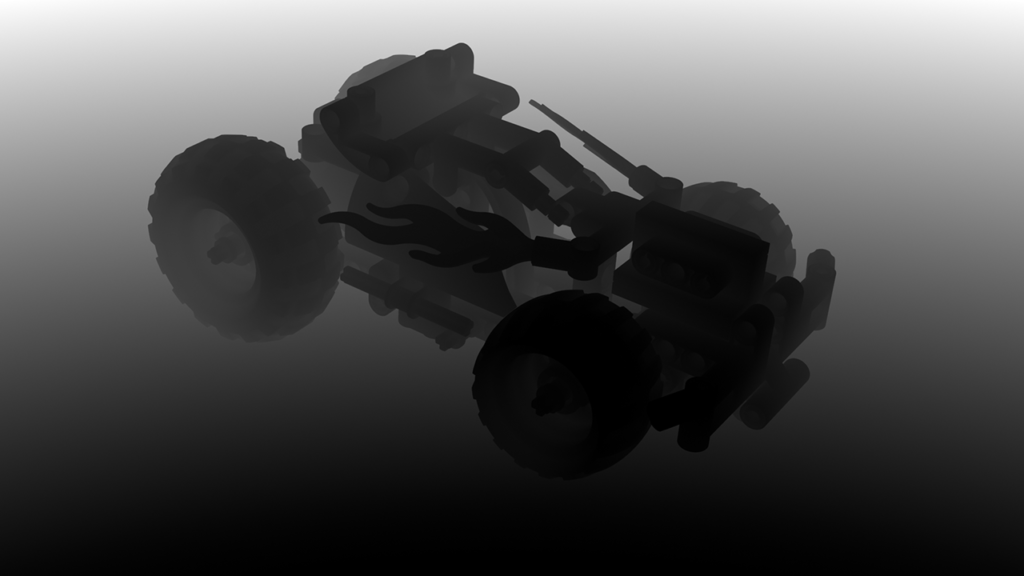
Shadow Pass
The Shadow pass creates an image containing shadows from all light sources in the scene, both HDRI lighting and physical lights (light source materials).
Ambient Occlusion Pass
The Ambient Occlusion pass creates an image where unoccluded surfaces are colored white, and occluded surfaces black. This pass can be used in compositing to accentuate crevices and internal model edges.
Clown Pass
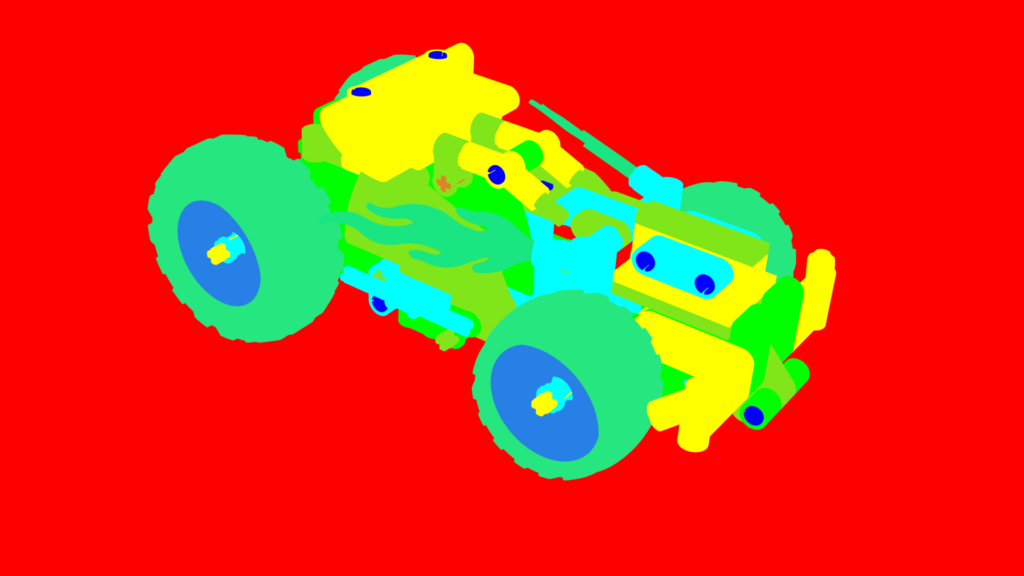
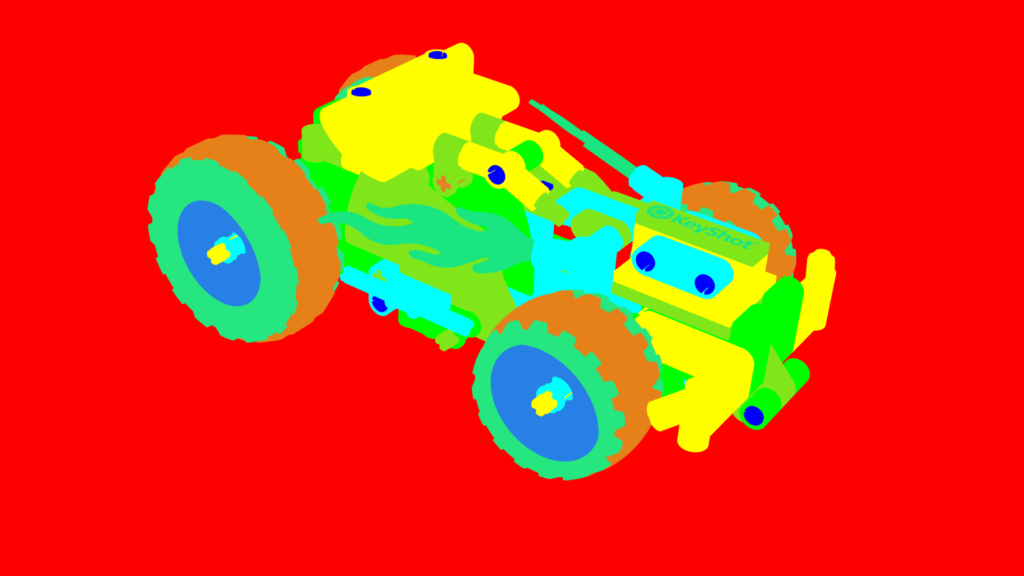
The Clown Pass creates an image where each material is displayed as a flat color for easy selection and masking in an image editor or compositor. When the Clown Pass is enabled you have the option to “Separate Labels in Clown Pass” which can be accessed from the ![]() icon.
icon.
Color differentiation follows these rules:
- Pure primary rgb colors are assigned first, then secondary colors, then tertiary.
- The colors are only distributed among objects that are set to show in the currently active Model Set(s).
- This means that the less materials that are active the better the clown results will be.
Depth Pass

The Depth pass creates a depth map, which is an image that contains information relating to the distance of surfaces to the camera. Depth maps are used in other applications like Adobe Photoshop and Adobe After effects to simulate effects like depth of field.
Tip
Since each pixel in the Depth pass represents an actual distance from the camera to the model surface, this pass might display with unexpected results in an image editor. Typically, the Depth pass will show as completely white. To reveal a greyscale image in Photoshop you can perform the folowing steps: Image > Adjustments > HDR Toning > Method: Equalize Histogram.
Normals Pass
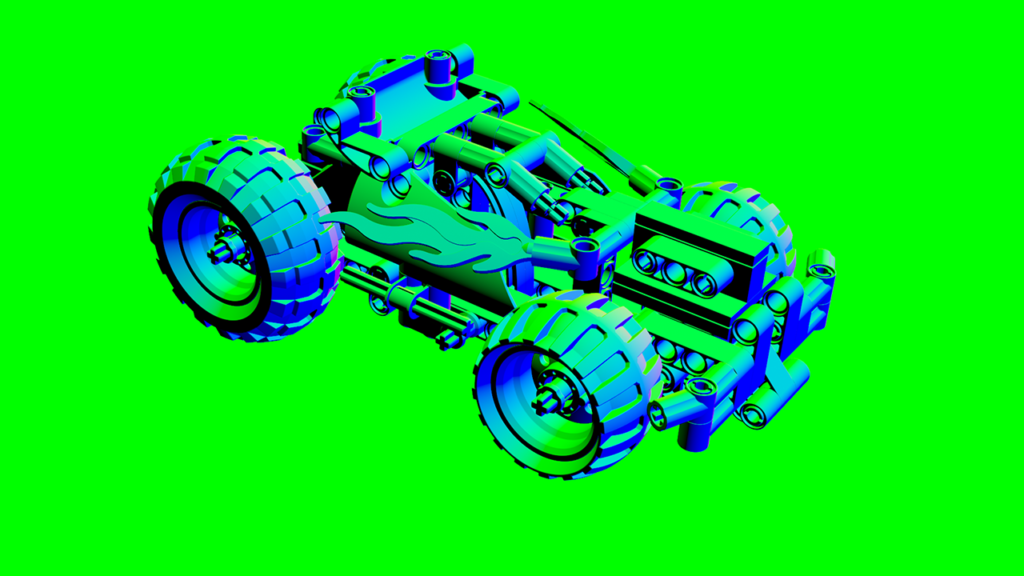
The Normals pass creates an image where each pixel represents the geometry’s orientation, using the surface normals in the scene. By default, the normals are generated in world space (relative to the scene). When the Normals Pass is enabled you have the option to enable “Camera Space Normals” which can be accessed from the ![]() icon.
icon.
A Normals pass can be helpful for quick relighting in post without having to rerender the scene.
Tip
A Normals pass with “Camera Space Normals” can directly be used as a normal map for bump on materials.
Labels Pass

When this is enabled all Labels will be output on a single image with alpha.
Tip
A Clown pass with “Separate Labels in Clown Pass” enabled can be used to select or mask the individual Labels.
Compositing examples with Render Passes
Render Passes can be used in various ways during post-processing. Below are two basic examples of compositing workflows with Render Passes, using Photoshop to explain the concepts.
Note
Some discrepancies may exist between the rendered still image and a composite using Render Passes. Furthermore, Render Passes do not capture some of the more complex material effects like translucency (Translucent material).
Reconstruct Beauty image from Passes
Passes can be used to reconstruct the rendered still image, commonly called the “beauty pass” in compositing workflows. Adding together the Lighting, Global Illumination, Caustics, Reflection and Refraction Passes allow to achieve the beauty image.
In Photoshop, adding is done by setting each pass layer’s blending mode to “Linear Dodge (Add)”.


Adjust Beauty image with Passes
The same passes from the workflow above can also be used to strengthen or weaken their effect on the beauty image.
In Photoshop, strengthening the effect of a pass is done by setting the pass layer’s blending mode to “Linear Dodge (Add)”. Weakening the effect is done by setting the blending mode to “Subtract”. In both cases, the beauty image should be the base layer, positioned below the passes.
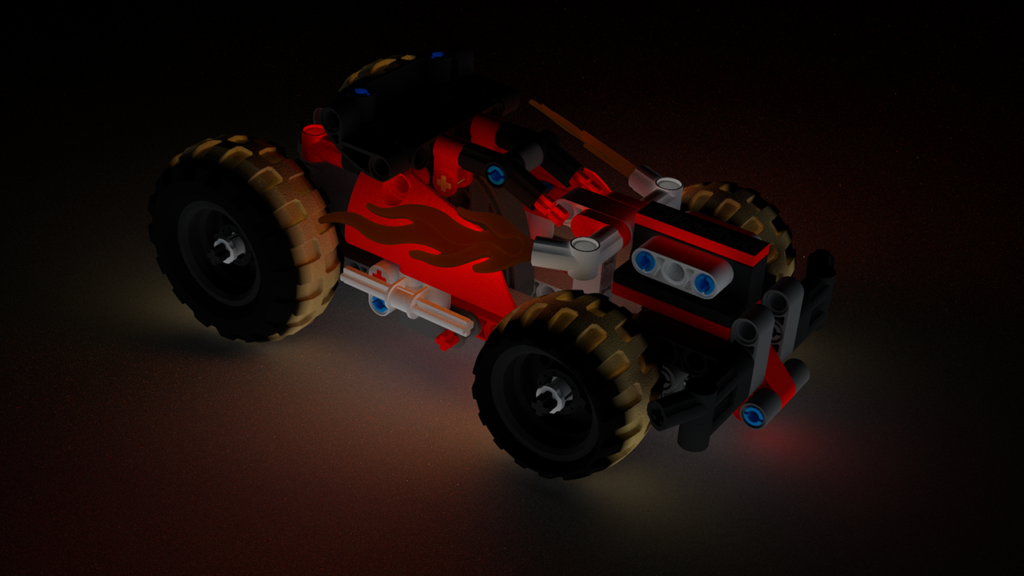
The example below shows the effect of adding the Reflection pass to the beauty image.

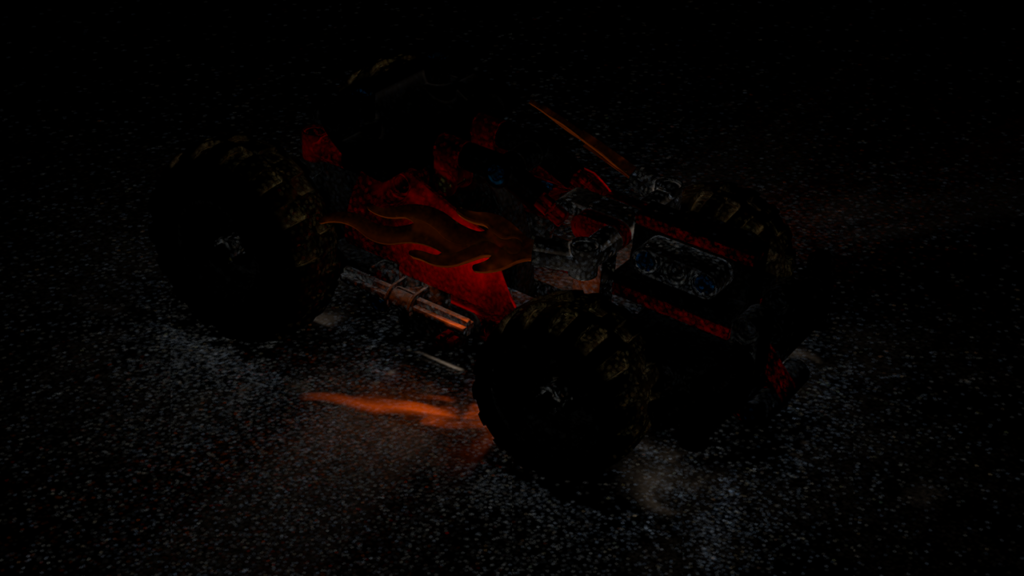
The example below shows the effect of subtracting the Global Illumination pass from the beauty image.
Formats for Render Layers and Passes
Below is an overview of the image formats of Render Layers and Passes for the different output formats.
| Output Format | Render Layer Format | Render Pass Format |
|---|---|---|
| PNG | PNG | EXR |
| JPEG | PNG | EXR |
| EXR | EXR | EXR |
| TIFF | TIFF | EXR |
| TIFF 32-bit | TIFF 32-bit | EXR |
| PSD | Last used format | EXR |
| PSD 32-bit | Last used format | EXR |
Notes
- The Clown Pass is always saved as a separate PNG file (except for PSD and EXR with “Create Multi-Layer File” enabled).
- The Depth Pass is always saved as a separate EXR file except for PSD and EXR with “Create Multi-Layer File” enabled).
- When rendering to PSD or EXR with “Create Multi-Layer File” checked, all Render Layers and Passes will be embedded in the file.