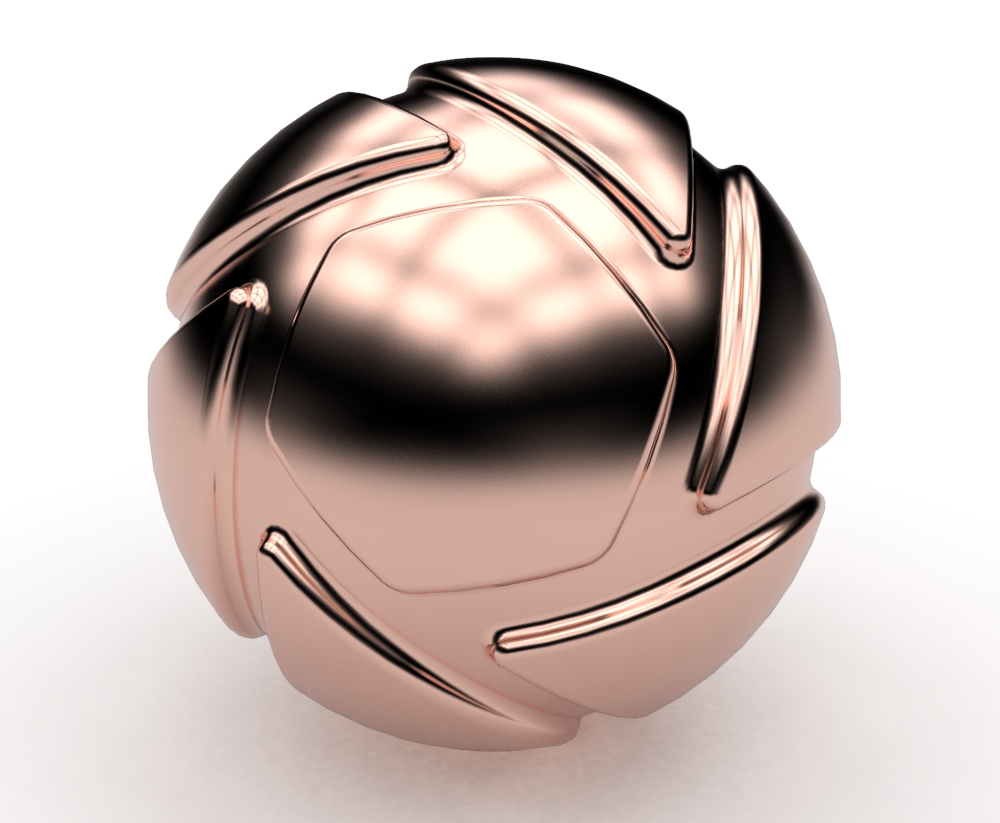
The Metal material type is a simple way to create polished or rough looking metal materials. It provides quick color adjustment, metal presets and simple settings for quick creation of metal materials.
Metal Type
The Metal material type gives you the option to control the metal by Color or by Measured material preset or by importing a complex IOR file.
Color
The Color option provides a quick preset metal appearance with control over Color and Roughness.
Color
This setting is visible when Metal Type is set to Color. This controls the color of reflected light on the metal surface. Select the color box to display the Color Picker and select the desired color.
Roughness
This adds microscopic levels of imperfections to the surface of the material when the values are increased. When this is set to 0, a material will appear perfectly smooth and polished. When the value is increased, the material will appear more rough as light is diffused across the surface.
You can also add a roughness texture by clicking the ![]() texture icon next to the roughness setting. Click the texture thumbnail to view and adjust the texture settings or right-click and select Delete to remove it.
texture icon next to the roughness setting. Click the texture thumbnail to view and adjust the texture settings or right-click and select Delete to remove it.
Some of the Library materials have a slider icon ![]() next to the Roughness setting, in these cases extra adjustment controls have been added for finer tuning of the roughness.
next to the Roughness setting, in these cases extra adjustment controls have been added for finer tuning of the roughness.
Samples
A low samples setting (8 or lower) will tend to make the surface look more noisy, which will give a more imperfect and rough look. As you increase the value, the noise will even out more and provide a more evenly distributed roughness.
Measured
Metal Presets
The Measured option includes 13 scientifically accurate metal presets including Aluminum, Brass, Chromium, Copper, Gold, Iron Magnesium, Nickel, Niobium, Platinum, Silver, Titanium, and Zinc, along with the ability to load Complex IOR files (.ior, .nk, .csv). All metal presets and Custom IOR files provide the additional ability to add an anodized coating with control of Film Refractive Index, Film Extinction Coefficient, and Film Thickness.
Roughness
This adds microscopic levels of imperfections to the surface of the material when the values are increased. When this is set to 0, a material will appear perfectly smooth and polished. When the value is increased, the material will appear more rough as light is diffused across the surface.
Samples
A low samples setting (8 or lower) will tend to make the surface look more noisy, which will give a more imperfect and rough look. As you increase the value, the noise will even out more and provide a more evenly distributed roughness.
Anodized
Anodized settings are available for all metal presets selected from the Metal Type dropdown as well as loaded Complex IOR files. The colors you see when Anodized is enabled are the result of light interfering with itself in the anodized film and can therefore be hard to predict the outcome. However, the following setting descriptions will help you learn better how to control it.
Film Refractive Index
The Film Refractive Index setting for anodized metals provides more or less reflection on the surface. Increase the value to get more reflection intensity. The actual film color will be affected by the Refractive Index. However, you can shift the colors with the Film Thickness setting, so typically you will focus only on finding the desired amount of reflection with the Film Refractive Index setting.
Film Extinction Coefficient
The Film Refractive Index and Film Extinction Coefficient determines how light reflects and refracts through the thin film on the metal. The Film Extinction Coefficient controls the absorption of light through the film. For small to moderate values, a positive extinction coefficient will darken the color but large values will lead to a bright white metallic reflection. Use an extinction coefficient of 0 for dielectric coatings and use a non-zero extinction coefficient for metallic coatings.
Film Thickness
Changing the Film Thickness setting will shift the colors you see for the metal with Anodized enabled. Increasing the setting to a very high value will result in the effect of layers of colored rings on the surface. It is generally a good idea to stay within a range of 100-1000 nm.
Controlling Anodized Color
In general, a larger Film Thickness/Refractive Index leads to more colors and an Film Extinction Coefficient will darken colors and dampen variation. For all the metal presets, even if anodized is enabled or not, the color can depend on the viewing angle (just as with the color of real-world metals). You will notice slight color tints at grazing angles, especially for Gold and Aluminum.