Applying a Point Light to geometry replaces it with a point located in the parts center.
Color
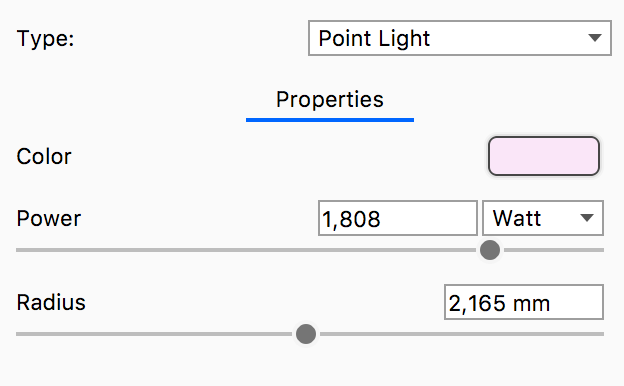
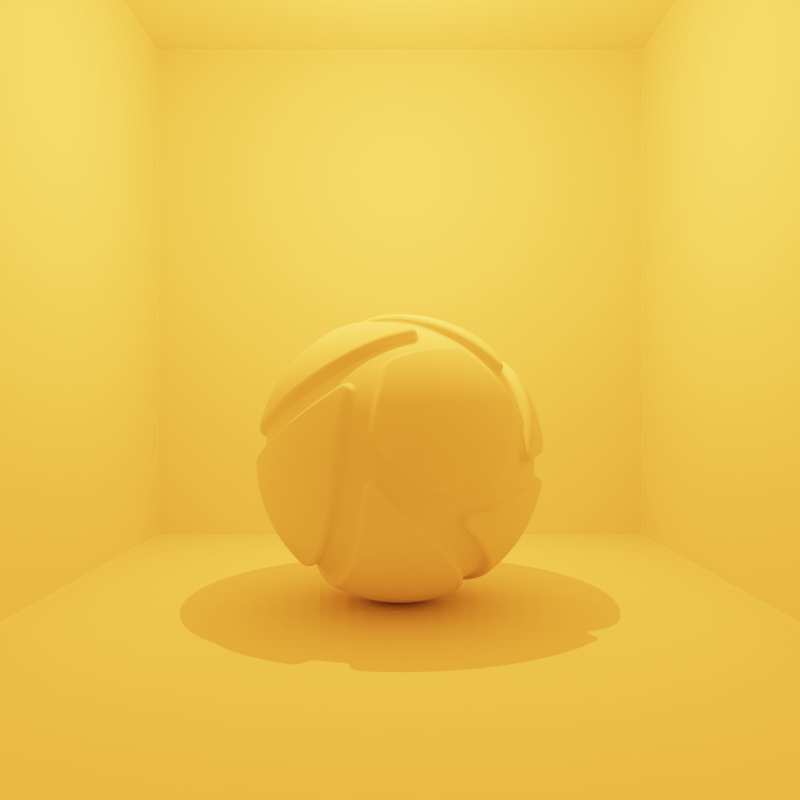
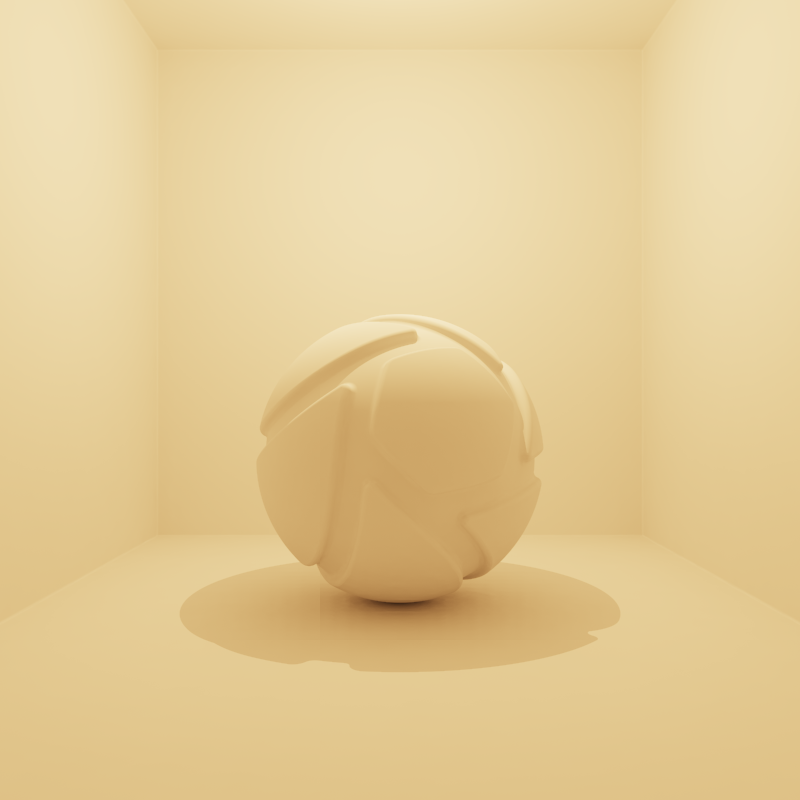
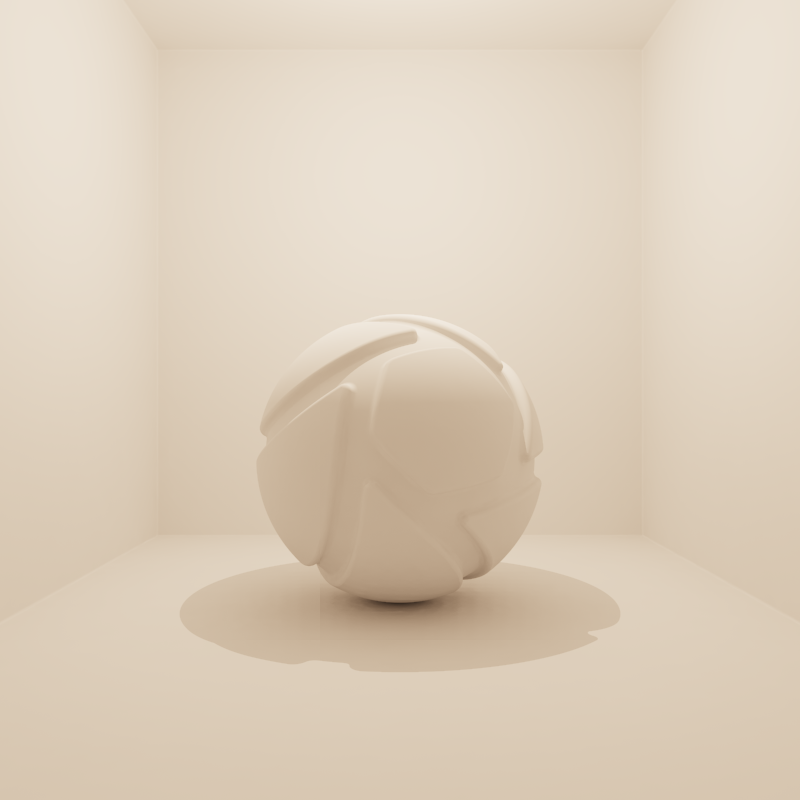
Here, you can choose the color the light will cast. For accurate lighting colors, use the Kelvin scale to select accurate lighting temperatures.
Power
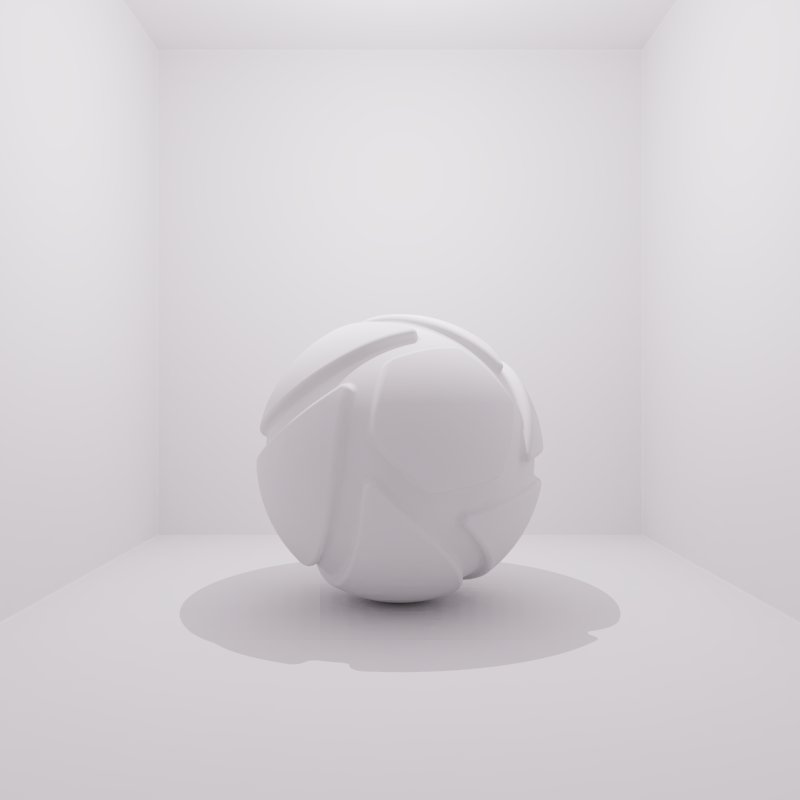
Power determines how strong the light source is. It can be set in Lumen or Watt, where Lumen is recommended for the most accurate result.
Radius
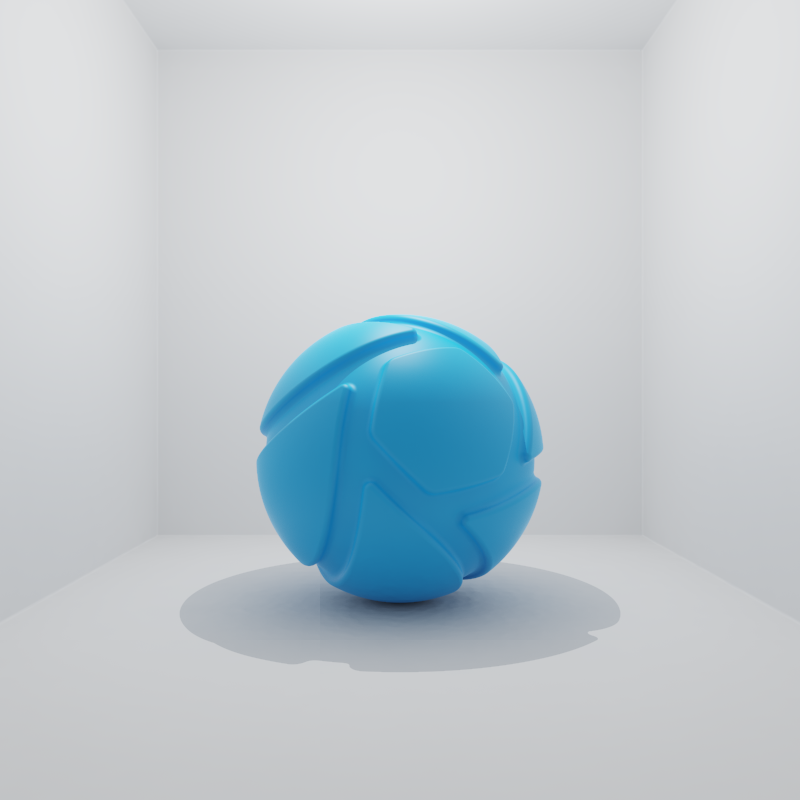
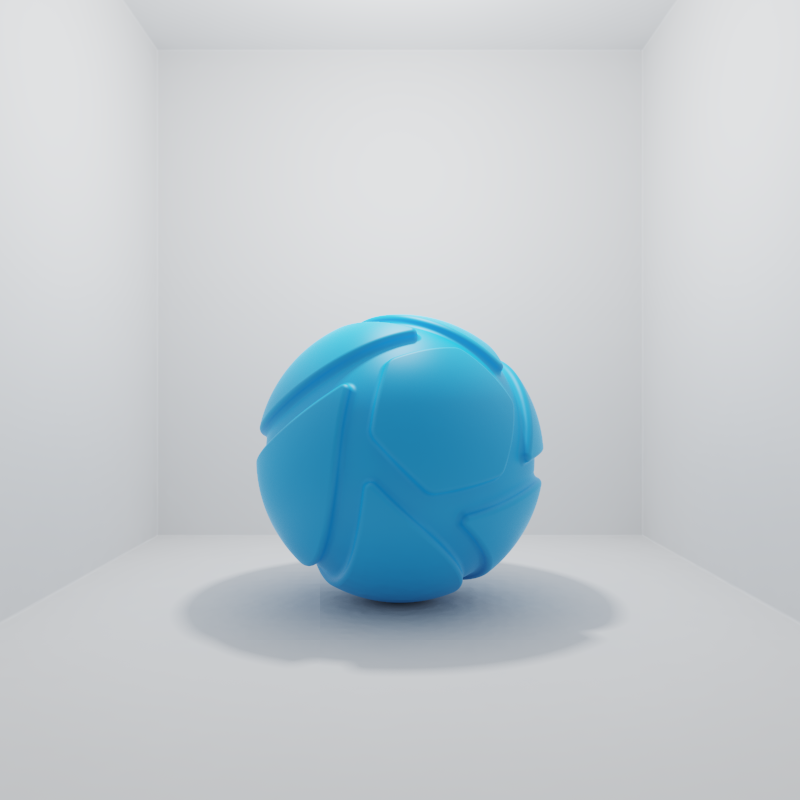
Adjust the radius to control the softness of shadows cast from this light. A large radius gives soft shadows, while a small radius results in harder shadows with crisply defined, sharp edges.
(The unit depends on the Scene Units.)
Note
The effect of radius depends on the size of models. Larger models may require a higher radius value for a similar effect.
Point Light Gizmo
If you have enabled Show Light sources in the View menu (hotkey: L) you can adjust the your point light directly in the Real-time view. Simply select the light in the Real-time view, Scene tree or Light Manager, and gizmo becomes “active”.
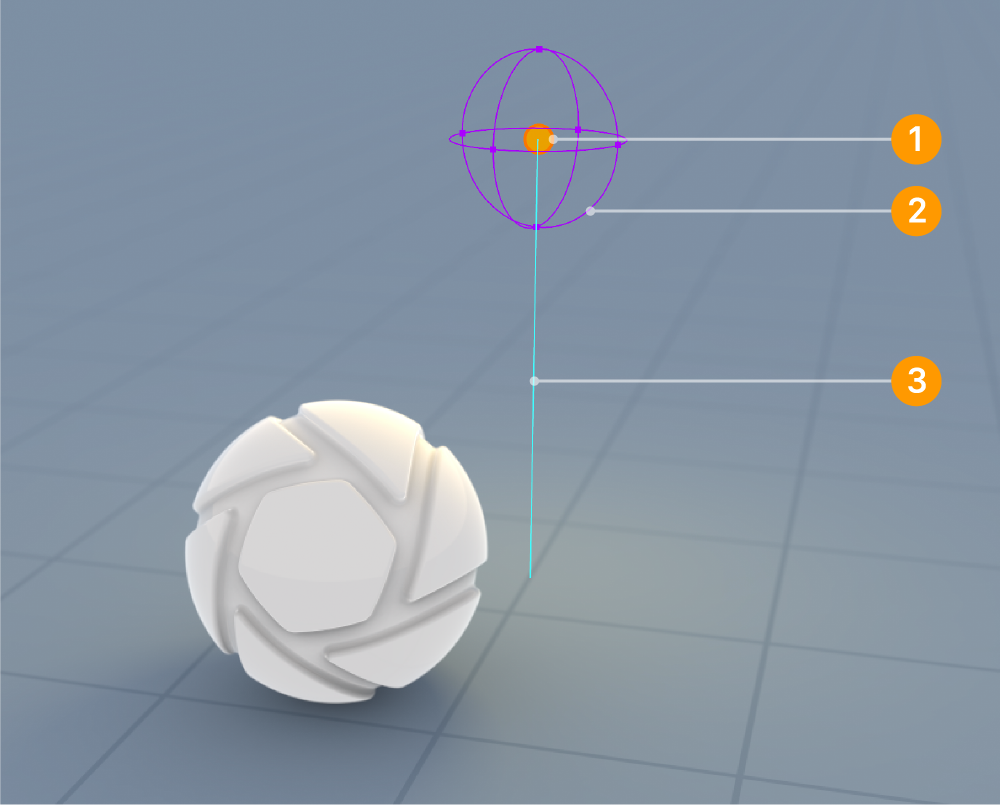
- The center color shows the color of the light source
- The purple sphere represents the radius parameter. Drag one of the handles to adjust the radius. If the purple sphere is not visible it is probably because, the radius value is at 0, try to click and drag from the center of the light to adjust the size.
- The blue line projects the position of the point light onto the plane.
