The Roughness parameter is another setting that will be found on multiple material types in KeyShot Studio.
This is a slider that will add microscopic levels of imperfections to surfaces to create rough materials. The diagram that explains the Diffuse parameter can also help explain why materials appear rough. When roughness is added, light rays are scattered across the surface which causes specular reflections to break up. Due to the additional light scattering, rough materials are more challenging and take more processing power to render than perfectly reflective surfaces.
Samples
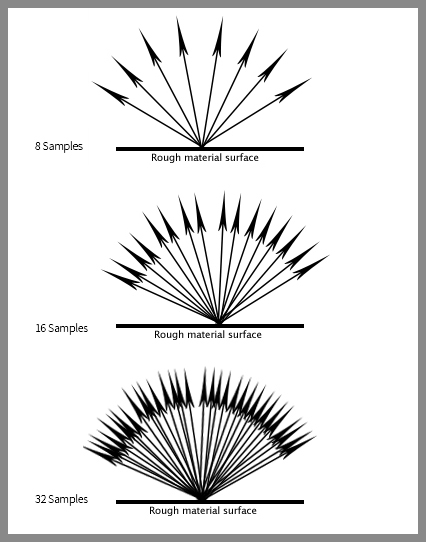
Since glossy materials with some roughness are more complex to render, KeyShot Studio has a setting built in that can improve the accuracy of these rough materials. This setting is called Samples. This allows you to set how many rays are emitted from a pixel in a rendered image. Each ray collects information from its surrounding environment and returns this information back to the pixel to determine the final appearance. You will see the Samples slider when you click the expand arrow next to the Roughness slider.

Note
Interior Mode uses a different and more intelligent approach to samples than the one Product mode uses. The improved approach means that customization of Samples only has effect in Product Mode as it is not necessary in Interior Mode.
Roughness Texture
If the Roughness parameter has a checkered box ![]() next to it, this means a texture can be applied to control the glossy appearance of the surface. When a texture is applied, dark areas of the texture will have a glossy appearance and white areas of the texture will have a matte appearance.
next to it, this means a texture can be applied to control the glossy appearance of the surface. When a texture is applied, dark areas of the texture will have a glossy appearance and white areas of the texture will have a matte appearance.
Read more on the difference between Roughness Textures and Bump Maps here.