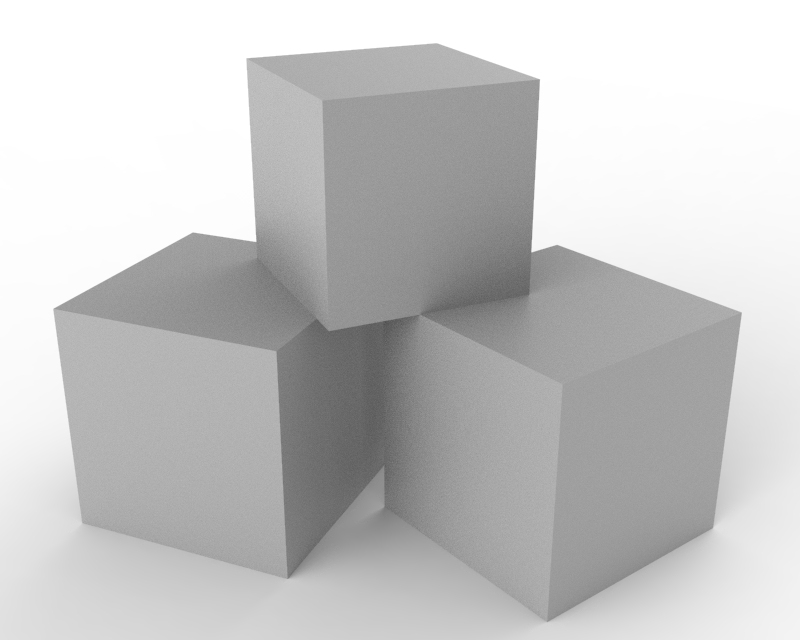
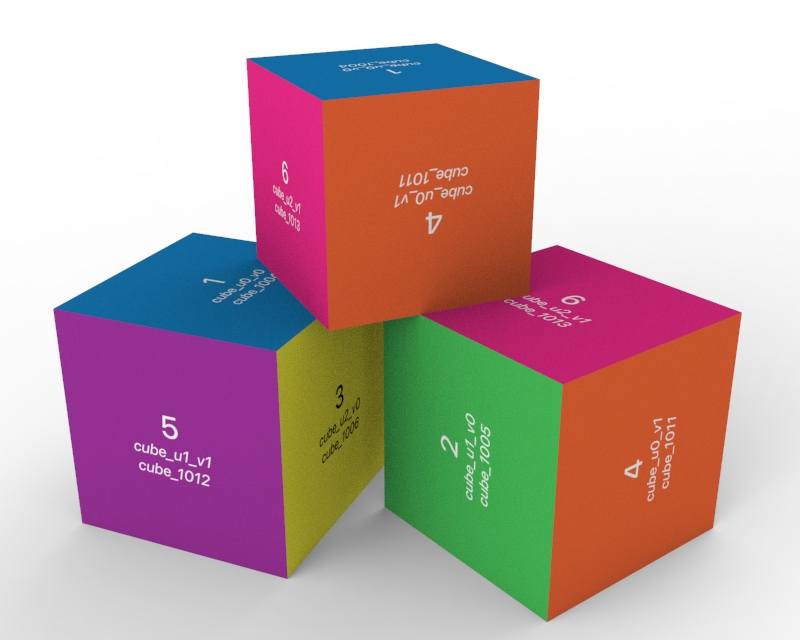
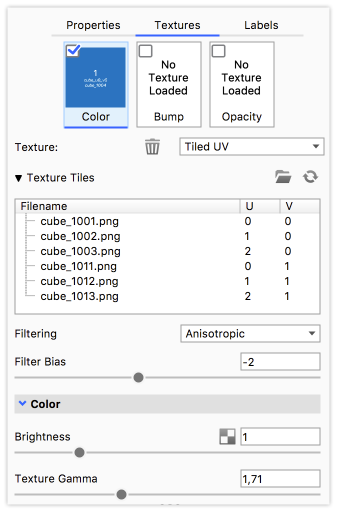
A Tiled UV texture is a type of Image Map. Tiled UV textures and their settings can be viewed in the Project window > Materials > Textures tab.
Tiled UV is KeyShot Studio's approach to UDIM where multiple textures are positioned on the model using UV coordinates. The Tiled UV texture requires that the model have been made ready for it in your modelling software.


Applying Tiled UV

Select your material and add a Tiled UV texture to e.g. the diffuse map.
Browse and select one of the texture tiles. If the tiles are properly named KeyShot Studio will recognize the rest of the tiles and add them automatically.
Texture Tiles
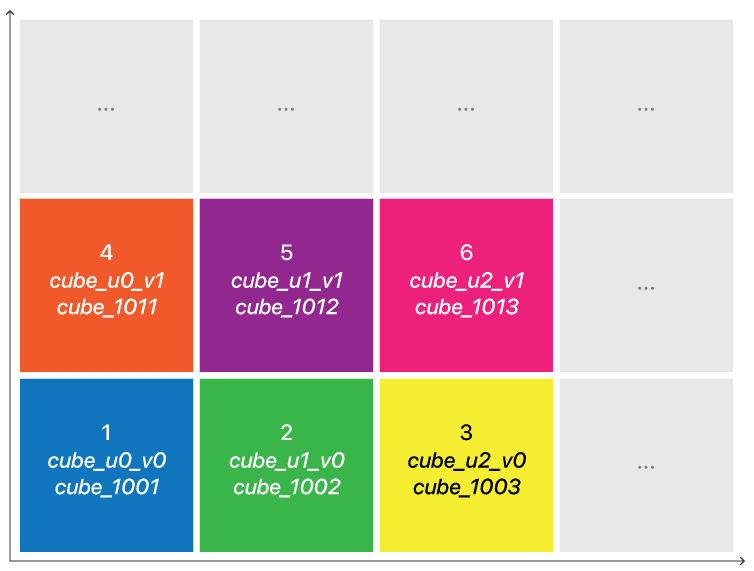
To be sure the tiles are recognized and positioned correctly the tiles need to be named according to one of these conventions:
- NameuXXvYY – Where you can choose to add a separator between the name and U and V values (e.g. cube_u0_v0, cube_u1_v0 …)
- NameUDIM – Where you can choose to add a separator between the name and the UDIM number (e.g. cube_1001, cube_1002 …)
Filtering
For Tiled UV texture you can control the texture filtering for each texture directly:
- Trilinear is the simplest and fastest method, but may result in excessive blurring in certain cases.
- Anisotropic is higher quality than trilinear and should give less blurring and sharper textures in most cases
- Elliptic is the most accurate filtering but can be quite slow.
Filter Bias
Adjust the filtering method to give more blurry textures (negative values) or sharper textures (positive values).
Color
Brightness
Adjust the brightness of the texture tiles.
Texture Gamma
Specify the gamma of the source texture. If you use linear color textures set it to 1. If there is doubt about this value, it is likely 2.0 or 2.2. Can also be used as an ad-hoc control of the contrast of the texture.
Note
Most texture maps are created in 32 bit, which are not gamma corrected. This is why the default gamma value is set to 1. If you are using gamma corrected textures you will need to adjust the Gamma in order to get the right appearance of the colors.