Uploading Resources
To upload your custom resources to the Cloud Library,
- Select the resource(s) you want to upload and click the Upload button on the bottom right of the KeyShot Studio library panel. Alternatively you can right-click the resources and select Upload To Cloud Library.
- If you are not yet logged in you will be asked to do so.
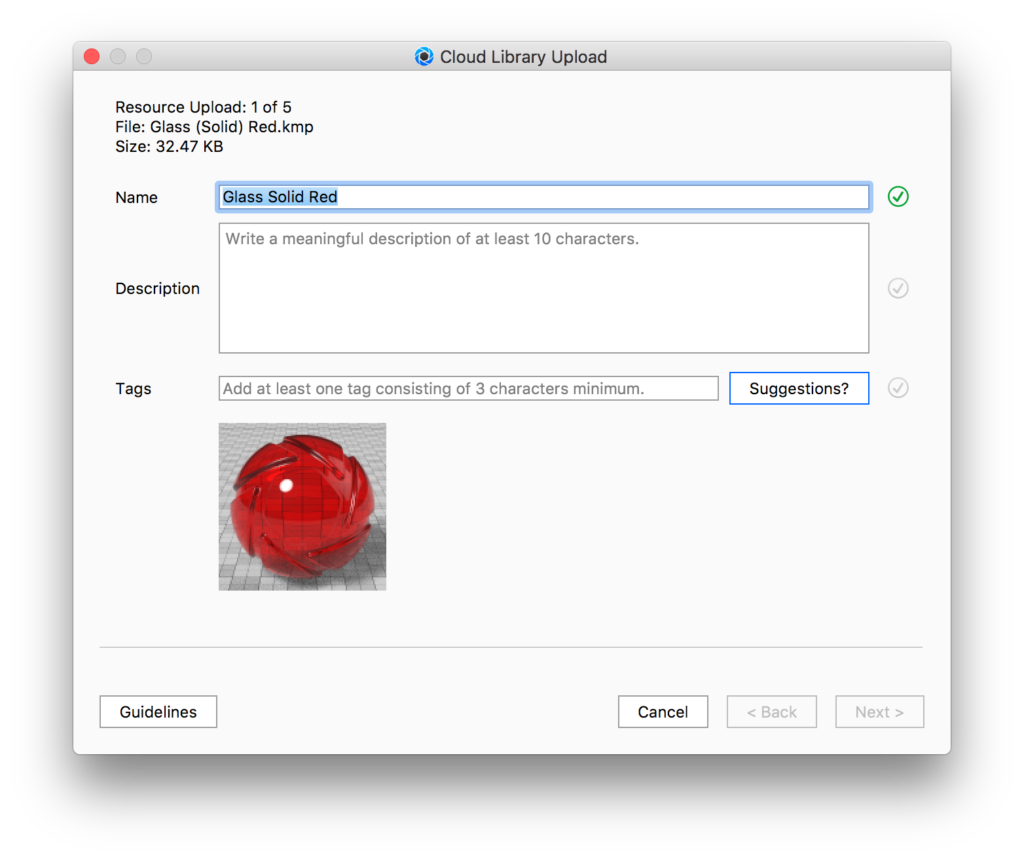
- Describe the resource, edit the name if necessary and add tags to help other users search for your resource. If you don’t know what tags to use, you can click Suggestions and KeyShot Studio will auto-generate tags for you. The check mark icon next to the input fields will let you know if your input is OK.
- Click next to input information about the next resource, if any.
- The final step displays a confirmation of resources to be uploaded – Click Upload to send your resource to the cloud.
Note
The name may not include special characters and these will be ignored when typed.
Upload Guidelines
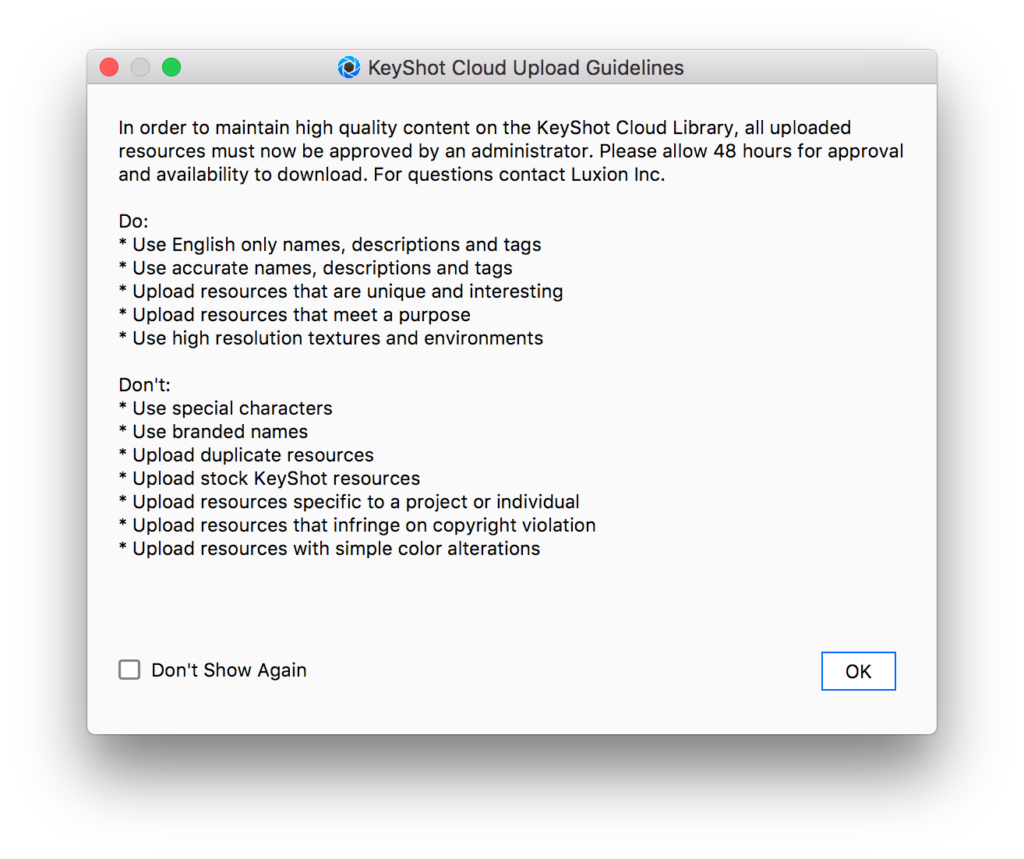
To ensure the quality of resources in the KeyShot Cloud remains high, all resources will have to be approved by KeyShot staff before they will be available on the Cloud. This will be done within 48 hours.
The approval procedure considers both the quality of the resource and the name and description. If you want to know the guidelines you can always find them in the bottom left corner of the upload dialog.
It is not possible to upload KeyShot Studio stock resources, Procedural Environments, and Multi-Materials to KeyShot Cloud.
Downloading Resources
To download a resource, click the blue Download button on the resource in the overview or in the resource details. You can also drag-and-drop the resource on the Real-Time View.
If you are accessing KeyShot Cloud outside KeyShot Studio, KeyShot Studio will be launched and the downloaded resource can be found in the Download folder.
The resource will be automatically downloaded to your downloads folder in the appropriate tab, and you will then be able to move it to an existing or custom folder.