Render Layer Output

This option is only available if you have assigned parts or models to a render layer. Select All Render Layers checkbox to enable layer output. Select the gear icon  to show the Render Layer Settings dialog and select the Alpha (Transparency) Mode for the layers.

Alpha Modes

The Render Layer alpha modes include:

The example shows the Still Image rendering of two interlocking rings.
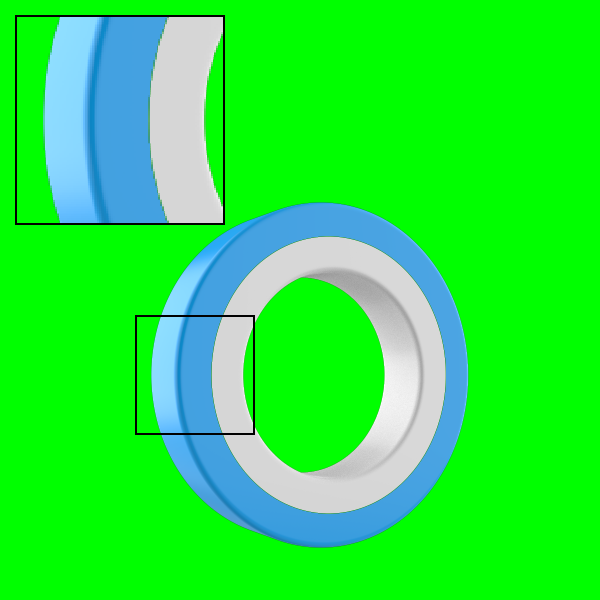
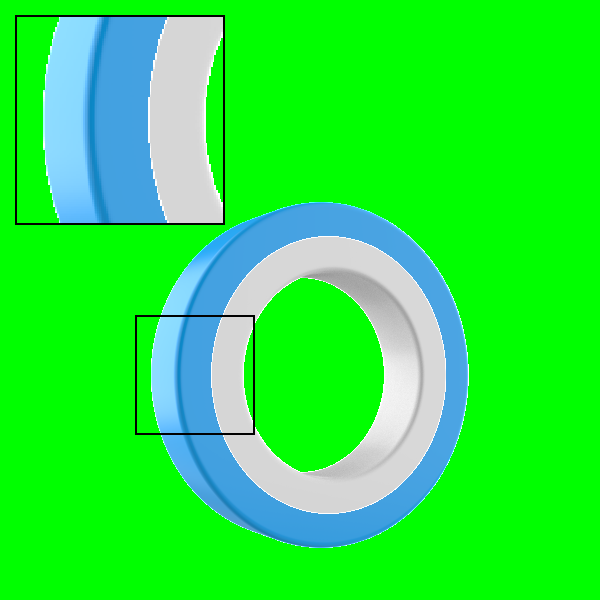
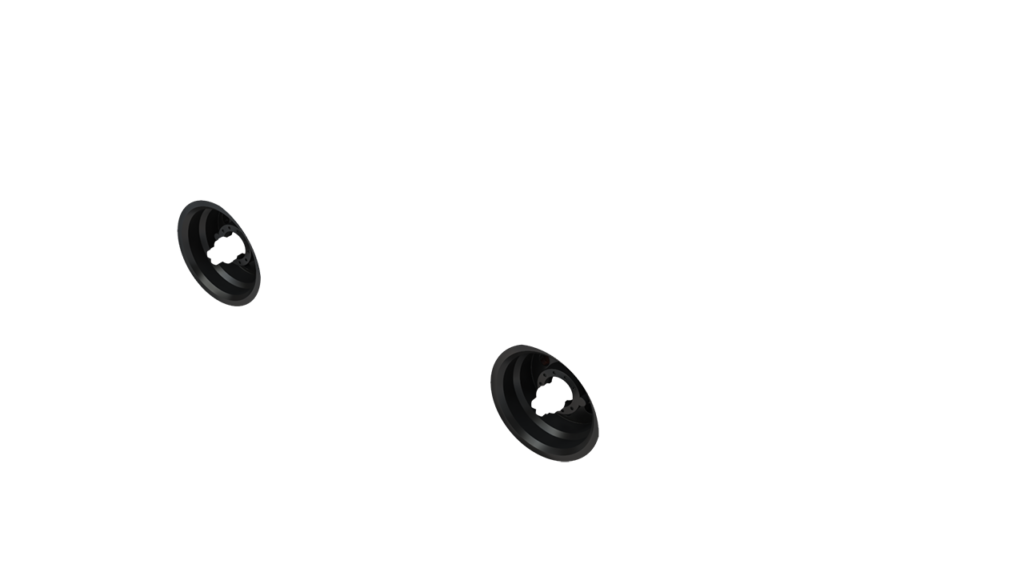
The outer (blue) and inner (white) rings were put on two separate Render Layers.
  • Straight Alpha – Unmatted – (Default) This alpha mode extends the color at the edges of Render Layers to the semitransparent pixels of anti-aliased edges. This avoids any black fringing when compositing the Render Layers in post-processing. This alpha type is the default, as it provides the best results in most situations.
  • Premultiplied Alpha – Matted with Black – This alpha mode premultiplies the Render Layer image by blending or matting any semi-transparent pixels, due to anti-aliasing, with black. This can cause black fringing when compositing the Render Layers, if the image editing application does not support specifying the black matting color and adjusting for it. In Photoshop, the issue can be remedied by trying one of the matting options, found under Image > Matting.
  • Aliased – Opaque Fringe – This alpha mode extends the color at the edges of Render Layers and creates fully opaque (aliased) edges. This avoids any transparent gaps between adjoining Render Layers when compositing the Render Layers in post-processing. Due to the negative visual consequences of aliased edges, this mode should only be used if gaps between Render Layers are a dealbreaker. Rendering at higher resolutions will make the aliasing less noticeable though.
“Straight Alpha – Unmatted” enabled, the Render Layer edges don’t show fringing (black matting), and the green background color bleeds through the anti-aliased gap between the two Render Layers.
“Premultiplied Alpha – Matted with Black” enabled, the Render Layer edges show black fringing, and the green background color bleeds through the anti-aliased gap between the two Render Layers.
 “Aliased – Opaque Fringe” enabled, the Render Layer edges show opaque and aliased fringing, and there is no gap between adjoining Render Layers, so that the green background color does not bleed through.


Note
Enabling the render layers option will render all render layers created. To create a render layer go to the Project window > Scene tab. Go to Properties > Render Layer to create a render layer. Select a part or group of parts and select the render layer you would like it to be on.

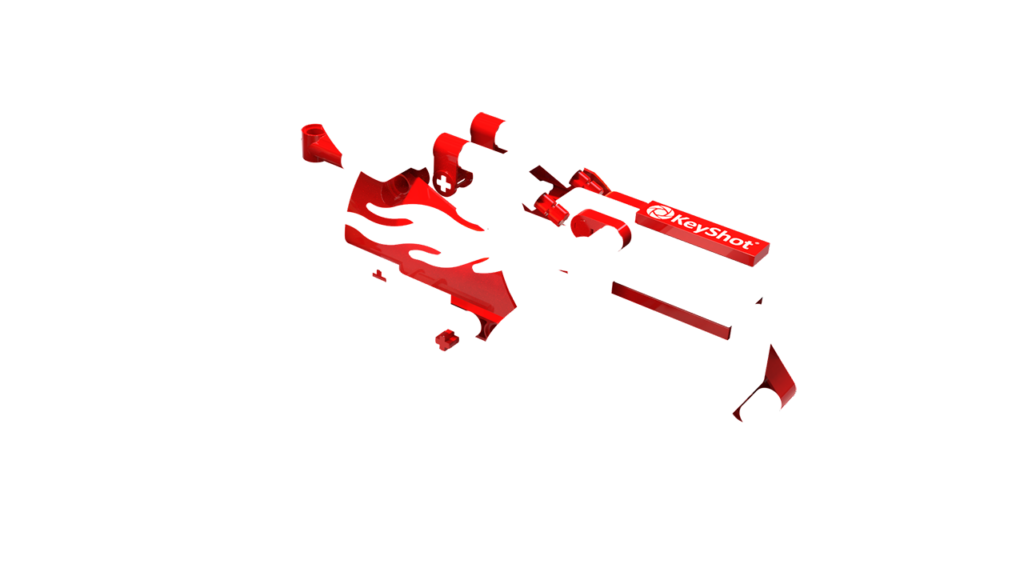
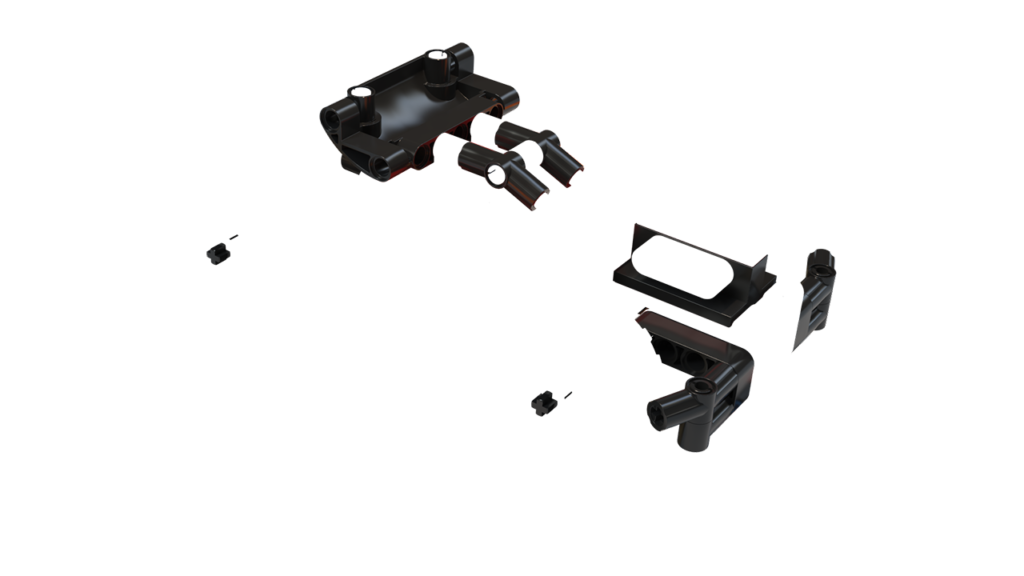
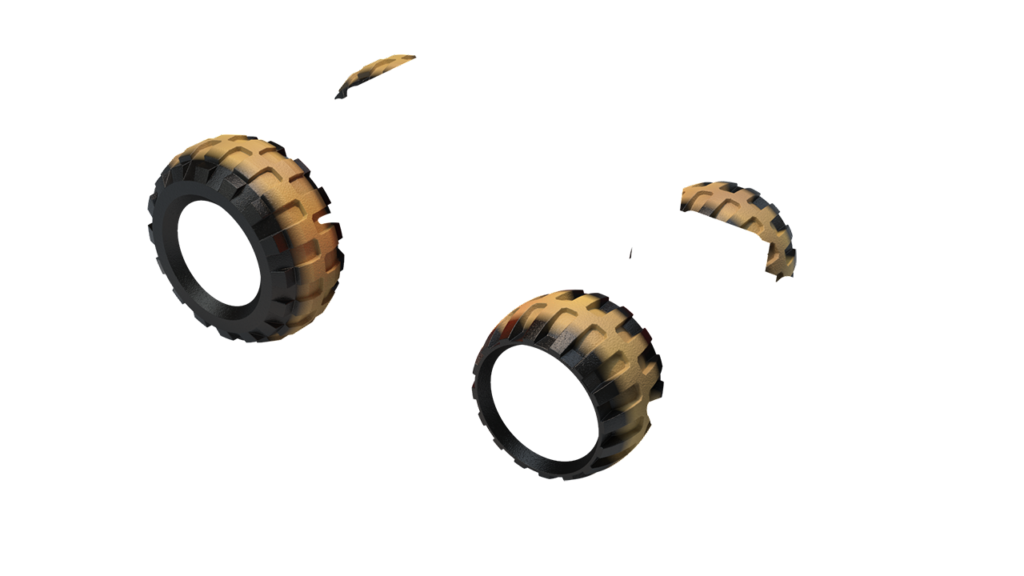
Render Layer Example

The examples below show the different render layers of above scene.

Render Layer “Body Panels”
Render Layer “Black Parts”
Render Layer “Flames”
Render Layer “Wheels”

Render Layer “Tires”

Note
Image Style Adjustments are applied to Render Layers, apart from:

• Denoise
• Bloom
• Vignette
• Chromatic Aberration