Moving Models and Parts
You can translate, rotate, and scale your part/model in two ways, either via the Move tool or via the position settings for the selected of the model/part below the Scene Tree in the Position tab of the Project panel.
 Move Tool
The move tool can be triggered in different ways:
- Right-click a selected part/model in the Scene Tree and choose Move.
- Right-click a part in the Real-Time View and choose Move Selection, Move Part or Move Model, depending on what you want to move.
- Click the Move button in the Tools section of the Ribbon or in the Scene tab of the Project Panel. If no part(s) are selected, this will trigger a dialog, where you can choose which part(s) you want to move.
- Use the hotkey Ctrl+D on Windows and Cmd+D on Mac. If no part(s) are selected, this will trigger a dialog, where you can choose which part(s) you want to move.
Lean more about the Move tool.
Scene Tree – Position
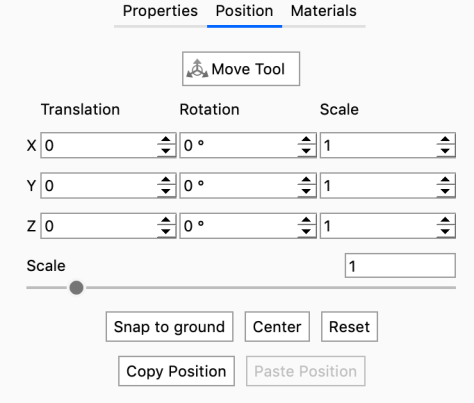
|
Translation XYZ
Determines the center position of the selected part or group. Rotation XYZ Scale XYZ Scale slider Snap to Ground Center Reset Copy/Paste position |
Note
When Importing a model into your scene the position is set on the group (model) level. This will be positioned in the center of the scene. If you want the position the model was created in, relative to 0, just select the model and hit Reset.