Connected Nodes
Displace
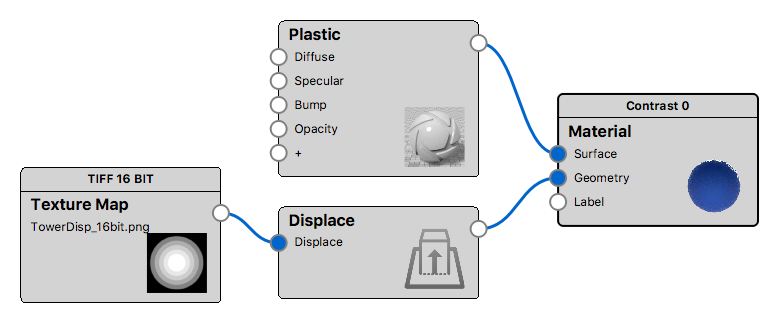
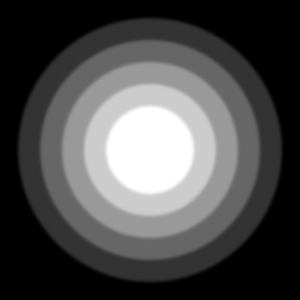
The Displace socket of the Displace node is where the texture is applied. In order for the displacement to have effect on your geometry you need to connect a texture. The light areas of the texture will raise the surface of the geometry while black areas stay.
Displacement Map Settings
Contrast: The Contrast slider under the Texture Map properties, Color settings will control the linear displacement height.
|
|
|
Displacement Animation
A displacement map may also be used to create interesting geometry animations. Animated geometry has a wide variety of applications to illustrate the movement of surfaces and objects. Learn more about how to create displacement animations.
Quick Tip
Displacement Overview
This Quick Tip provides an overview of how to use the Displace feature, a geometry shader available for advanced material editing via the Material Graph in KeyShot Studio.
Combining Displacement
In this KeyShot Studio Quick Tip, we show you how to combine two displacement maps using the Color Composite Utility node via the Material Graph in KeyShot Studio.
Displacement Animation
In this KeyShot Studio Quick Tip, we show you how to use an animated displacement map to animate a Displace node via the Material Graph in KeyShot Studio.