 Standard Pin
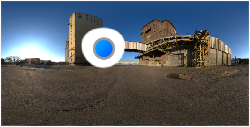
Add Pin creates a pin in the center of the unfolded HDRI. Grab it to place it in the desired location.
|
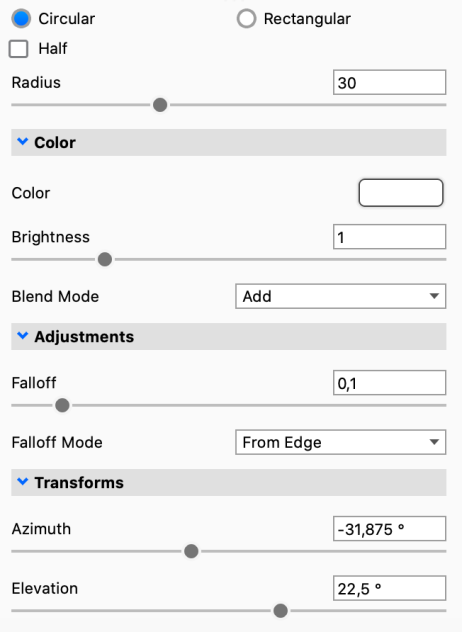
Circular/Rectangular – This will toggle the shape of the pin. This is crucial when creating very specific shapes and reflections in your renderings. Half – For either pin shape you can select the shape to be cut in half. This will cut the pin in half. All adjustments will work the same except that you are now only seeing half of the pin. Radius (Circular) – This determines the pin size of circular pins. Width/Height/Angle (Rectangular) – This determines the shape and size of rectangular pins. Color
|
Adjustments
- Angle – The angle slider lets you rotate the pin (Rectangular pins only)
- Rounded corner – This will let you round the corners on the pin (Rectangular pins only)
- Falloff Mode – This controls the falloff of the light from the center of the pin. Different modes have different behaviors. You can see the effect of the various modes both in the editor as well as in the KeyShot Studio Real-Time View.
- Falloff – This controls the softness of edge of the pin light. Increase the falloff for more blended, softer edges.
Transforms
- Azimuth – Sets the horizontal position of the pin.
- Elevation – Sets the height of the pin.