Organizing your Assets
There a multiple ways to organize your assets in the Hub. From within KeyShot Studio, the two main ones are Folders and Tags.
Folders
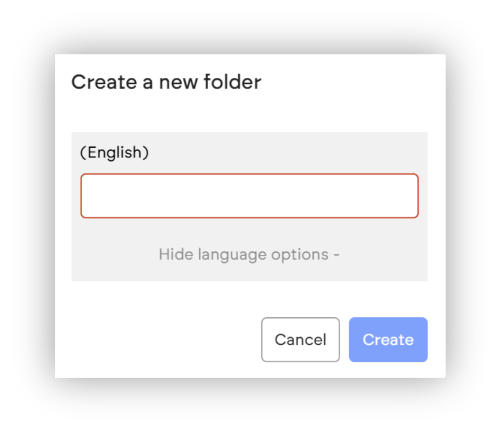
Folders are one way to organize your work and keep your Hub tidy. You can create folders by going to your Library Panel in KeyShot Studio and scroll down to the name of your Hub. Right-click on the Hub name and select Add Folder.
.png)
You can also create a Folder from inside the Hub. Just open your Hub by clicking on the KeyShot Hub button in the bottom left of KeyShot Studio, click on the Edit page layout icon in the top right of your browser window and select Create Folder.
.png)

Note
Unlike Folders that are local to KeyShot Studio, a folder created in the manners described above will not be a local folder. This is also indicated by the cloud icon to the right.
Tags
You can also organize your work by using Tags. Tags can be added to Scenes, Library Assets and Render Output and can later be used to find the tagged files. You can edit Tags in the Metadata section of the Hub.
Tagging Scenes
You can tag your Scene by clicking on the filter icon in the top left corner of the upload / open window.
You can also open the Tags Widget by going to Project Window > Scene Tab > Tags Widget.
.png)
Tagging Assets
To Tag Assets, go to your Library Window, right-click on an asset and select edit tags or select the asset, you want to tag, and click on the edit tag icon next to the search bar.
.png)
Tip
Assets can be multi-selected to edit tags in bulk, allowing you to speed up the process.
Tagging Render Output
Tags on your Render Output will be made up of the Scene Tags you added and an additional Tag for your Render Output Format.