Planar Light
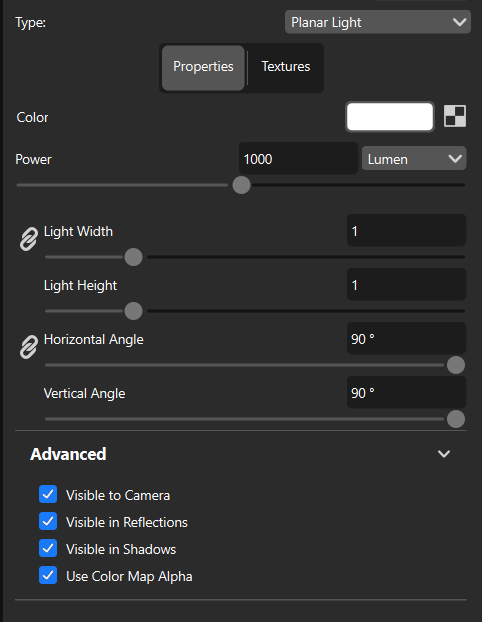
Similar to an Area Light, the Planar Light is a material type that will give you diffuse lighting. It will also function similarly to a flood light, but gives you additional flexibility through its spread angles.
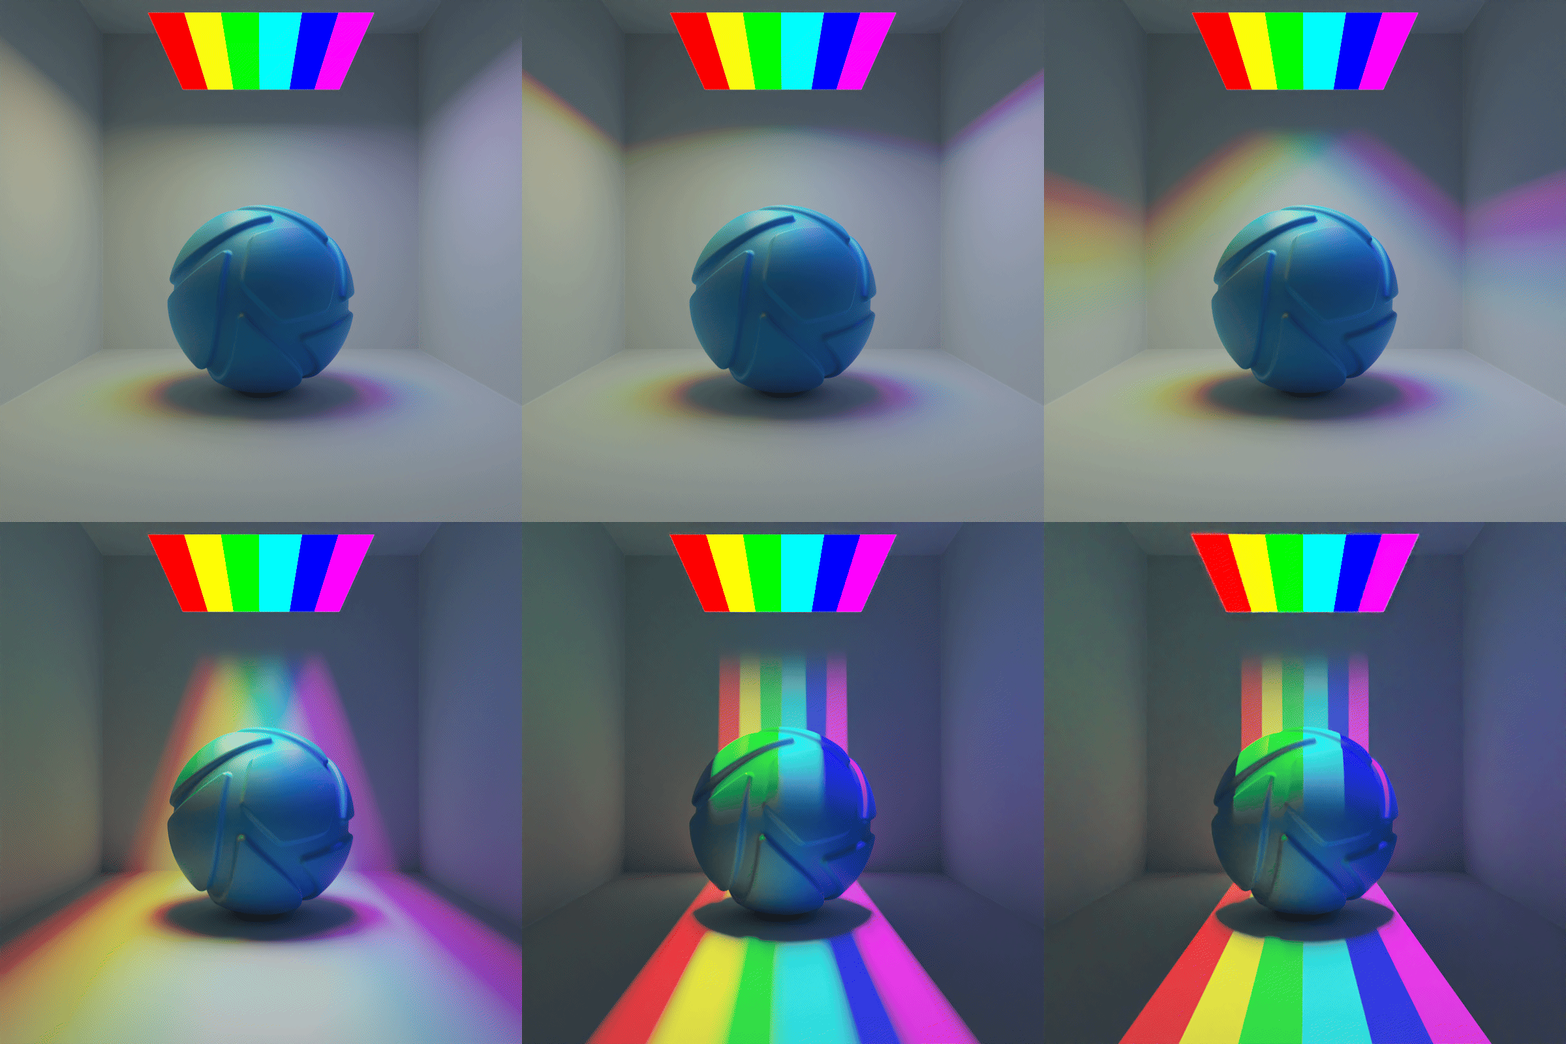
The example shows an planar light with a Color Gradient texture and animated, horizontal spread angles from 90° to 0°.
Color
Here, you can choose the color the light will cast. You can also place a texture in front of the light source to color and mask the emitted light.
For accurate lighting colors, use the Kelvin scale to select accurate lighting temperatures.
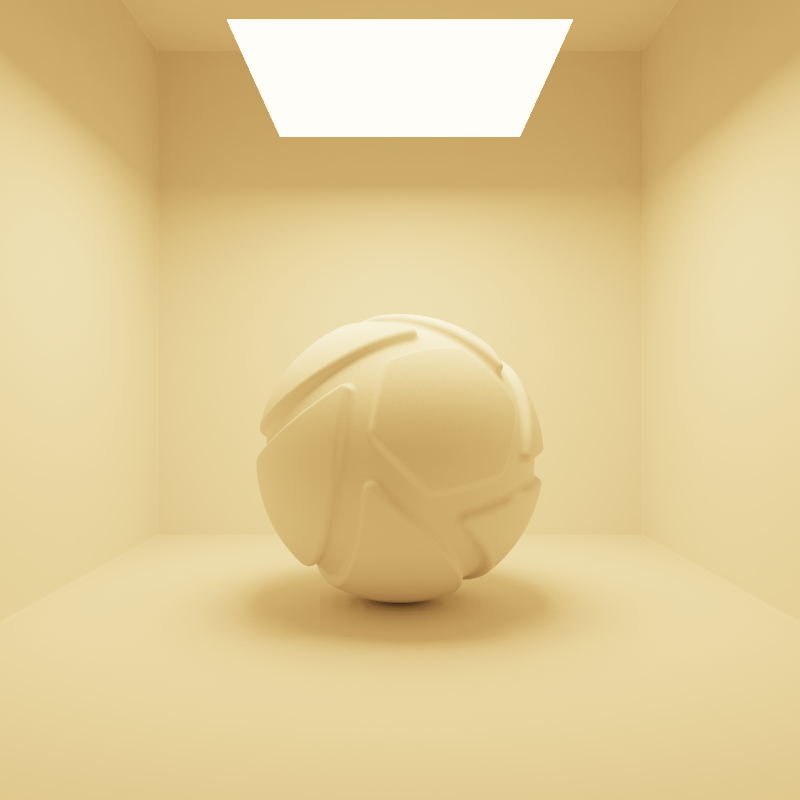
Color = 3000 Kelvin |
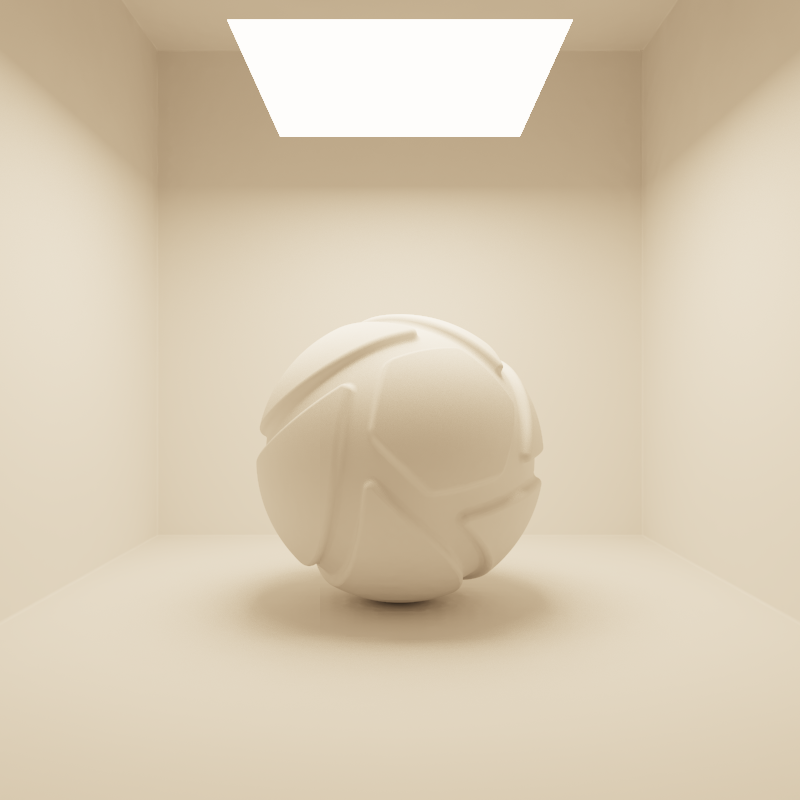
Color = 4000 Kelvin |
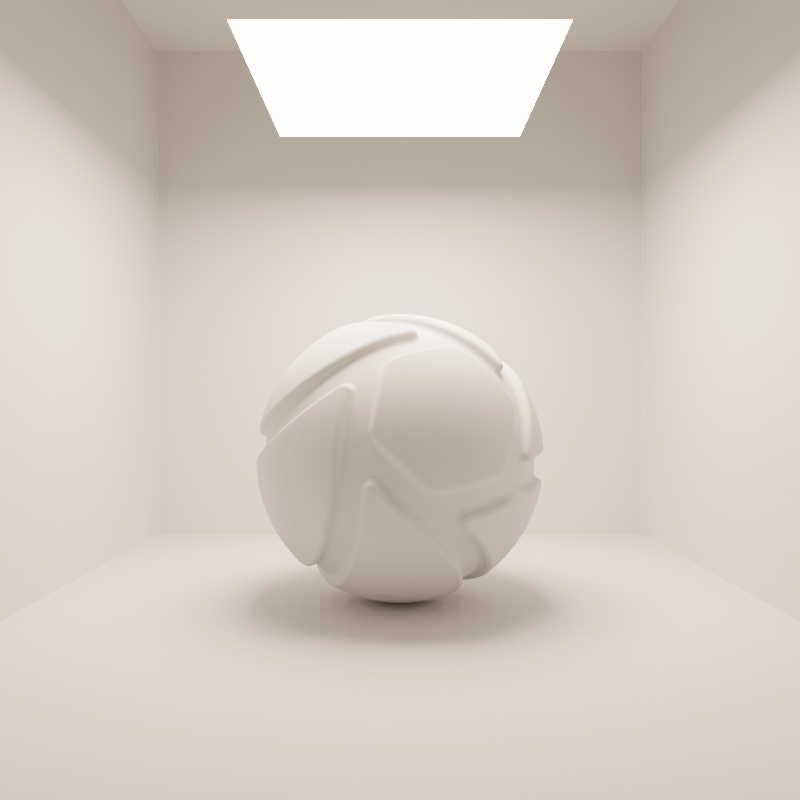
Color = 5000 Kelvin |
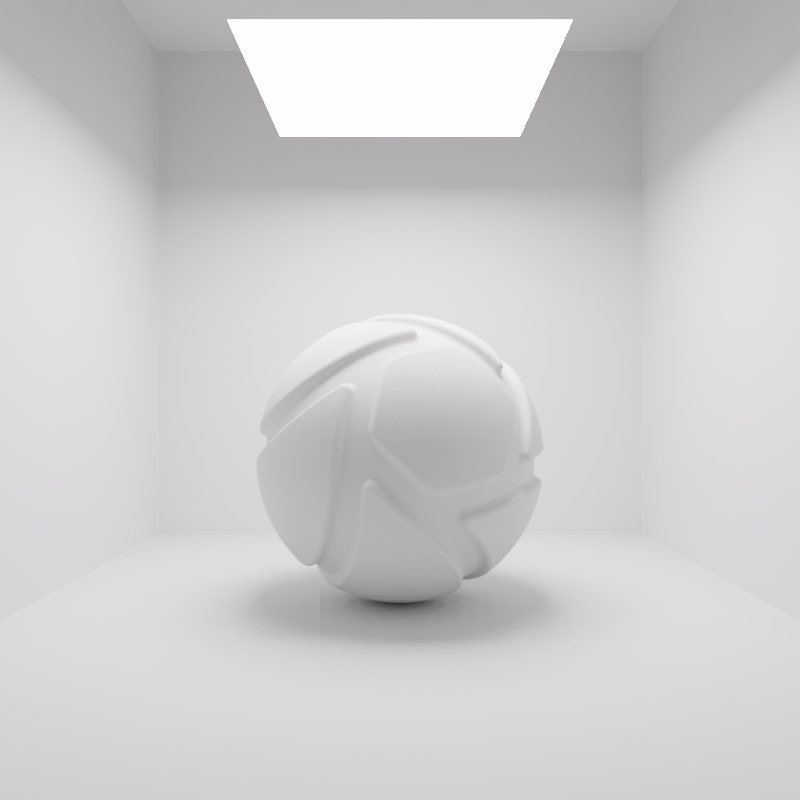
Color = 6500 Kelvin |
Power
The power of the light can be controlled in either Watt, Lumen or Lux. Lumen or Lux are recommended for best results. The choice between Lumen or Lux depends on the preferred workflow.
Lumen
When the Power unit is set to Lumen, then the light output is specified as luminous flux. Total light output will be constant for planar light objects of different sizes.
The examples below show the effect of increasing the size of a square planar light from 10 to 200 mm. Power is a constant 250 Lumen.
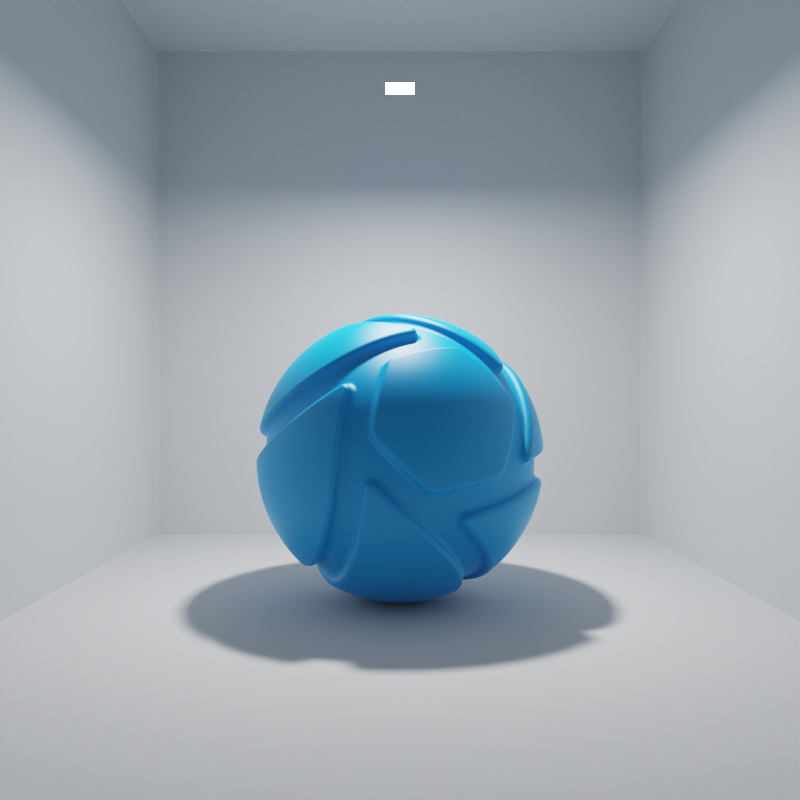
Size = 10 mm x 10 mm |
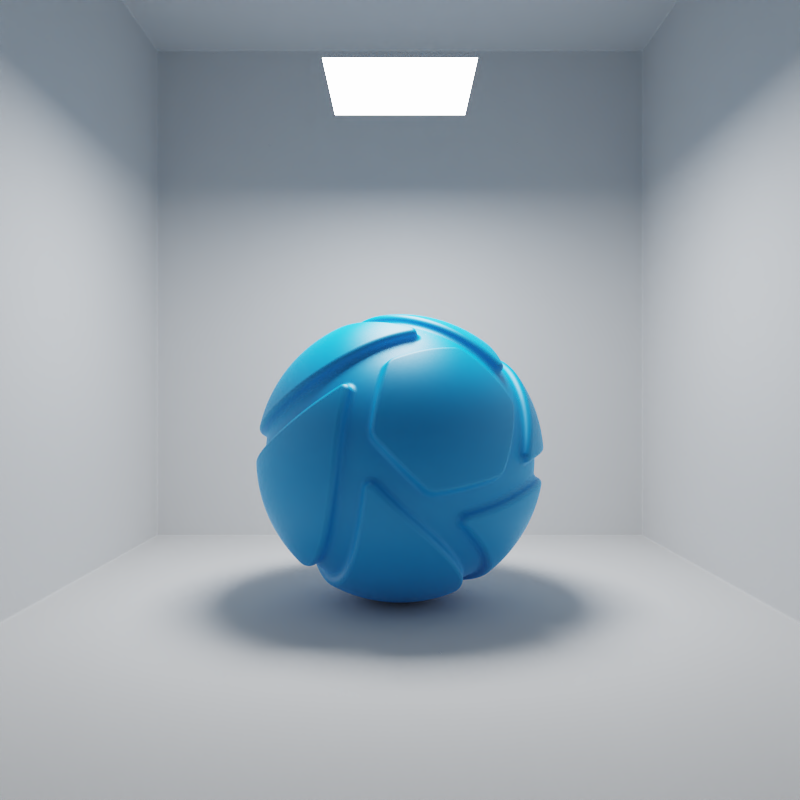
Size = 50 mm x 50 mm |
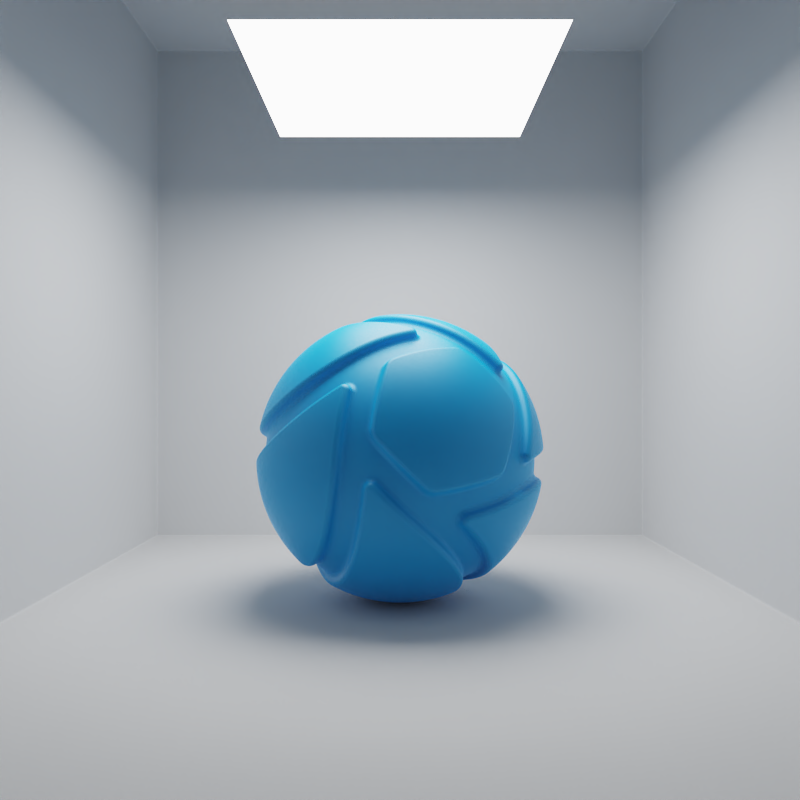
Size = 100 mm x 100 mm |
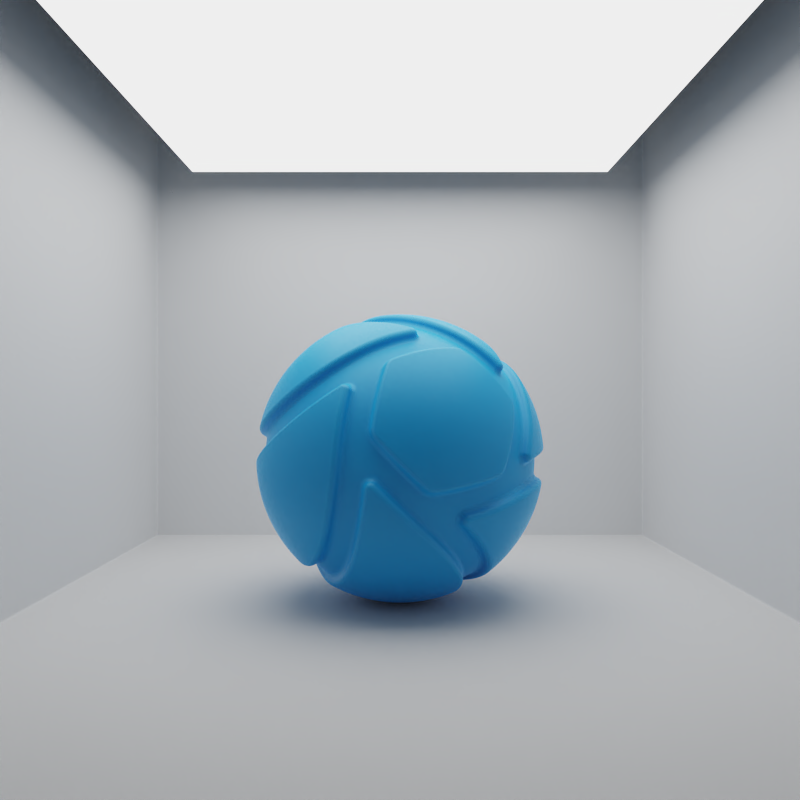
Size = 200 mm x 200 mm |
Lux
When the Power unit is set to Lux, then the light output is specified as luminous emittance. 1 Lux equals 1 Lumen per square meter of light-emitting surface. Total light output will vary for planar light objects of different sizes. Small planar lights are dim, while large planar lights are brighter, since the light-emitting surface planar is larger.
The examples below show the effect of increasing the size of a square planar light from 10 to 200 mm. Power is a constant 25000 Lux.
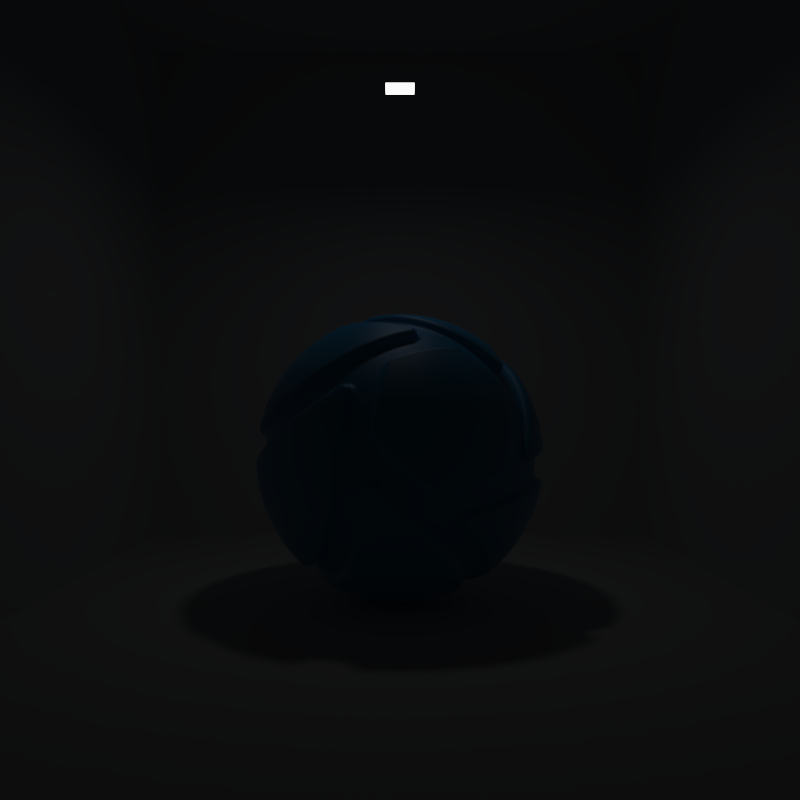
Size = 10 mm x 10 mm |
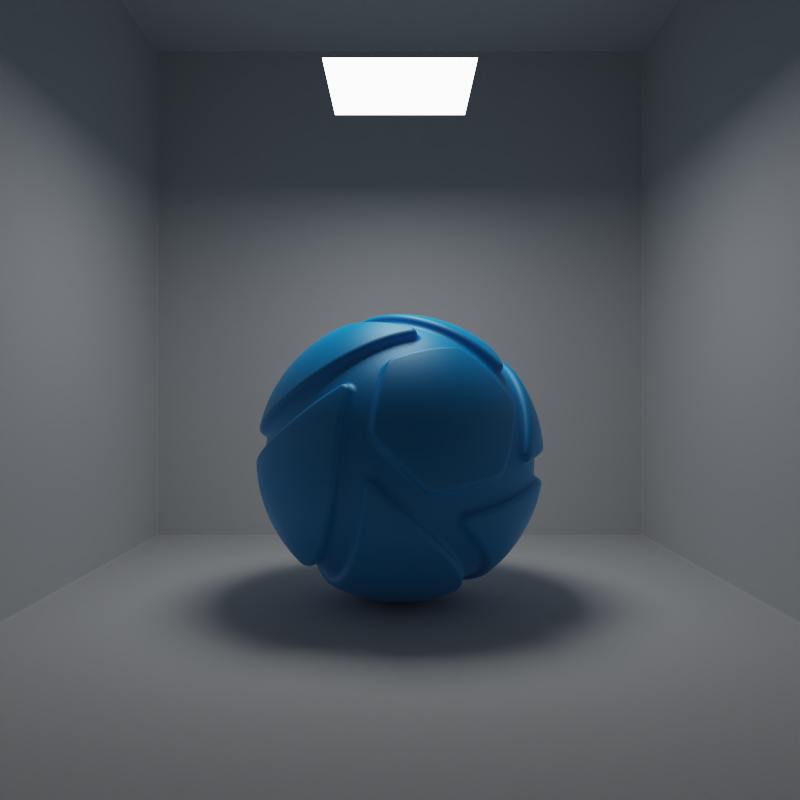
Size = 50 mm x 50 mm |
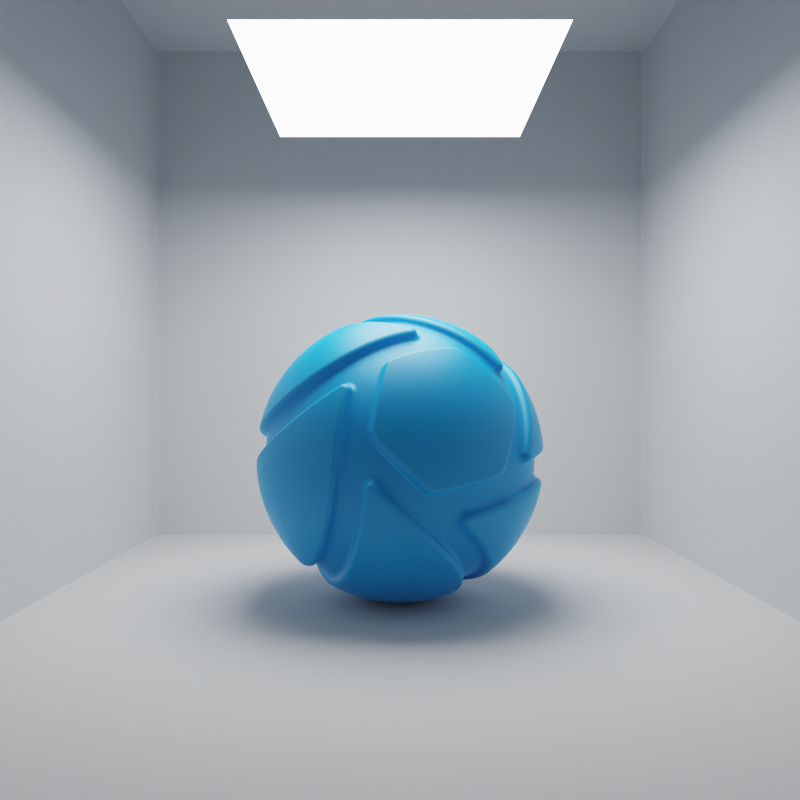
Size = 100 mm x 100 mm |
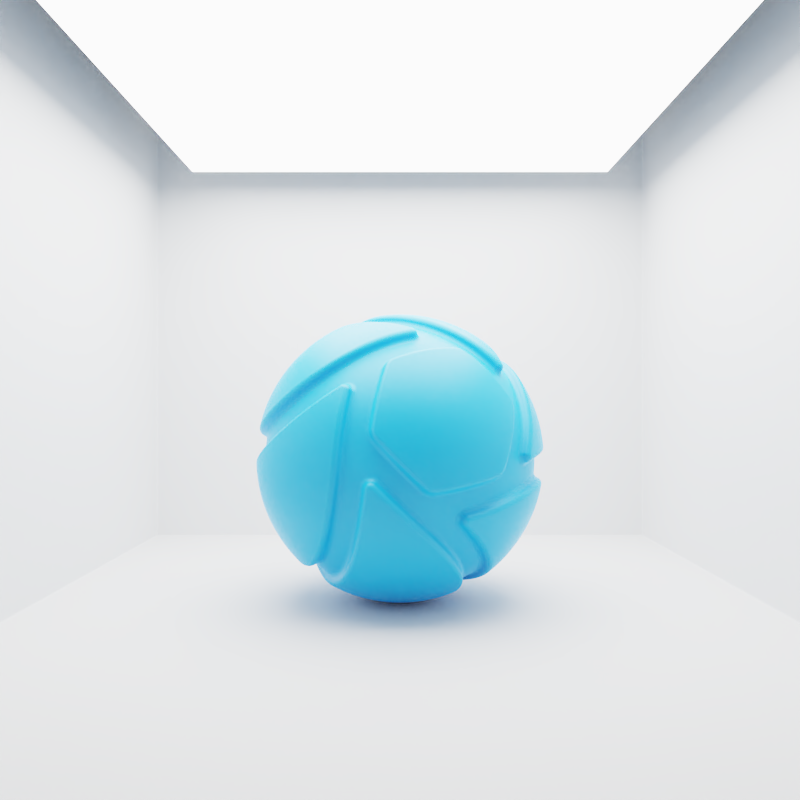
Size = 200 mm x 200 mm |
Size
You can adjust the physical size of the light in scene units, by adjusting the Light Width and Light Height.
Note
For best results, adjust the size of the light here via Light Width and Light Height, as opposed to the scaling option in the Scene Tab.
Spread Angles
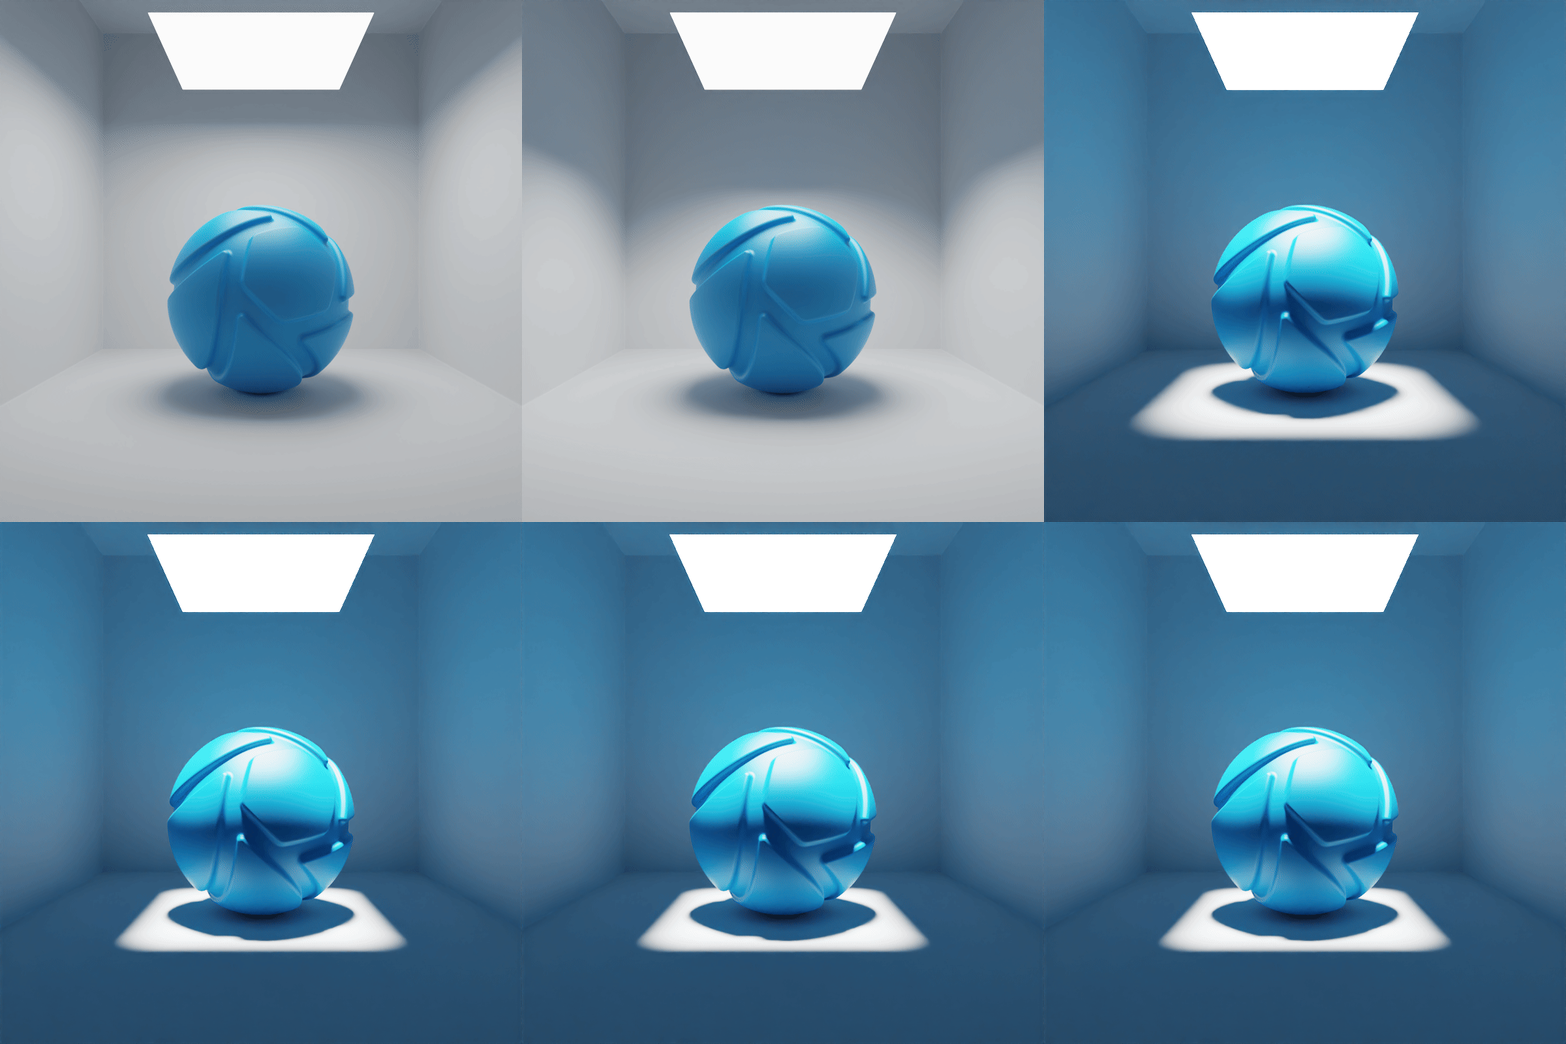
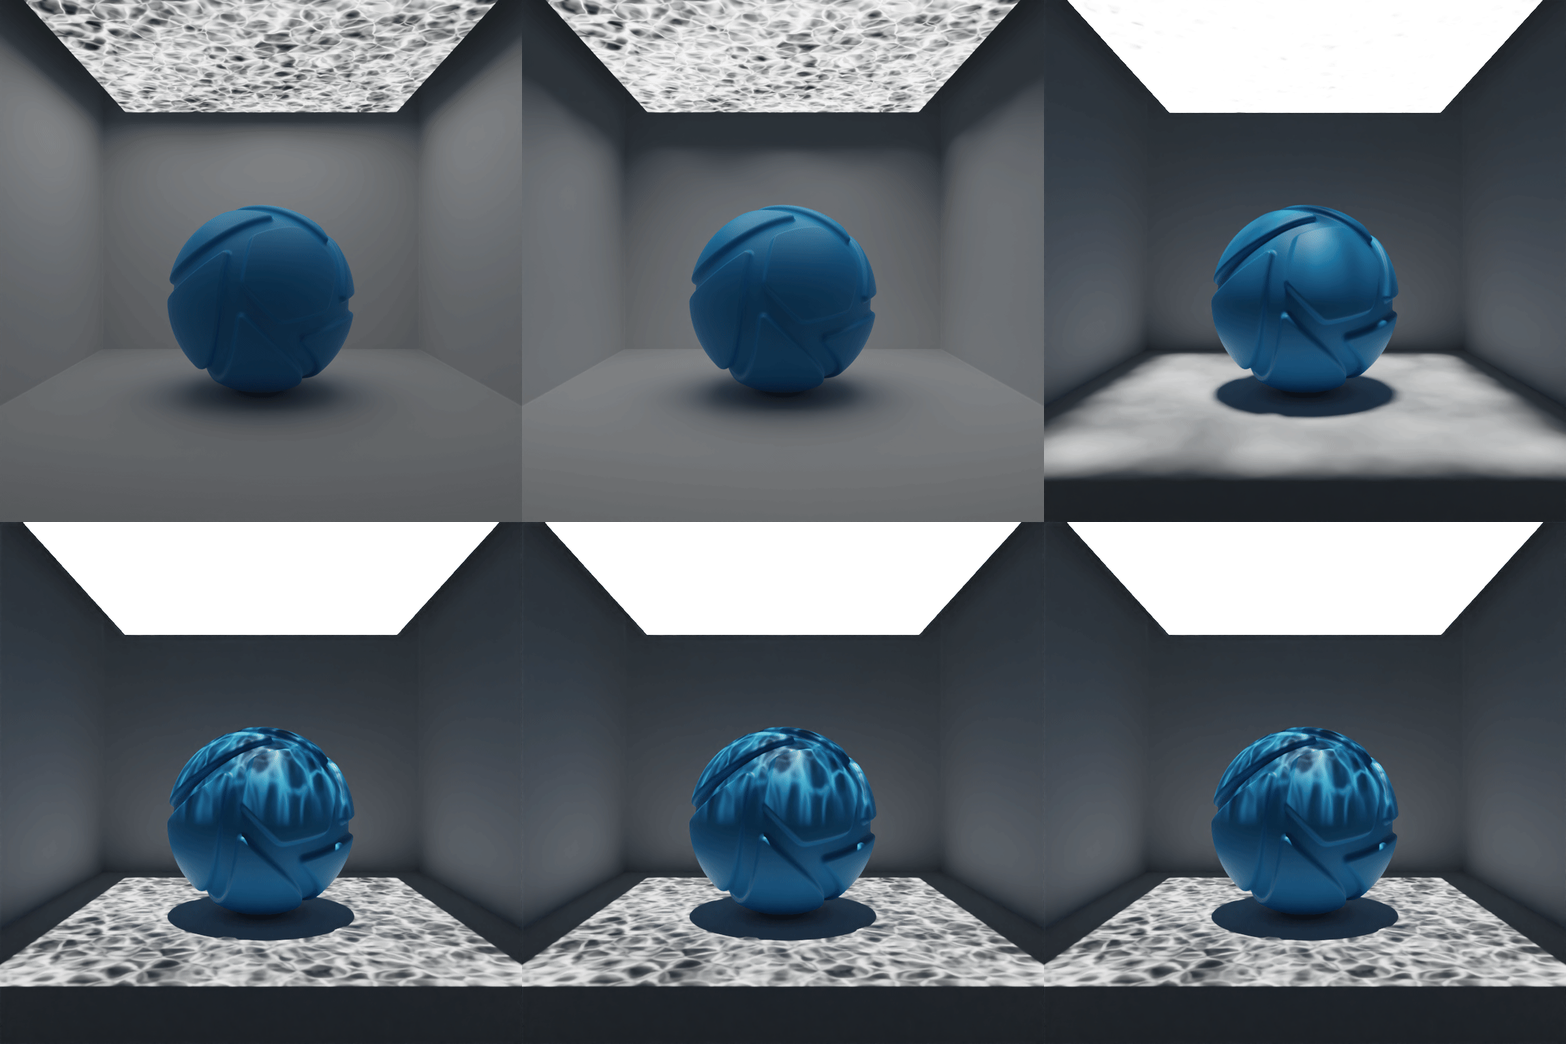
The spread angles enable you to adjust the directionality of your lighting. Wider angles result in more diffuse light and softer shadows. Smaller angles give you more directional light and sharper shadows.
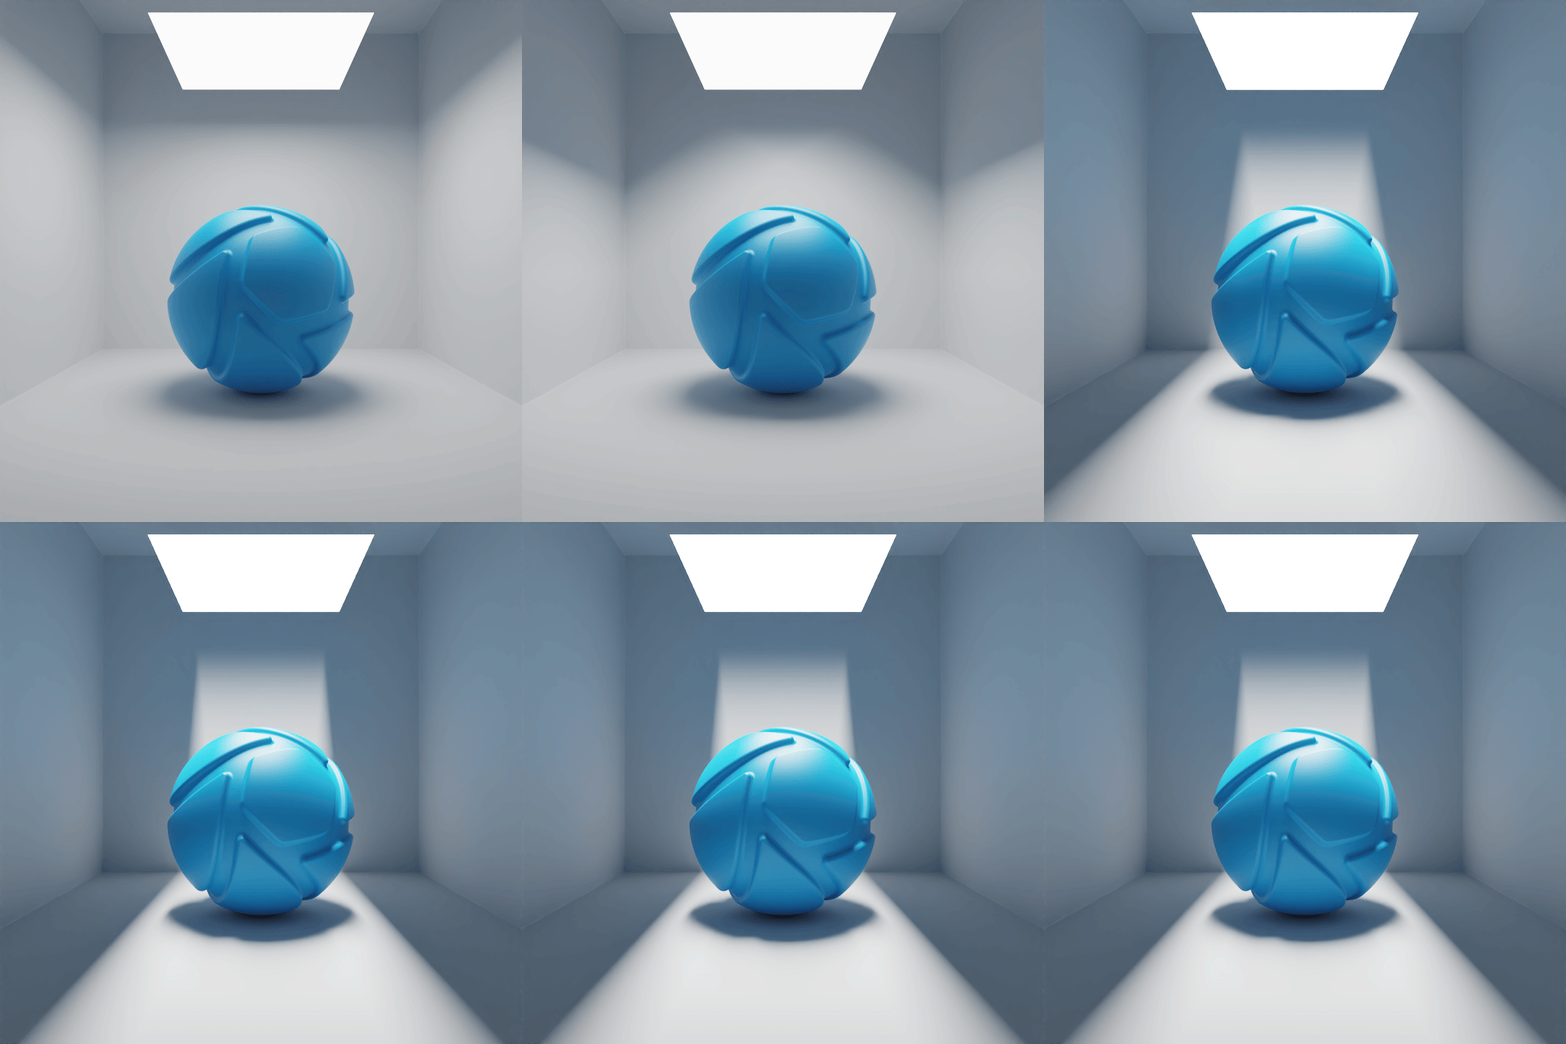
|
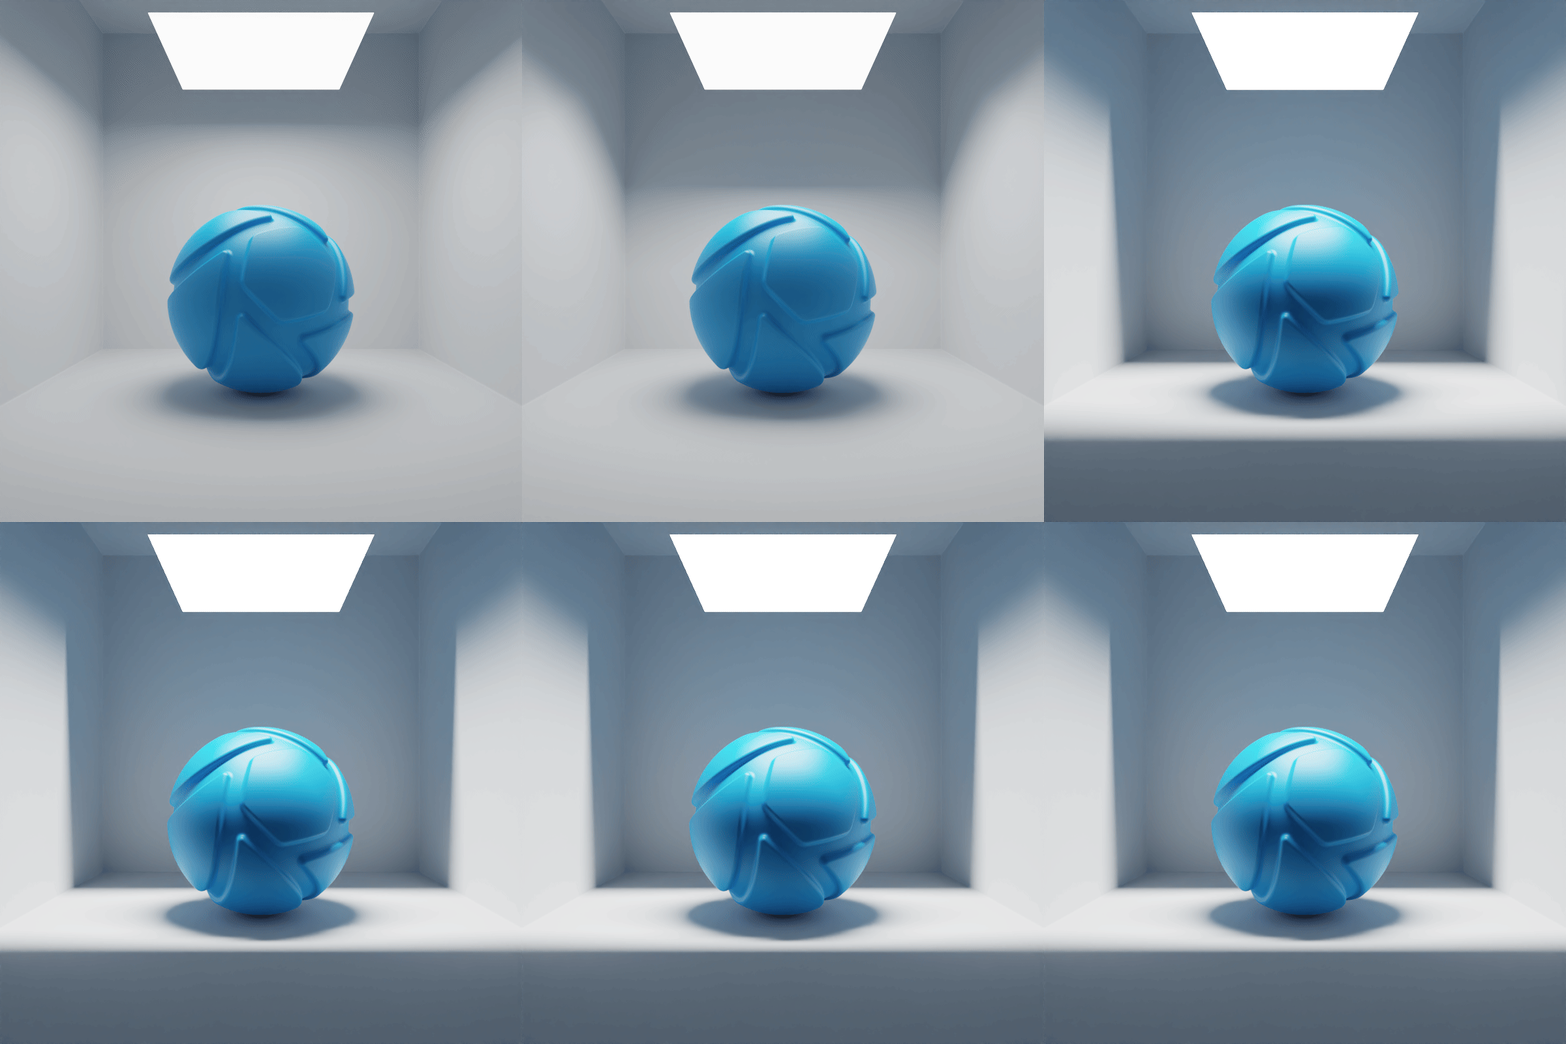
|
|
|
| Horizontal Angles 90° to 5° | Vertical Angles 90° to 5° | All Angles 90° to 5° | Gobo Texture 90° to 0,25° |
Advanced
Visible to Camera
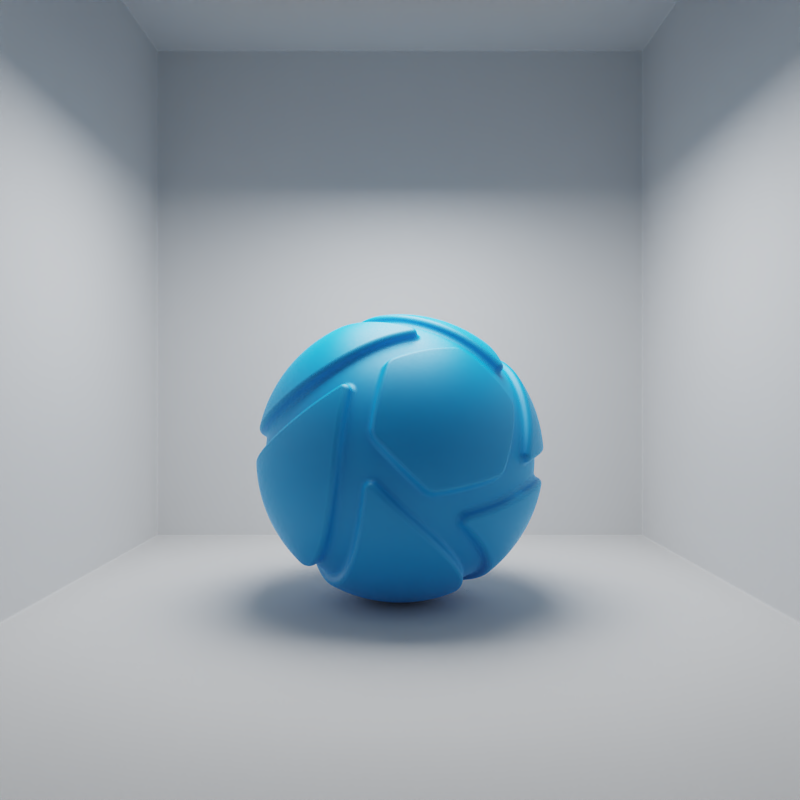
Here, you can toggle whether or not the light source geometry is shown in real-time window and renderings.
The examples below show the effect of toggling visibility to camera.

|
|
Visible in Reflections
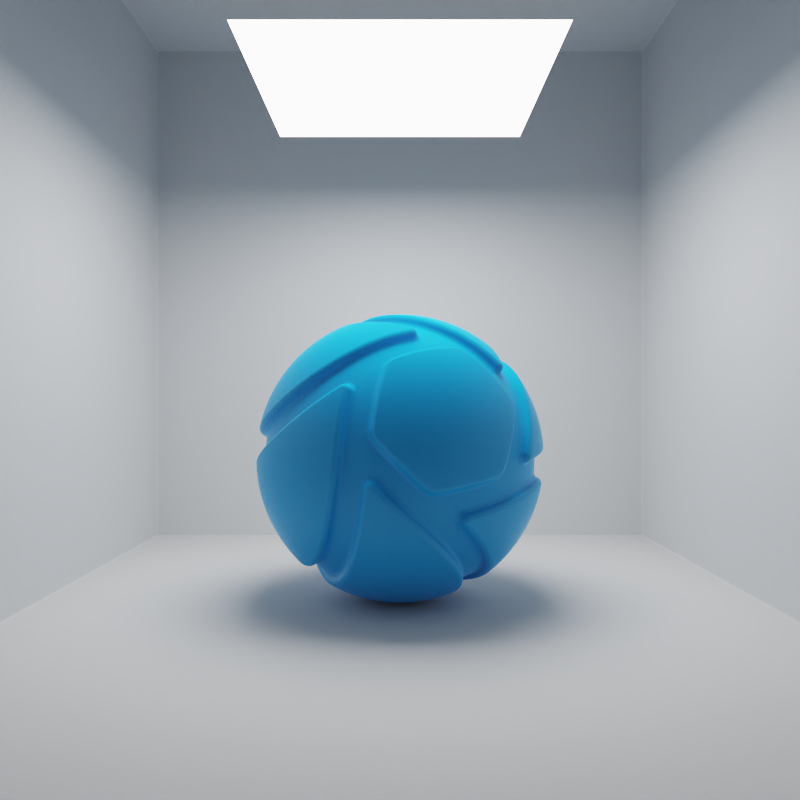
Here, you can toggle whether or not the reflection of the light source is shown in real-time window and renderings.
The examples below show the effect of toggling visibility in reflections both with a Plastic and a Metal material.

Visible in Reflections = ON |
Visible in Reflections = OFF |
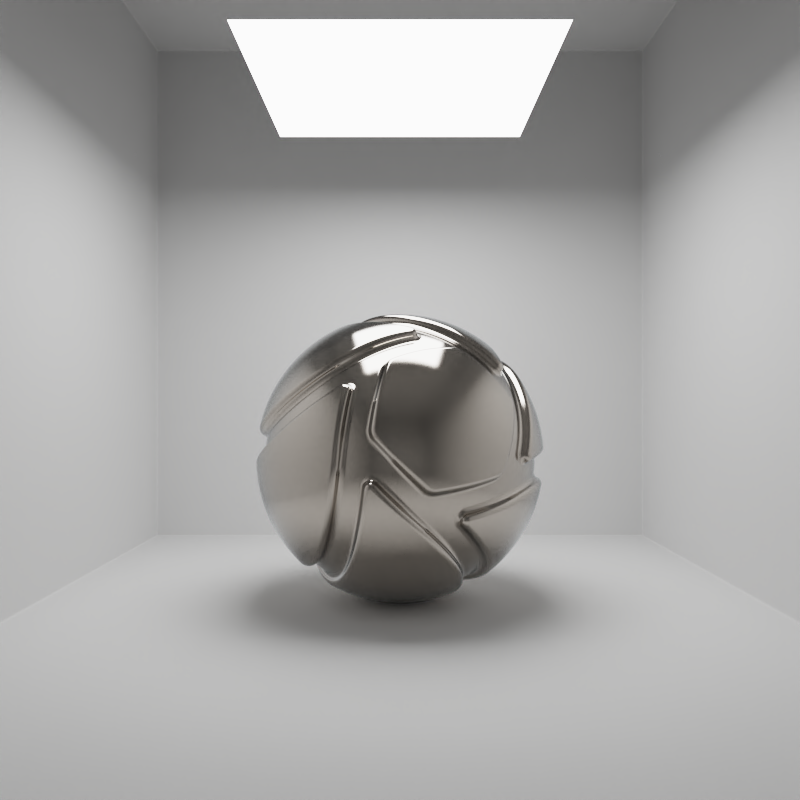
Visible in Reflections = ON |
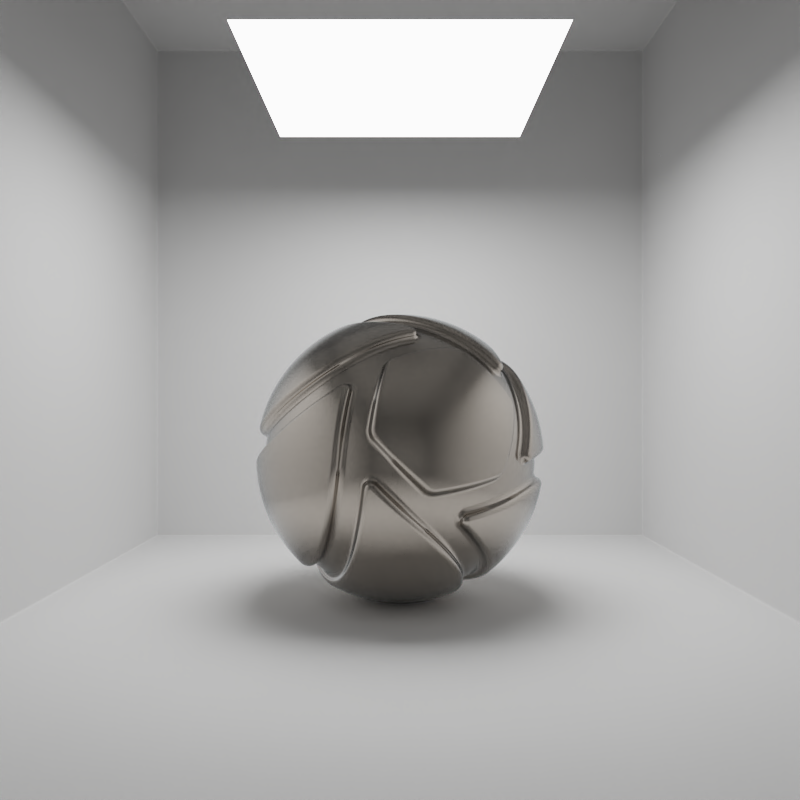
Visible in Reflections = OFF |
Visible in Shadows
Here, you can toggle whether or not the light source geometry casts a shadow in the real-time window.
The example below shows the effect of toggling visibility in shadows. The scene is lit by a large planar light with a cold color, a Gobo Texture and spread angles at 0,2°. Directly below it, there is a slightly smaller planar light with a warm color and 90° spread angles. Visible in Shadows is toggled for the smaller, warm planar light.
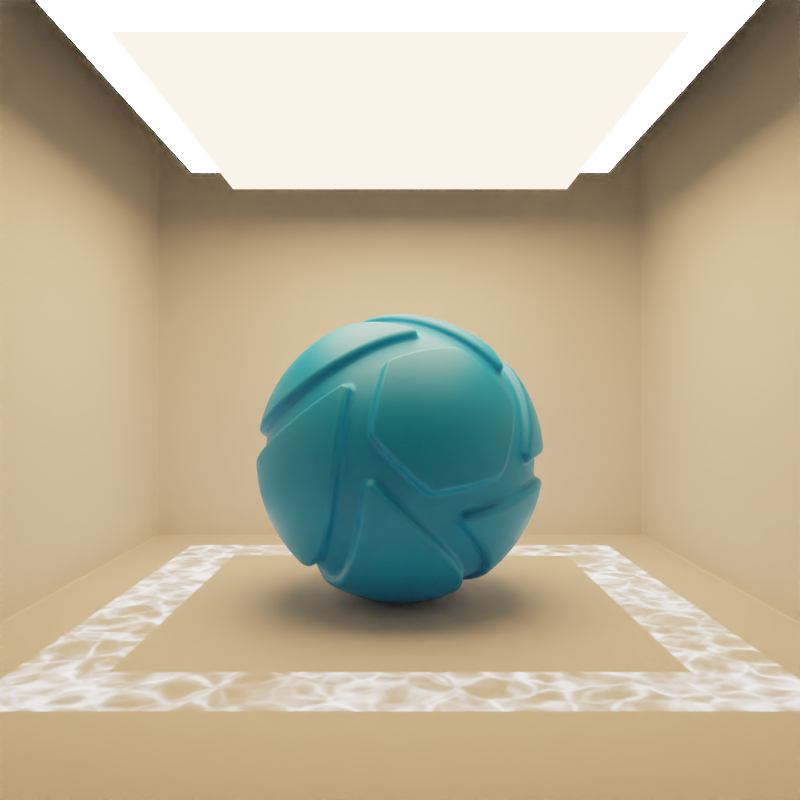
Visible in Shadows = ON |
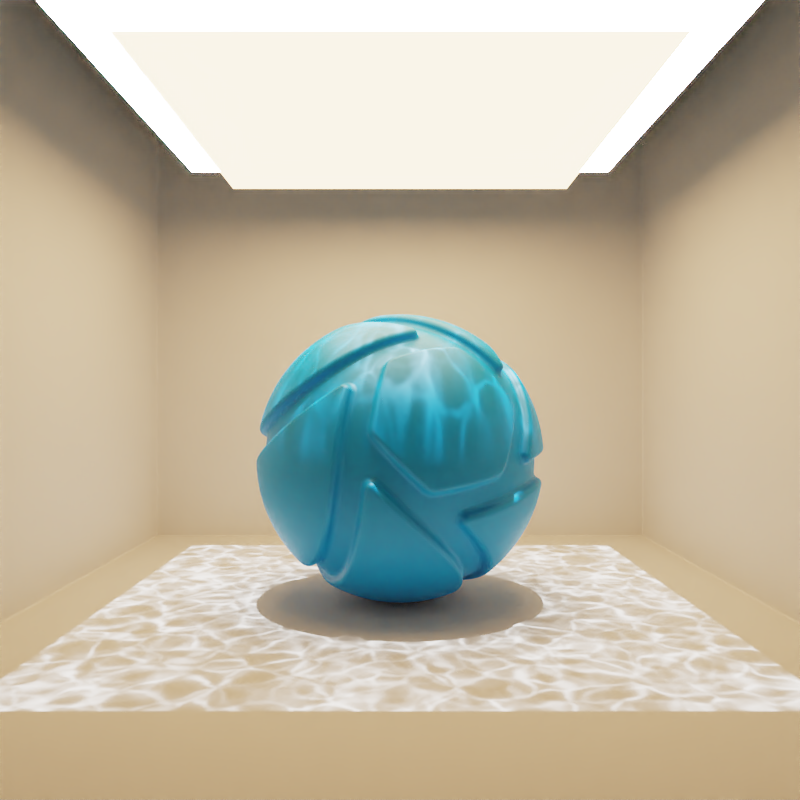
Visible in Shadows = OFF |
Use Color Map Alpha
Here, you can toggle whether or not the light source geometry uses the alpha of an applied color map texture.
The example below shows the effect of toggling Use Color Map Alpha on a planar light with an applied color map texture and spread angles set to 5°.
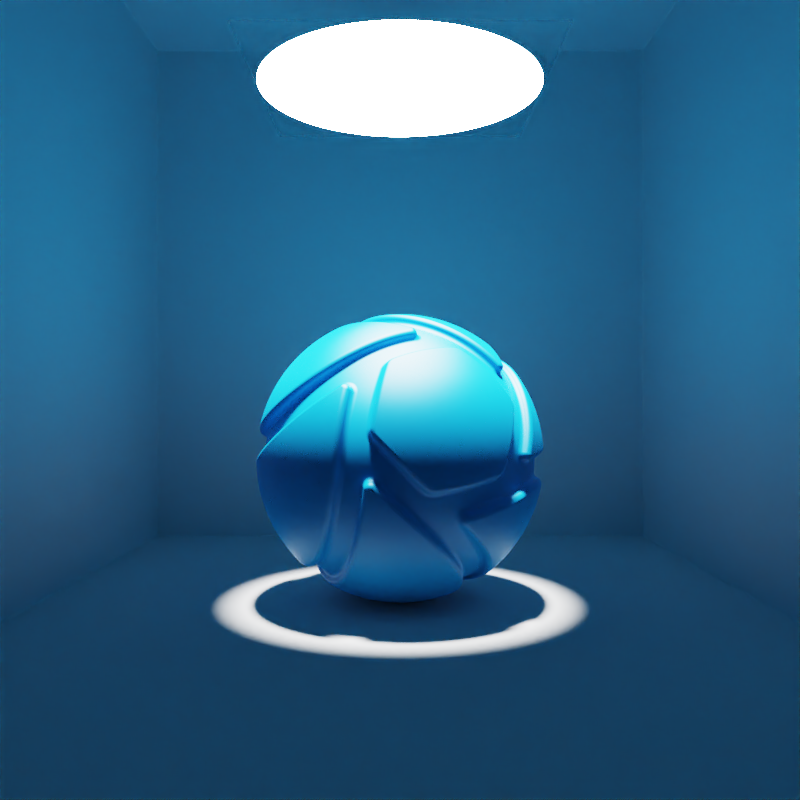
Color Map Alpha = ON |
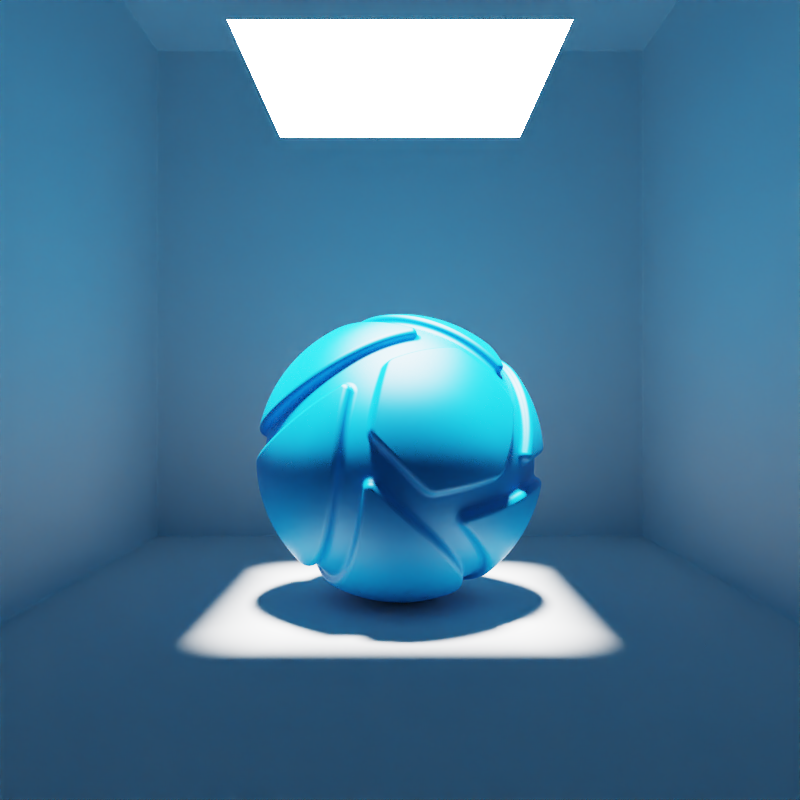
Color Map Alpha = OFF |