Part animations affect your model’s position, orientation, and visibility in the scene. They allow you to translate, rotate, and fade all while maintaining your model’s hierarchy. Thus, animations applied to your model’s top assembly will also affect all parts under that assembly.
Adding a Part animation
To add a part animation right-click the part or group you want to animate, select Animation and the desired animation type. Or use the Animation Wizard to help you set up the animation.
The part animation is represented as an green node in the timeline.
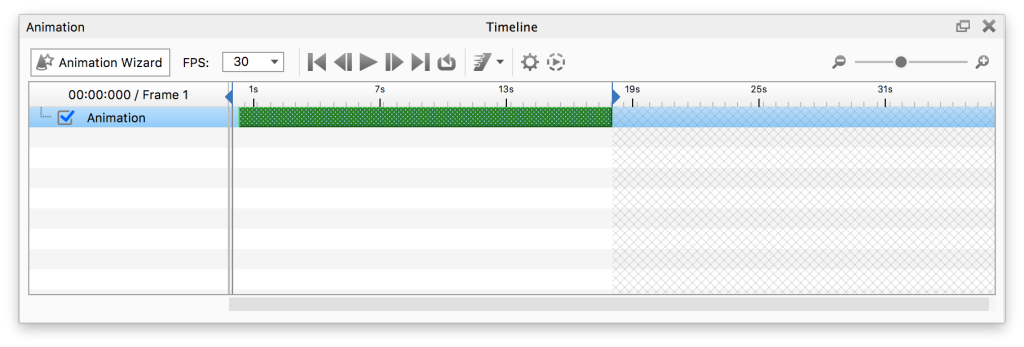
Adjust the properties for your animation and you good to go. See the Animation Timeline page for more information about the options in the timeline.
Alternatively you can copy an existing animation from one part/group to another via the context menu in the scene tree. When you paste the animation you can choose between adding it as an independent animation or as a Linked animation.
 Translation
A Translation is an animation in which a model or any one of its parts moves along the X, Y, and Z axis and changes position.
Translate X, Y, Z
Controls movement along the X / Y / Z axis.
Axis Orientation
When you apply a rotation to your model, you must choose the rotation axis: X, Y, or Z axis. However, these axes have two states: Original Local and Global.
- Original Local – The Original Local state uses the rotating part’s local axis. If Y pointed up originally, rotating the part over 45 degrees means that the Y axis is now also tilted 45 degrees. Use this axis state your model’s axis orientation is not square (slightly tilted) with KeyShot Studio’s global axis. To reveal the global axis, press the “Z” key on your keyboard.
- Global – This is KeyShot Studio’s global axis. To reveal the global axis, press the “Z” key on your keyboard. Y axis always points up. Even if you have rotated a part using your modeling software.
 Rotation
A Rotation is an animation in which a model or any one of its parts rotates around its own or some other part’s pivot point.
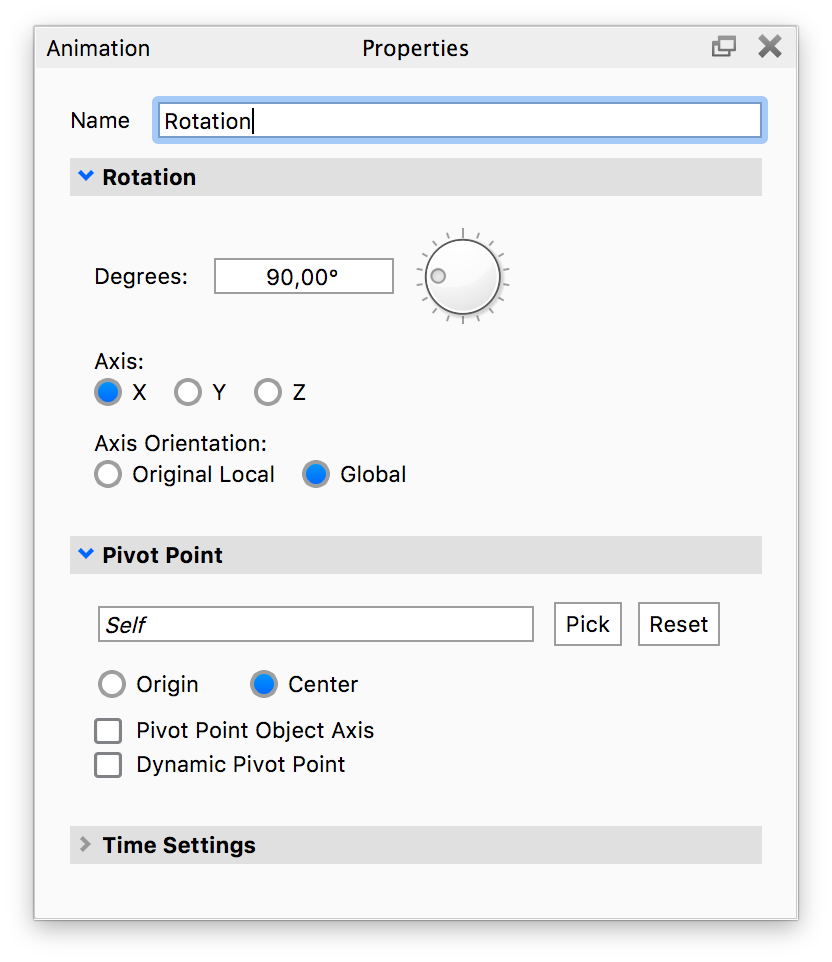
Rotation
Degrees
Controls the angle of rotation in degrees.
Axis
Determines the reference axis of rotation. There are three mutually-exclusive options: X, Y, or Z.
Axis Orientation
When you apply a rotation to your model, you must choose the rotation axis: X, Y, or Z axis. However, these axes have two states: Original Local and Global.
- Original Local – The Original Local state uses the rotating part’s local axis. If Y pointed up originally, rotating the part over 45 degrees means that the Y axis is now also tilted 45 degrees. Use this axis state your model’s axis orientation is not square (slightly tilted) with KeyShot Studio’s global axis. To reveal the global axis, press the “Z” key on your keyboard.
- Global – This is KeyShot Studio’s global axis. To reveal the global axis, press the “Z” key on your keyboard. Y axis always points up. Even if you have rotated a part using your modeling software.
Pivot Point
A pivot point is the point around which a part/model will rotate. When you apply a rotation animation, the pivot point is set to “Self” by default. To select a different pivot point from the scene tree or in your scene, click the Pick button.
Center and Origin
By default, the pivot point is always at the center of the model. Change this to Origin if your wish to use the model’s origin instead. For example, it is possible that a cube’s origin lies at one of its eight vertices.
Tip
You may use a helper object for even more control over your pivot point (find useful primitives under Edit > Add Geometry). Then, position the primitive and click the Pick button to select it from your scene tree or your scene.
Dynamic Pivot Points
This setting will allow the rotating part or model to follow a moving helper object. Dynamic pivot points should also be enabled when there are two or more rotations (each with different helper objects) applied to the same part or model.
Note that not all moving helper objects are dynamic pivot points. For example, let’s say that you wish to animate a part orbiting around a helper object while the second is moving. In this case, enabling dynamic pivot point will not provide you with the desired result. Instead, make sure that the orbiting object is a child under the helper object in your scene tree hierarchy.
Tip
When dealing with complex animations consisting of multiple pivot points, we recommend a top-down hierarchy structure in your scene tree. Click here for a full article on how to animate hinges and multiple pivot points.
 Fade
Fade

The Fade animation provides a smooth transition between two opacity values.
Fade From
This is your model’s starting opacity level. Accepted values are between 0% and 100%, where 0% means that the model is invisible and 100% means that the model is 1 entirely visible.
Fade To
This is your model’s opacity level by the end of the animation. Accepted values are between 0% and 100%, where 0% means that the model is invisible and 100% means that the model is 1 entirely visible.
Note
Fade animations are not supported with the Cutaway material.
Co-planar surfaces
If you have parts with co-planar surfaces and transparent materials, Opacity maps or use Part Fade animations or Curve/Color Fade animations to manipulate the opacity, this may result in surface areas that are not rendered as expected where the 2 parts intersect.
The workaround is to make sure the parts are not positioned so the surfaces are co-planar, but in stead have a very slight gab between them.
 Turntable (only model/group)
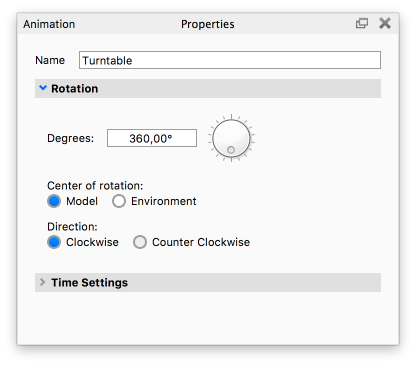
When you are adding an animation to a model/group you can also select a Turntable animation. This is similar to the Rotation animation but is limited to rotations around the up-axis.
Center of Rotation
Choose if you want your model/group to rotate around the center of the model/group or the center of the environment.
Direction
Set the rotation to go either Clockwise or Counter Clockwise
 Keyframe
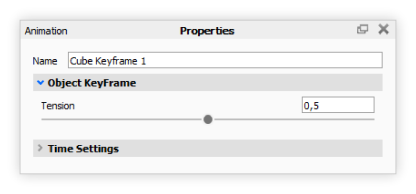
Keyframe animations are a different type of animation from the above. Instead of translating or rotating objects, it will record an objects position, rotation, and scale into Keyframes.
Tension
The tension parameter will adjust how sharply the object will follow the defined keyframe path.